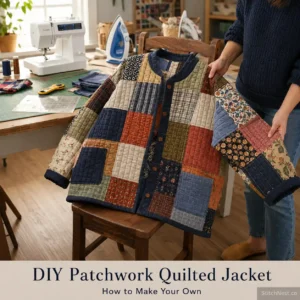
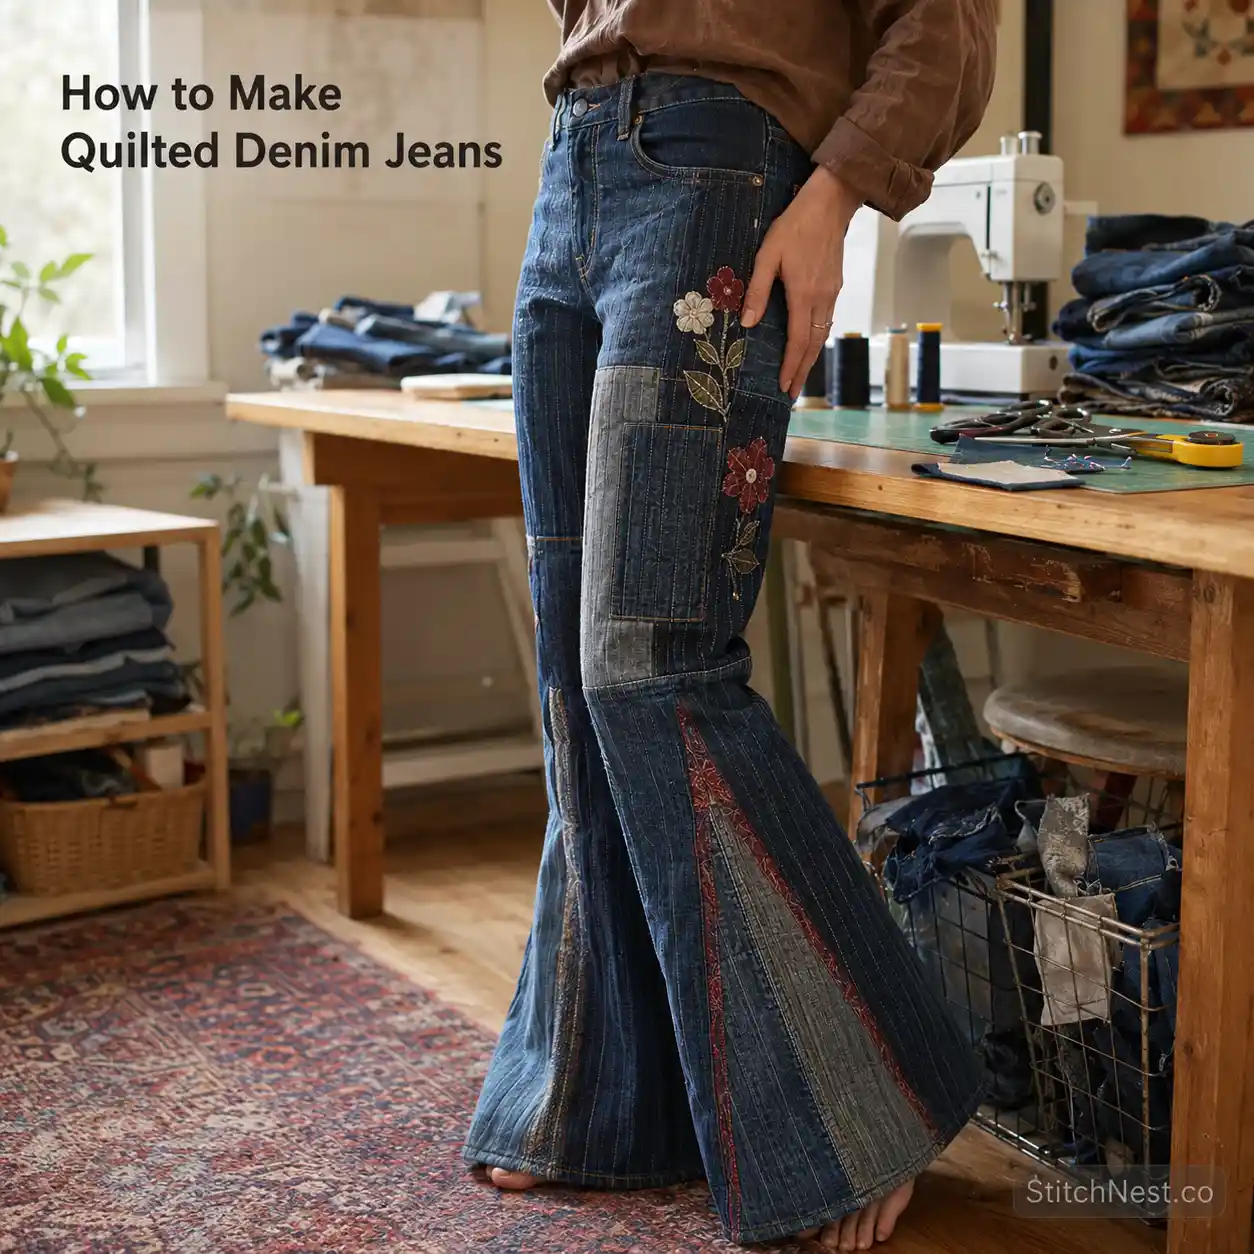
There is a reason quilted denim jeans keep showing up in upcycling communities: an old pair of jeans gives us a surprisingly good starting point for a completely new garment. We can cut it apart, combine it with other denim, quilt selected sections, add patches, embroidery, appliqué, lace, fringe, or create a dramatic bell-bottom insert. Plus, you do not have to draft an entire pair of jeans from scratch either. Here’s how to do it!
Things You’ll Need
- Rotary cutter with a self-healing cutting mat
- High-quality cotton fabric bundles
- Acrylic quilting rulers for precise shapes
- Sewing machine with quilting foot attachment
- Soft batting for a cozy finished feel
- 2 to 4 pairs of old denim jeans
- Cotton backing fabric
- Quilting ruler
- Neutral thread
- Pins or clips
- Iron for pressing seams
How to Make Quilted Denim Jeans
Step 1: Decide What Kind of Quilted Denim Jeans Project You Want to Make
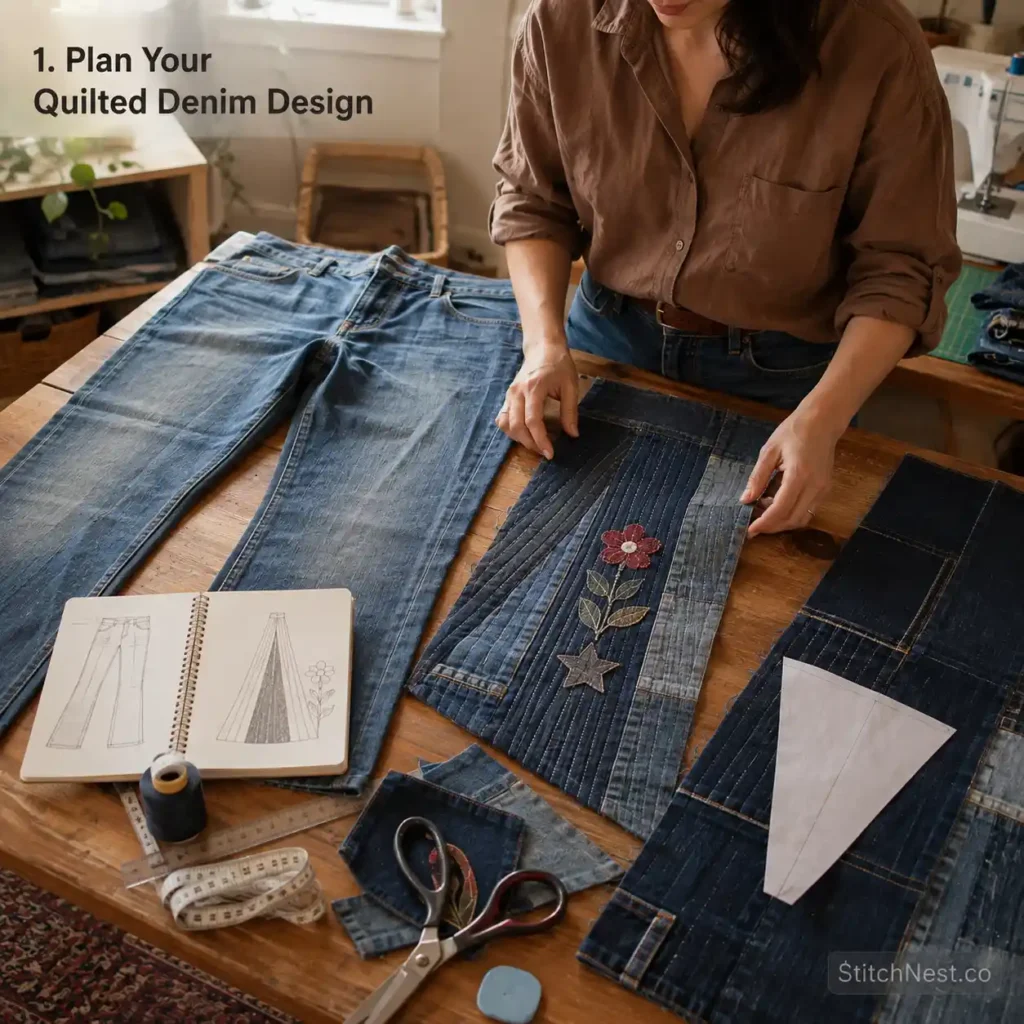
Before you cut the first piece of denim, decide which part of the jeans will change. For this tutorial, we recommend starting with a quilted side or lower-leg panel. You can make the panel straight, curved, or triangular and then insert it into an opened seam.
This gives you a lot of creative freedom without forcing you to rebuild the entire pair of jeans. You keep the original waistband, fly, pockets, rise, and most of the fit. The quilted section becomes the part that gives the jeans their new personality.
If you want a bell-bottom look, the same method works with a triangular insert. The insert can be narrow at the knee and become much wider toward the hem. On the other hand, if you want something subtler, start the panel lower down and keep the flare small.
You can also make a rectangular or slightly curved panel and place it over an existing section instead of opening a seam. That works well for decorative patchwork, especially if you do not want to alter the original silhouette.
Before choosing the shape, put the jeans on and mark the area you want to change with pins or removable chalk. Look at the garment from the front, back, and side. A panel that looks perfectly proportioned on a table can look much larger once it is actually on the body.
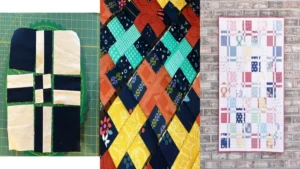
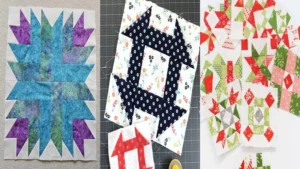
Here are quilt ideas and patterns for every skill level to look at before settling on your patchwork arrangement. You can also borrow simple block structures from free star quilt block patterns for beginners, particularly if you want geometric pieces that are easier to cut from denim.
Step 2: Choose and Prepare Your Denim for Quilted Jeans
You do not need new denim for this project. In fact, old jeans often make better quilted garments because the fabric already has faded areas and variations in color that would be difficult to recreate with new fabric.
Start by checking the condition of every pair of jeans you plan to use. Hold thin areas up to a light and gently pull the fabric. If the weave is becoming weak, reserve that section for appliqué or small decorative pieces rather than a structural panel.
Pay particular attention to the seat, crotch, knees, and pocket openings. These areas experience a lot of wear. A little fading is useful; fabric that is nearly worn through is not.
Wash and dry the jeans before cutting. This reduces the chance that different pieces will shrink at different rates after you have finished the garment. It also removes dirt, oils, and fabric finishes that can affect pressing and sewing.
If you are using denim from several pairs, sort it by weight and stretch. Try to keep fabrics with similar behavior together. A heavy, rigid denim and a very stretchy lightweight denim can technically be combined, but the difference can cause puckering or distortion.
If a lightweight denim keeps stretching as you piece it, a lightweight woven stabilizer can help. This is particularly useful for reclaimed jeans with elastane. The same principle is useful when you are choosing batting: the goal is to add structure without turning the garment into something stiff. Our how-to choose quilt batting covers the main batting choices.
And save the original jean details. Pockets, belt loops, hems, labels, waistbands, and contrast stitching can all be reused. An old pocket can become an appliqué, while an original hem can become the finished edge of a new panel. You can also make a denim quilted table runner!
Step 3: Plan Your Patchwork Before Cutting
This is the stage where we recommend slowing down. Put your denim pieces on a large table or floor and arrange them before you sew anything.
Start by sorting the pieces into light, medium, and dark shades. Then move them around until the values feel balanced. If one area contains five very dark pieces and another contains only pale denim, the finished panel can look unintentionally heavy on one side.
Do not worry about making every patch the same size. Squares and rectangles are easy, but triangles, strips, and deliberately irregular pieces can make the panel much more interesting. The important thing is to control where the seams meet.
If several thick denim seams intersect in one place, you can create a surprisingly large lump. Spread those intersections across the panel whenever possible. That will make both quilting and final garment construction easier.
Traditional quilt blocks can work beautifully here, but they should usually be simplified. A small cotton quilt might use twelve tiny pieces to make one star. With denim, you may want to use four or six larger pieces instead.
These Liberty Stars quilt pattern designs can give you ideas for arranging stars, and star flower quilt block patterns will help if you want something slightly more organic.
Flowers are another easy motif to adapt. You can cut petals from lighter denim, place them over a darker panel, and secure them with a narrow satin stitch or simple outline stitching.
You can also use small animal shapes. A simple cat silhouette, for example, can become a small appliqué on a pocket or thigh. Here are animal quilt appliqué ideas you’ll love to sew, which will help you find shapes that are easy to simplify.
Step 4: Cut the Denim and Draft Your Panel
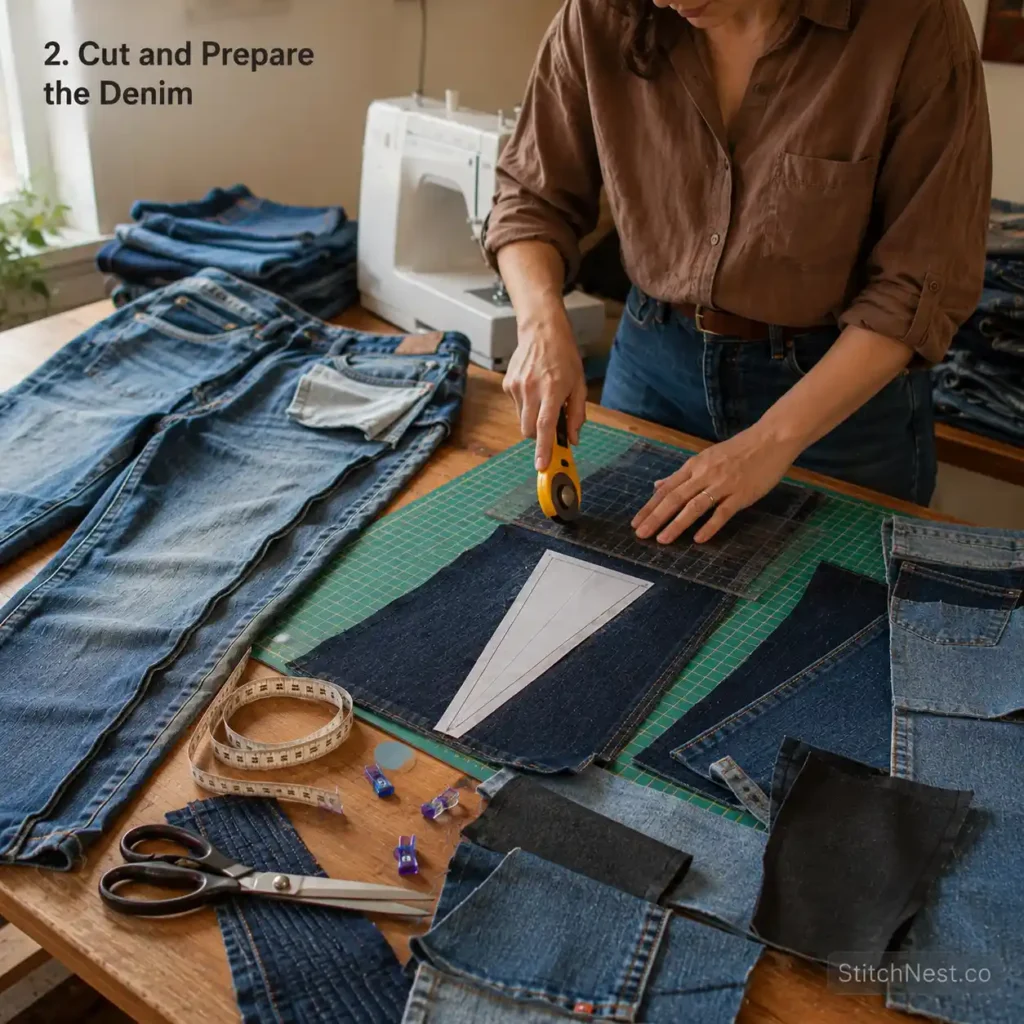
Once the design is settled, measure the section of the jeans that you are changing. Use the actual garment rather than relying on generic measurements.
For a side panel, open the relevant seam carefully and lay the jeans flat. Trace the opening onto paper first. This gives you a template that you can adjust without wasting denim.
If you’ve gone for a bell-bottom insert, measure the opening from the point where the flare begins down to the hem. Transfer that shape to paper and add seam allowance on both sides.
We strongly recommend making the first insert from scrap fabric or paper before cutting your finished quilted panel. Sew or pin the mock-up into the opening and try the jeans on. You can immediately see whether the flare is wide enough, too wide, too high, or too low.
The same idea is useful for curved panels. Make the template first, check it against the garment, and only then transfer it to the quilted fabric.
For repeated shapes, a Cricut Maker saves cutting time, particularly if you are making lots of identical appliqué pieces. An AccuQuilt GO! Fabric Cutter is another option for repeated quilting shapes.
You do not need either machine, though. A rotary cutter, self-healing mat, acrylic ruler, fabric scissors, and a washable marking tool will handle most denim projects.
If your denim stretches, mark the direction of stretch on the wrong side of every piece. Try to keep the stretch direction consistent throughout the panel. This becomes especially important if the finished panel will replace part of a stretchy jean leg.
Step 5: Piece the Quilted Denim Jeans Panel
Now we can start building the actual panel. Sew the denim pieces together just as you would patchwork, but remember that denim needs a little more patience.
Use a consistent seam allowance and press each seam after sewing it. You do not necessarily have to press every seam open; with thick denim, pressing seams to one side can sometimes be easier and stronger. The important thing is to flatten each seam before adding another piece.
If you are using very small pieces, consider whether they are worth the extra bulk. A denim quilt made from dozens of tiny scraps can become surprisingly heavy. Larger pieces often give you a cleaner result and make the finished garment more comfortable.
Once the patchwork top is complete, decide whether you actually need batting. Denim already provides substantial body, so a very thick batting may be unnecessary.
If you want a little softness or quilting definition, choose a low-loft batting. Quilter’s Dream Cotton Batting is one option, and Warm & Natural Cotton Batting is another.
Make a small sandwich using the actual denim, batting, and backing before committing to the whole panel. Bend it, fold it, and run it through your machine. If it already feels stiff in your hands, it is unlikely to become more comfortable once attached to a pair of jeans.
Step 6: Quilt the Panel
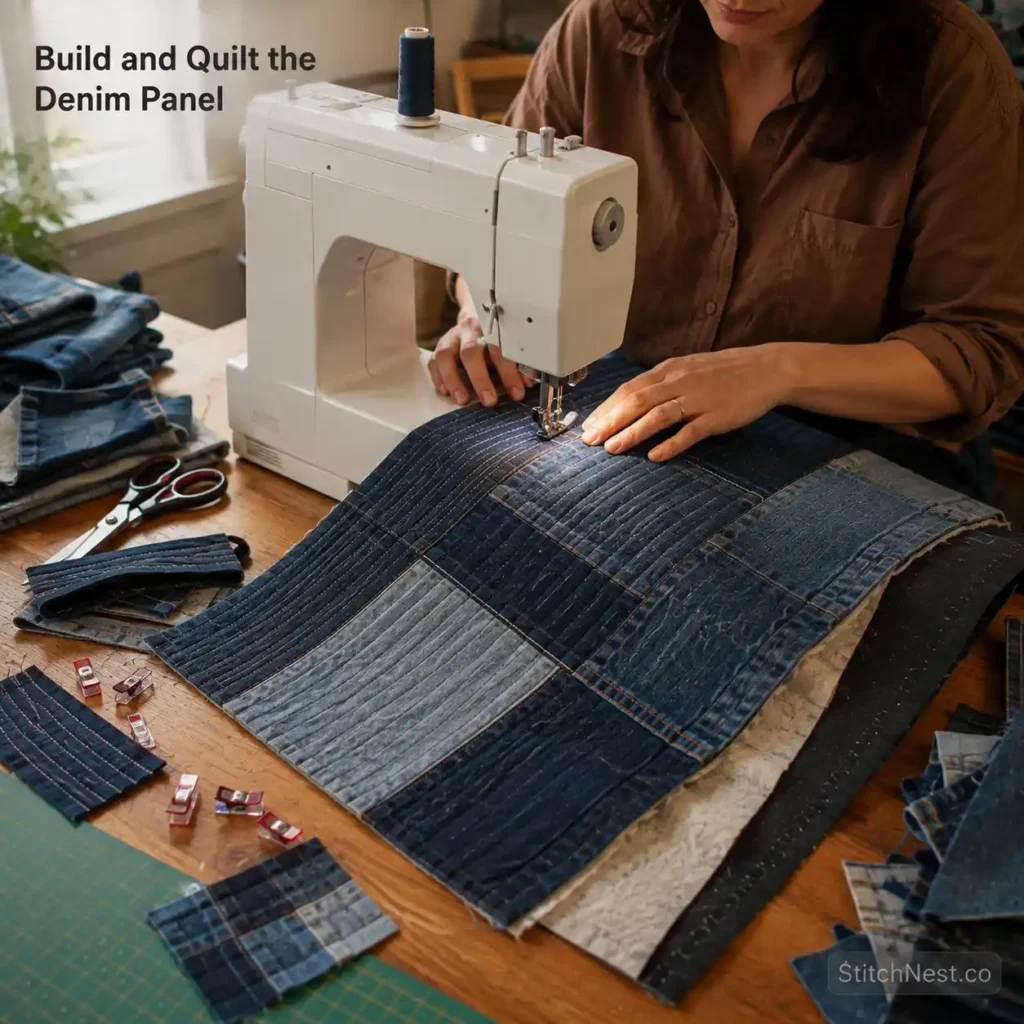
For your first denim garment, straight-line quilting is usually the safest choice. Mark parallel lines using a removable fabric marker and sew slowly.
The lines do not need to be perfectly mathematical. Small variations are not a problem on denim, particularly when the panel also contains fading and reclaimed seams.
You can quilt diagonally, create a simple grid, follow the shape of an appliqué, or use gentle curves. Keep in mind that dense quilting makes fabric firmer. If your panel needs to bend around a knee, do not fill it with extremely close stitching.
Thread choice matters too. Mettler Silk Finish Cotton Thread is one option for piecing and quilting. Test your thread tension on a scrap because denim thickness can change from one section to another.
A quarter-inch foot is useful when you are piecing traditional blocks. This quarter-inch presser foot helps you maintain consistent narrow seams, particularly when your panel contains several small pieces.
Use a fresh denim or jeans needle appropriate to your fabric thickness, and slow down as you approach bulky seams. If the machine struggles, turn the hand wheel instead of forcing the needle through the layers.
A small test piece also tells you whether the batting is shifting, whether your stitches are too short, and whether the panel is becoming too stiff. It is much easier to solve those problems before the panel is attached to the jeans.
Step 7: Add Appliqué, Embroidery, and Other Details
Once the panel is quilted, you can add your decorative details. This is often the part where a basic patchwork project starts looking like a deliberately designed garment.
Appliqué is particularly useful because it allows you to add shapes without creating a large number of additional seams. Cut your shape, place it on the panel, secure it temporarily, and then stitch around the edges.
If you want a floral look, use denim petals with a contrasting center. If you want stars, cut several sizes and repeat them across the panel. If you want a more playful piece, small cat or ghost shapes can work nicely.
Here are ghost quilt patterns that are too cute to be scary gives you simple silhouette ideas, and appliqué quilt patterns full of color and creativity is useful for thinking about how appliqué shapes can sit on a quilted background.
Embroidery can be as simple as an outline around an appliqué. You can also add flowers, vines, initials, words, stars, or small geometric details.
Try to place decorative stitching away from areas that bend constantly. A heavily embroidered knee may look good initially but can experience much more wear than an embroidered upper thigh or pocket.
You can also reuse the original jeans’ contrast stitching. Cut around existing seams and incorporate them into the panel rather than removing them. Those lines can become part of the visual structure.
Step 8: Insert the Panel Into the Jeans
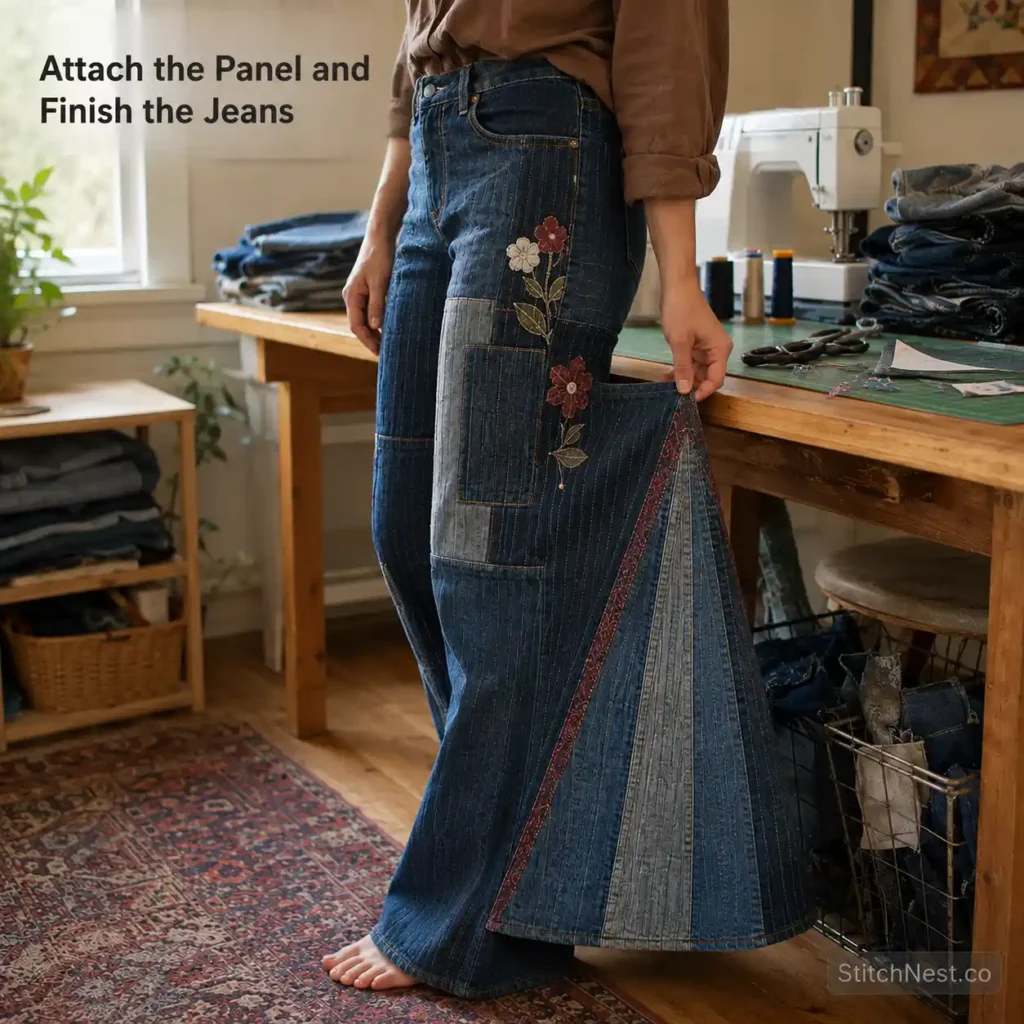
Now comes the part where the separate quilted panel becomes part of the garment.
If you are making a bell-bottom insert, open the chosen seam with a seam ripper. Work slowly and remove only the stitching you need to remove. Be especially careful around the hem and any bar-tacks or reinforced points.
Place the quilted insert into the opening with the right sides facing each other. Pin or clip from the top downward, matching the edges as you go.
Do not stretch either piece to make them fit. If the panel is slightly longer than the opening, check your measurements before sewing. Stretching one side to force a match can create ripples that are difficult to remove later.
Sew one side of the insert first. Then check the garment from the outside before sewing the second side. This gives you an opportunity to catch twisting or uneven placement.
If you want a wide flare, take your time with the hem. The bottom edge of a triangular insert has to meet the existing hem cleanly, and multiple layers of denim can make that area difficult to sew.
For more ideas on using patchwork in long, narrow formats, try these free quilted table runner patterns.
You can also make asymmetrical inserts. One leg can have a colorful patchwork panel while the other uses a quieter denim section. The important thing is that the difference looks intentional.
Step 9: Manage Thick Seams and Stress Points
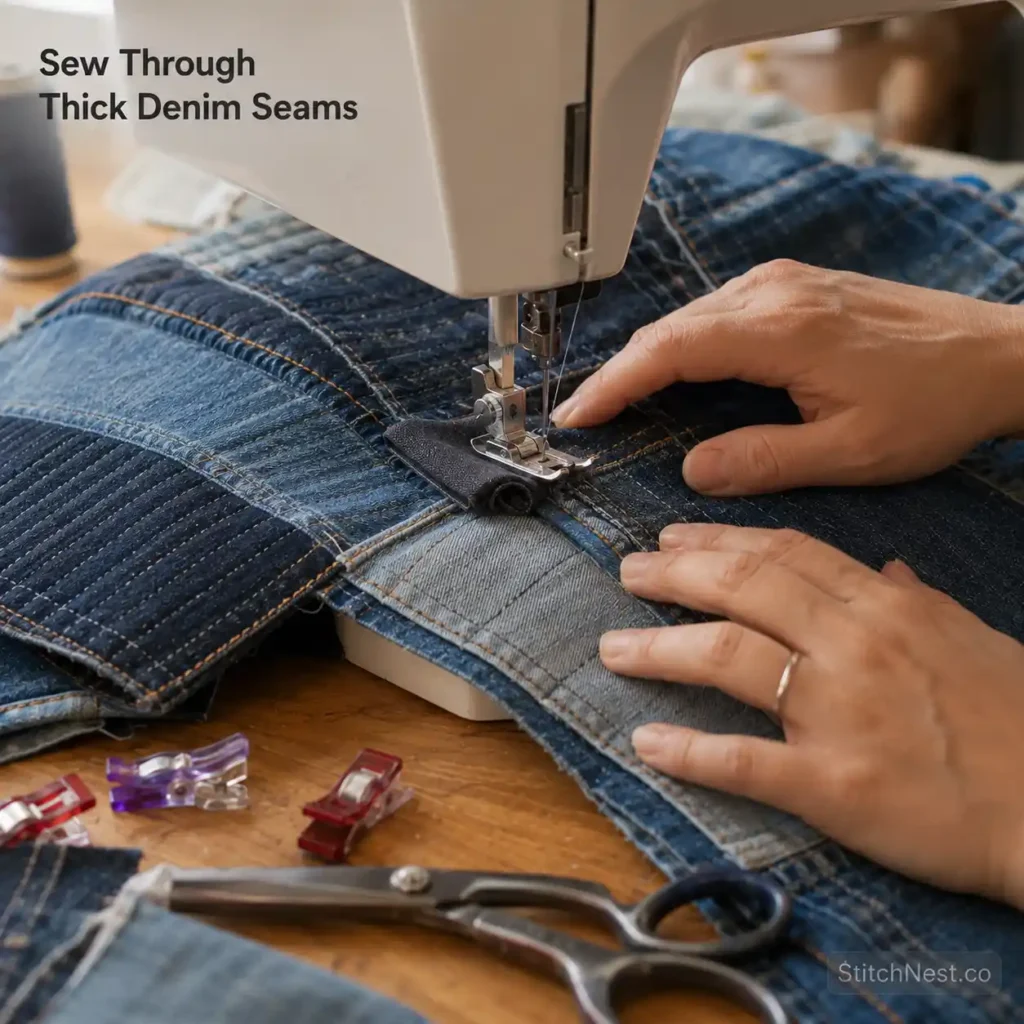
This is where sewing experience matters more than fancy equipment. Denim becomes difficult when several thick seams meet in one small area.
Before sewing, feel the seam with your fingers. If you can already feel a large ridge, your machine is going to feel it too.
Grade seam allowances where appropriate by trimming different layers to different widths. Do not remove so much fabric that you weaken the seam, but reducing unnecessary layers can make a significant difference.
If your presser foot needs to climb over a thick ridge, use a small folded piece of scrap fabric behind the foot to keep it level. Sew slowly across the bulky section.
A good denim needle and suitable thread are important, but they cannot compensate for poor seam planning. The easiest thick seam to sew is the one we avoided creating in the first place.
Reinforce the top and bottom of large inserts. Those points can experience repeated pulling as you walk and sit. A few additional stitches can help prevent the seam from opening.
If you are working with very thick denim, do not assume that a stronger machine automatically solves everything. Feeding, needle clearance, thread tension, and seam bulk still matter. Once you’re done, you should try out these quilted hoodies to make!
Step 10: Finish the Edges of Your Quilted Denim Jeans
Raw denim edges can look great, but decide exactly where you want the fraying to happen.
A raw lower edge can gradually develop a soft fringe after washing. A raw edge near a pocket opening or structural seam needs more control.
If you want fraying, remove only the crosswise threads needed to create the effect. Do not pull apart the seam holding your panel to the jeans.
For a cleaner finish, you can bind the edge, turn it under, or reuse an original jean hem. Reclaimed hems are particularly useful because they already have the correct folded structure and often contain the original decorative stitching.
Check the entire garment from the inside. Look for loose threads, exposed batting, skipped stitches, and weak points.
Press the finished seams carefully. Do not use excessive heat on mixed fabrics or decorative pieces without checking their care requirements first. And have you tried these quilted vests yet?
Step 11: Wash and Test the Finished Garment
The first wash is the real test of a reclaimed denim project.
If you have combined several types of denim, cotton, batting, and decorative fabrics, they may not all react identically to washing. That is another reason prewashing the raw denim was important.
Turn the garment inside out and use a gentle cycle. Avoid high heat if you are concerned about shrinkage or distortion. If the garment contains delicate appliqué, crochet, lace, or fragile embroidery, use the gentlest care method suitable for those materials.
Dark denim can release indigo during washing, so wash the garment separately or with similar colors during the first few washes.
Remember that wet denim becomes heavy. Do not leave a soaked, heavily quilted pair hanging from a single narrow point if the weight is pulling on your new seams. After drying, check the panel again. Look for puckering, loose threads, stretched seams, and areas where the quilting has changed shape.
Common Mistakes to Avoid
The biggest mistake is using too many layers. Denim is already heavy, and adding thick batting plus a heavy backing can make the garment stiff.
The second is skipping a sample. Always test your exact denim, batting, needle, thread, and stitch length before quilting the final panel.
Do not ignore stretch either. If your original jeans contain elastane, a rigid panel can change the way the garment moves.
Another common mistake is cutting through important jean construction without a plan. Keep the waistband, fly, crotch, pockets, and major structural seams intact unless your design specifically requires changing them.
It is also easy to overdecorate. Pick a main idea and repeat it. A few flowers, stars, embroidery lines, or contrast patches usually look more intentional than putting every available embellishment on the garment.
If you want to study how quilting, pockets, and structured panels work together, these beautiful quilted wall hanging organizer patterns provide useful construction inspiration even though the finished project is not clothing.
Design Ideas for Your Next Pair of Quilted Denim Jeans
Once you have made one pair, you can start experimenting. Try using several shades of blue for an ombré effect, add colorful cotton between denim pieces, or make one large motif the focal point of the leg.
You can also use seasonal themes. Halloween shapes work particularly well as small appliqués, while stars and flowers can be used year-round. DIY quilted Halloween table runner is a useful reference for repeated motifs and narrow layouts.
For Christmas, use small trees, stars, ornaments, or geometric blocks instead of covering the entire garment in seasonal fabric. Here are free last-minute Christmas quilt patterns.
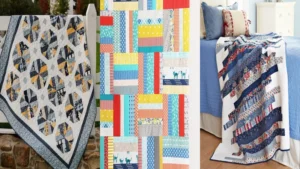
Strip-based quilting is another good direction. You can cut old jeans into narrow strips, arrange them by shade, and sew them into a panel before quilting. These free jelly roll quilt patterns for fast and cozy quilts help you think through strip layouts even though your denim strips will not come from a traditional jelly roll.
Making quilted denim jeans is not about following one rigid pattern. It is about learning how denim behaves and then using that knowledge to make the design you want.
Once you understand the balance between denim weight, quilting density, seam placement, stretch, and garment construction, you can push the design much further. Old pockets become appliqué, worn denim becomes texture, original seams become decoration, and scraps that might have gone into the bin can become part of a completely new garment.