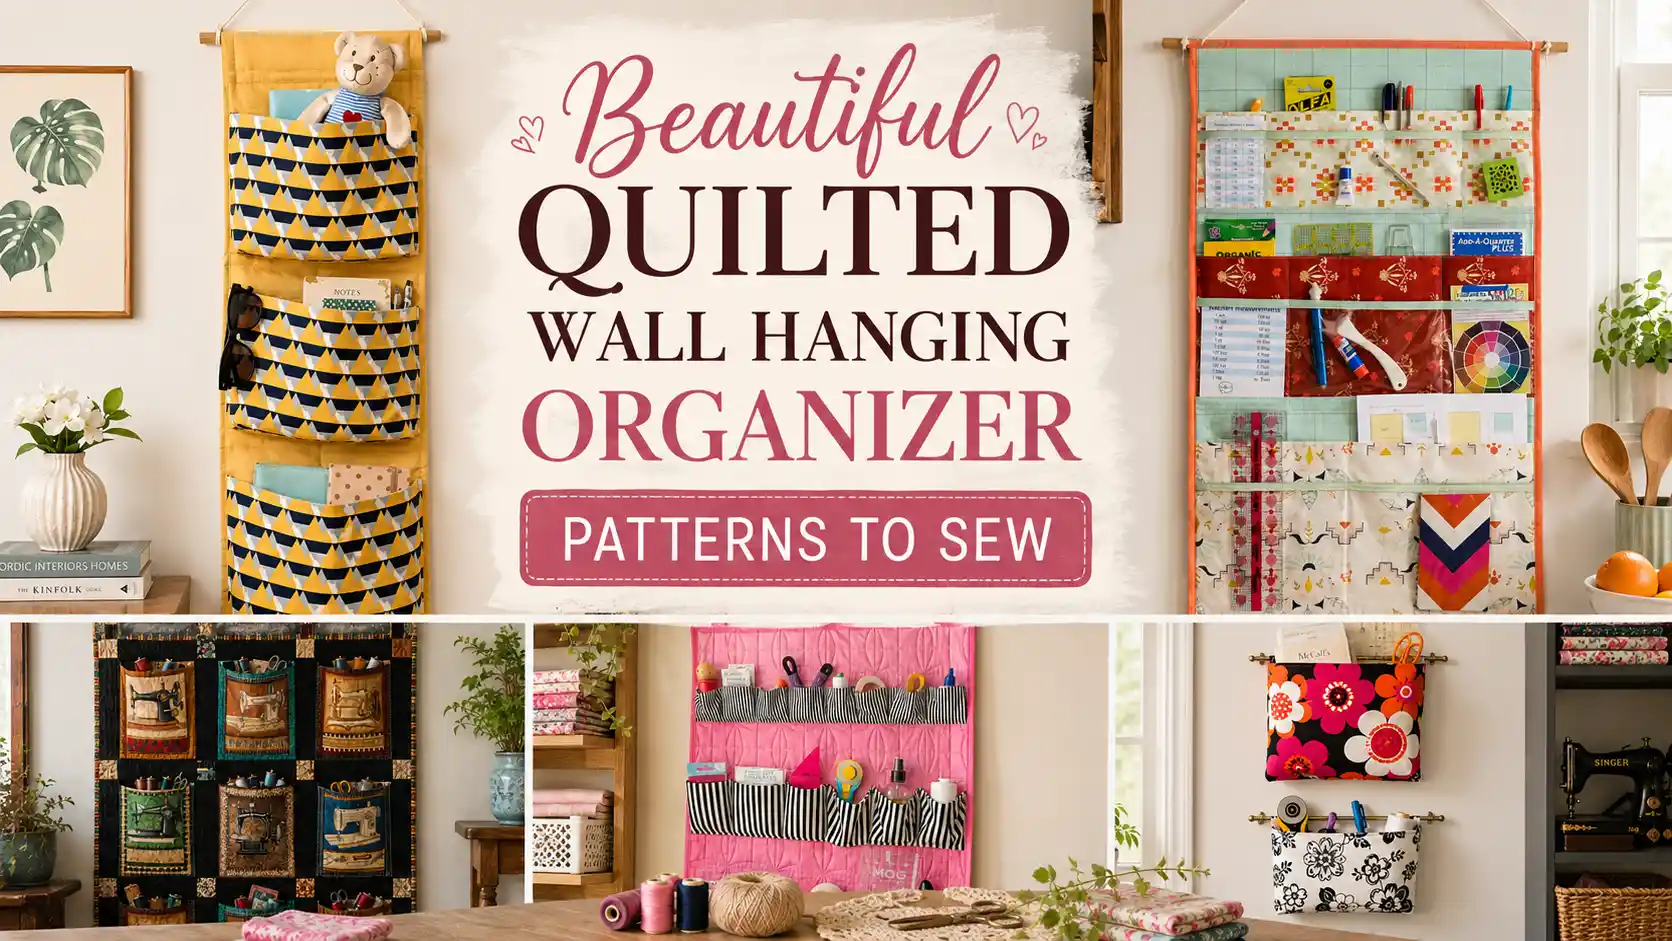
A quilted wall hanging organizer is one of those projects that adds beauty and function at the same time. Instead of letting mail, sewing tools, notebooks, or craft supplies pile up on your table, you can keep everything neatly organized in fabric pockets that match your home. They’re quick to sew, easy to personalize, and make wonderful handmade gifts for anyone who loves staying organized. From simple hanging pockets to larger organizers with plenty of storage, there’s something here for every sewing space.
Things You’ll Need
- High-quality cotton fabric bundles
- Acrylic quilting rulers for precise shapes
- Sewing machine with quilting foot attachment
- Soft batting for a cozy finished feel
If you enjoy sewing organizers like these, a Creative Grids quilting ruler makes measuring and cutting pocket pieces much easier. The non-slip surface helps keep every cut accurate, especially when you’re working with multiple rectangles.
Quilted Wall Hanging Organizer Patterns
1. Quilted Hanging Organizer Pattern + Tutorial
Skill Level: Beginner
Time to Make: 2–4 Hours
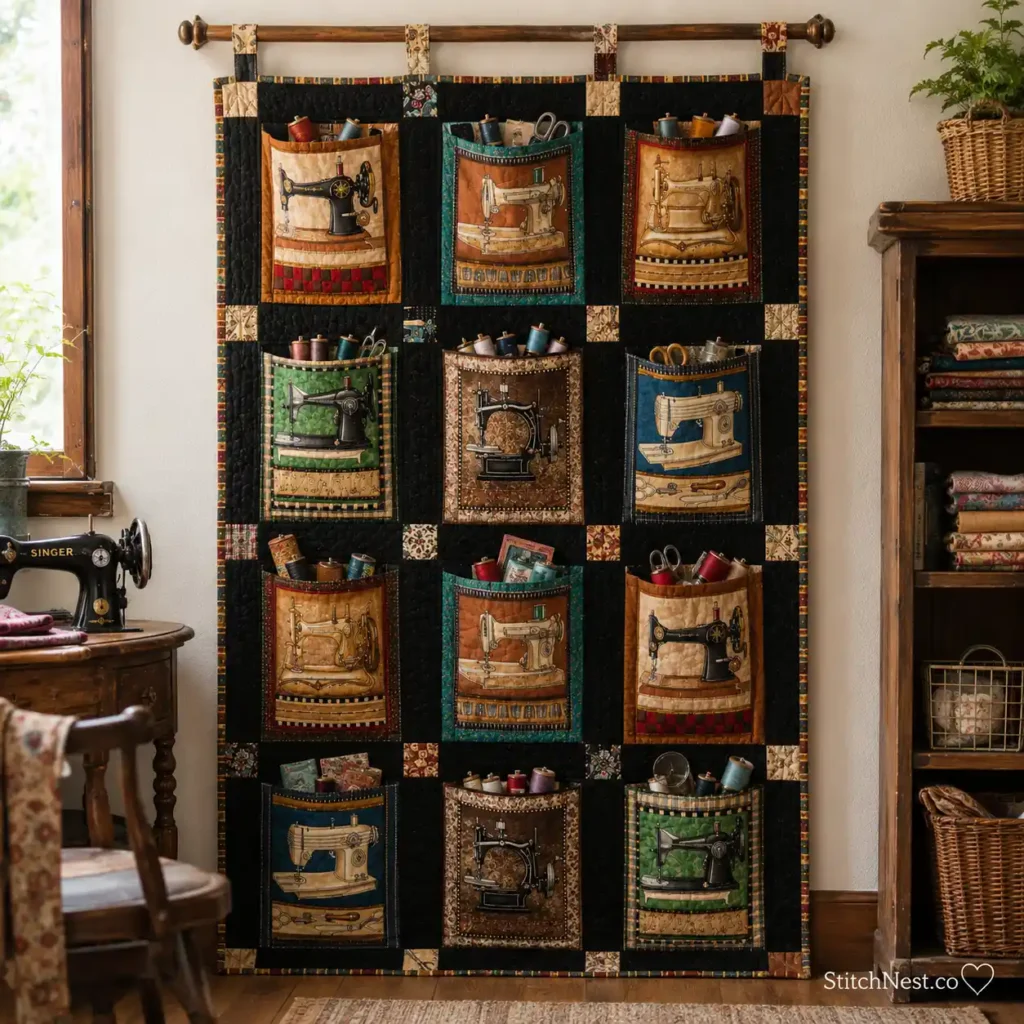
If you’re making your first wall organizer, this tutorial is an excellent place to begin. The construction is straightforward, and the finished organizer gives you several roomy pockets without feeling overwhelming to sew. Before attaching the hanging loops, slide a ruler or wooden dowel through the top casing to make sure everything hangs evenly. Follow the complete tutorial on All People Quilt.
2. Quilted Wall Hanging Sewing Room Organizer
Skill Level: Beginner to Intermediate
Time to Make: 3–5 Hours
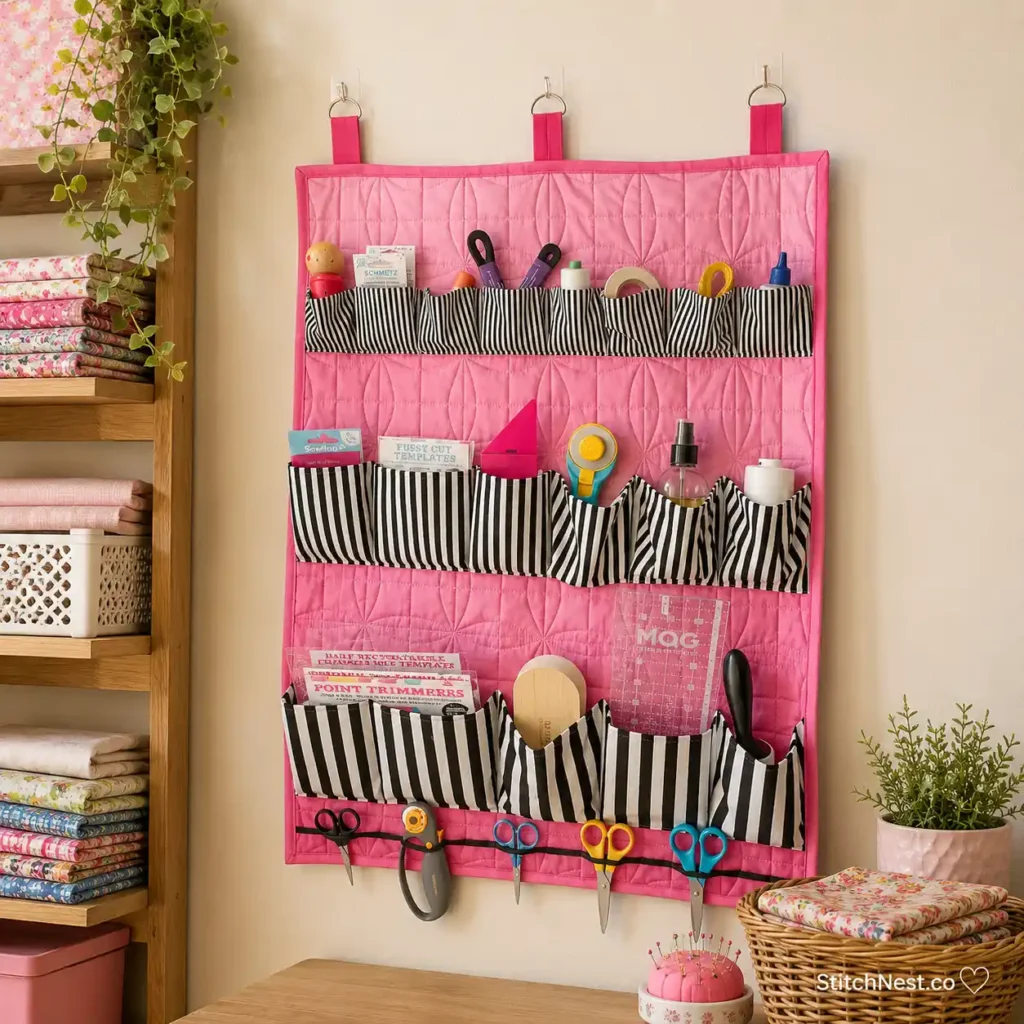
Every sewing room seems to collect scissors, rulers, clips, and marking tools, and this organizer helps keep them right where you need them. The pocket layout is practical without looking bulky, and it’s easy to customize the sizes to fit your favorite sewing supplies.
Before stitching the pockets in place, lay your tools inside them to check that everything fits comfortably. You’ll find the complete project on Holly Clarke Design.
3. Easy 8-Pocket Quilted Wall Hanging Organizer
Skill Level: Beginner
Time to Make: 3–4 Hours
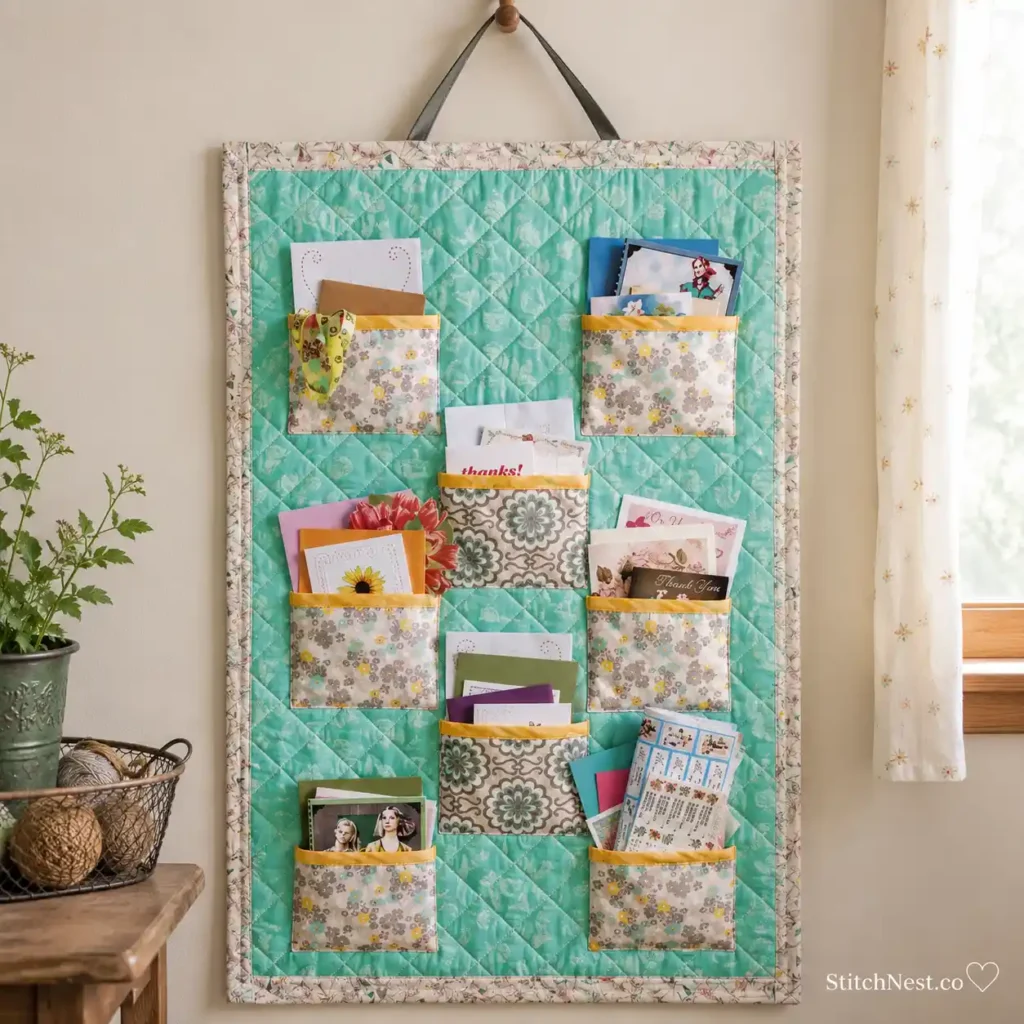
More pockets mean more storage, and this organizer does a great job of keeping small items from disappearing into drawers. It’s especially handy for craft rooms, home offices, or children’s bedrooms where little supplies tend to pile up. Quilting the background panel before adding the pockets gives the organizer extra stability and helps it hold its shape over time. See the full tutorial on Threads Magazine.
Clover Wonder Clips are perfect for projects with lots of pockets. They hold several fabric layers together without shifting and don’t leave pinholes like traditional pins.
4. Hanging Fabric Baskets Organizer Easy Free Pattern
Skill Level: Beginner
Time to Make: 2–3 Hours
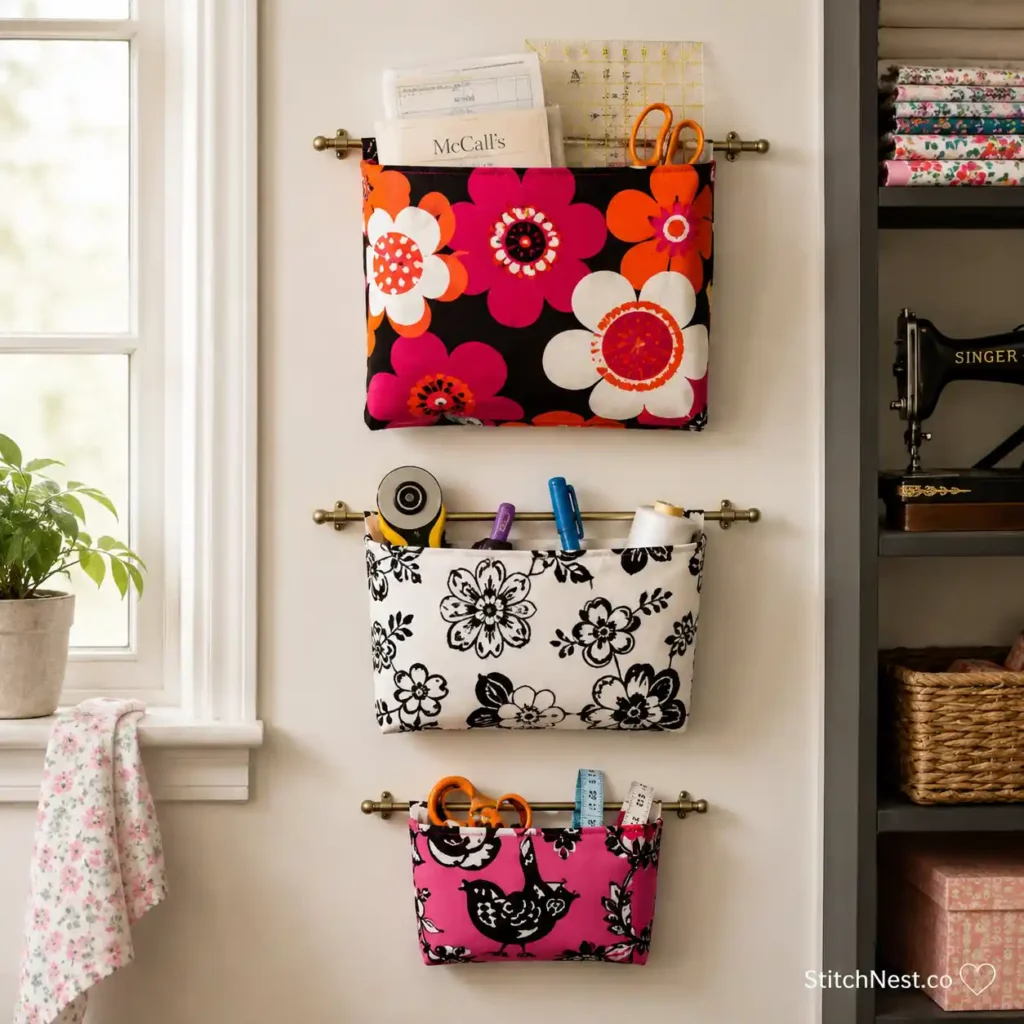
These hanging fabric baskets offer a nice alternative to flat pockets when you need to store bulkier items. They’re perfect for yarn, fabric scraps, small toys, or rolled-up sewing notions that don’t fit neatly into shallow compartments.
Choose a slightly heavier quilting cotton or add lightweight interfacing if you plan to fill the baskets with heavier supplies. Follow the free pattern on Handmadiya. Got a basket of fabric scraps waiting to be used? Take a look at these easy quilt scrap placemat tutorials.
5. Free Quilted Wall Hanging Organizer Tutorial
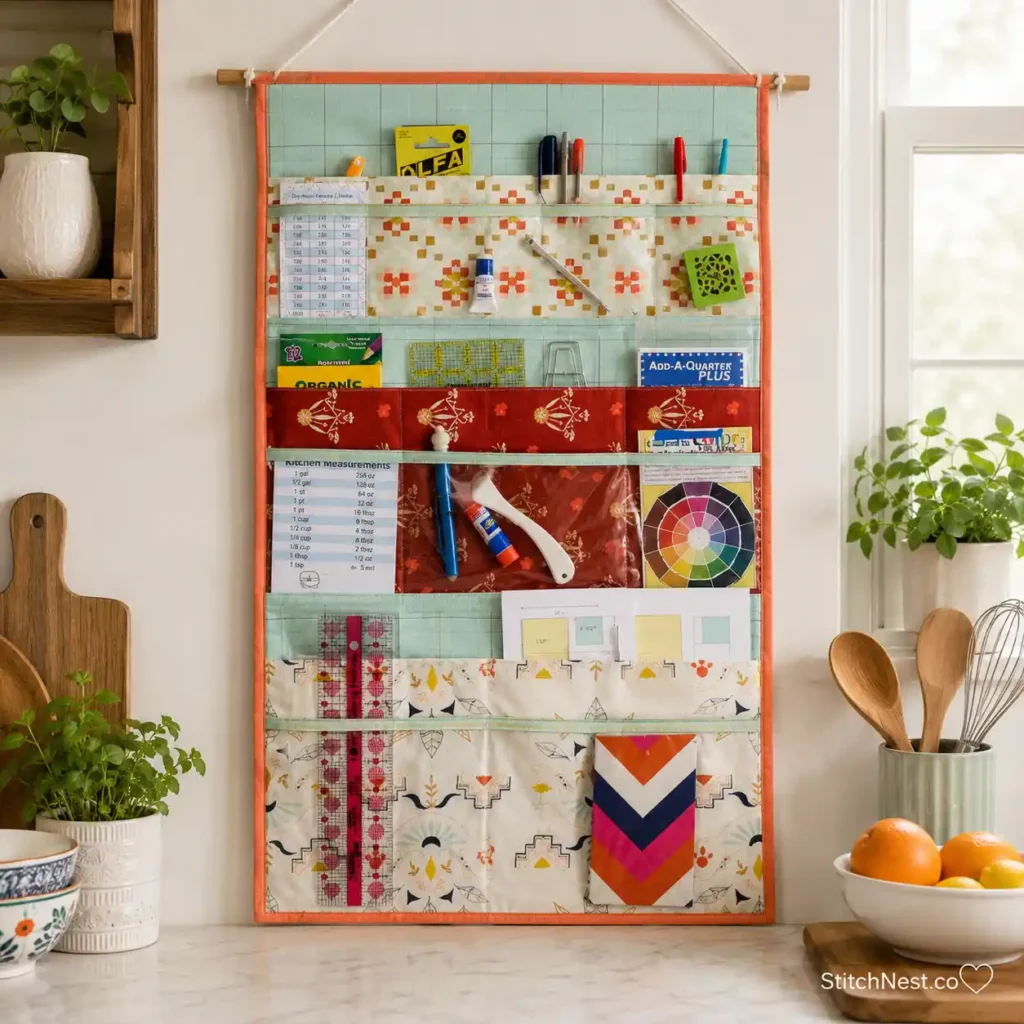
Skill Level: Beginner
Time to Make: 2–4 Hours
This organizer has a clean, classic design that’s easy to adapt for almost any room in the house. It works just as well in a craft room as it does near the front door for organizing mail, keys, and everyday essentials. Press each pocket before attaching it to the backing because crisp folds make the finished organizer look much more polished. You’ll find the complete tutorial on Fort Worth Fabric Studio.
Your favorite fabrics don’t have to stay on quilts. These free quilted laptop sleeve patterns with step-by-step tutorials are another fun way to put them to good use.
6. Quilt Closet Organizer Free Pattern
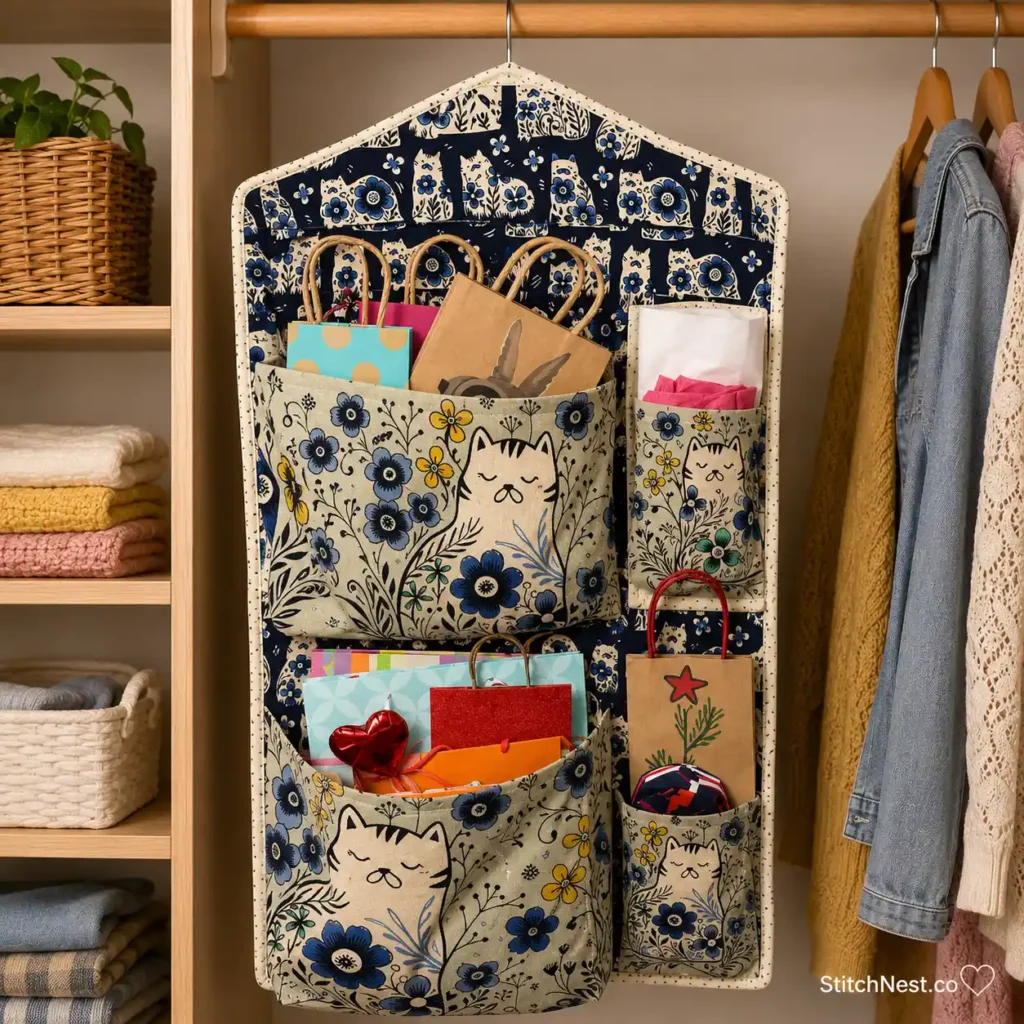
Skill Level: Beginner to Intermediate
Time to Make: 3–5 Hours
Closets often have unused wall space, and this organizer makes the most of it. The generous pockets are ideal for storing scarves, accessories, sewing supplies, or children’s clothing, helping everything stay neat without taking up shelf space. Before finishing the project, test the hanging method with a few heavier items to make sure it stays securely in place. Download the free pattern from Sew Sew Live.
Before you cut into your next fabric bundle, have a look at these free quilt patchwork rug DIY ideas you’ll want to make. You might see a project you’ll use every single day.
7. Quilted Wall Hanging Organizer DIY Tutorial
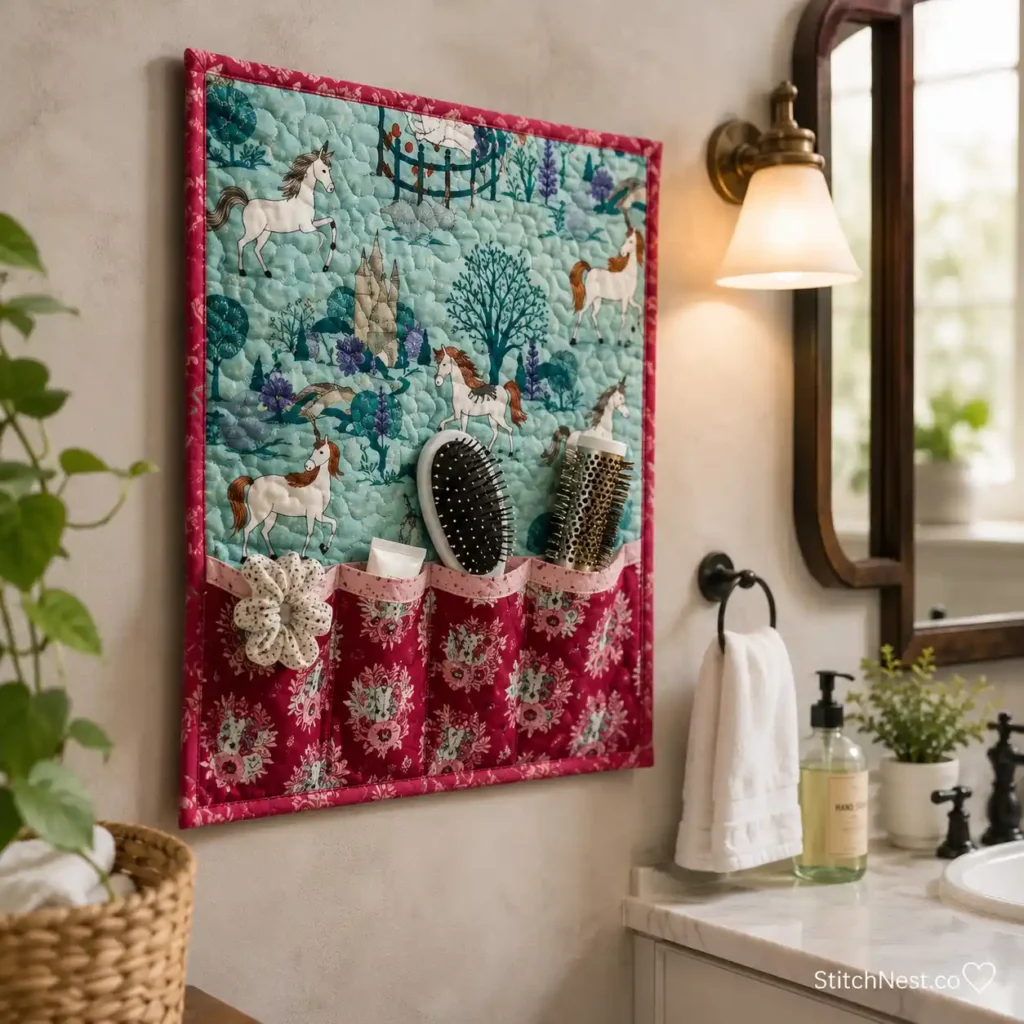
Skill Level: Beginner
Time to Make: 2–4 Hours
This DIY organizer proves that practical projects can still be beautiful. The simple construction gives you plenty of opportunities to play with favorite fabrics, contrasting pockets, or decorative quilting without making the sewing complicated.
A little topstitching around each pocket not only looks nice but also adds extra strength where the organizer gets the most daily use. Visit Ameroonie Designs for the complete tutorial.
8. Hanging Wall Organizer Tutorial
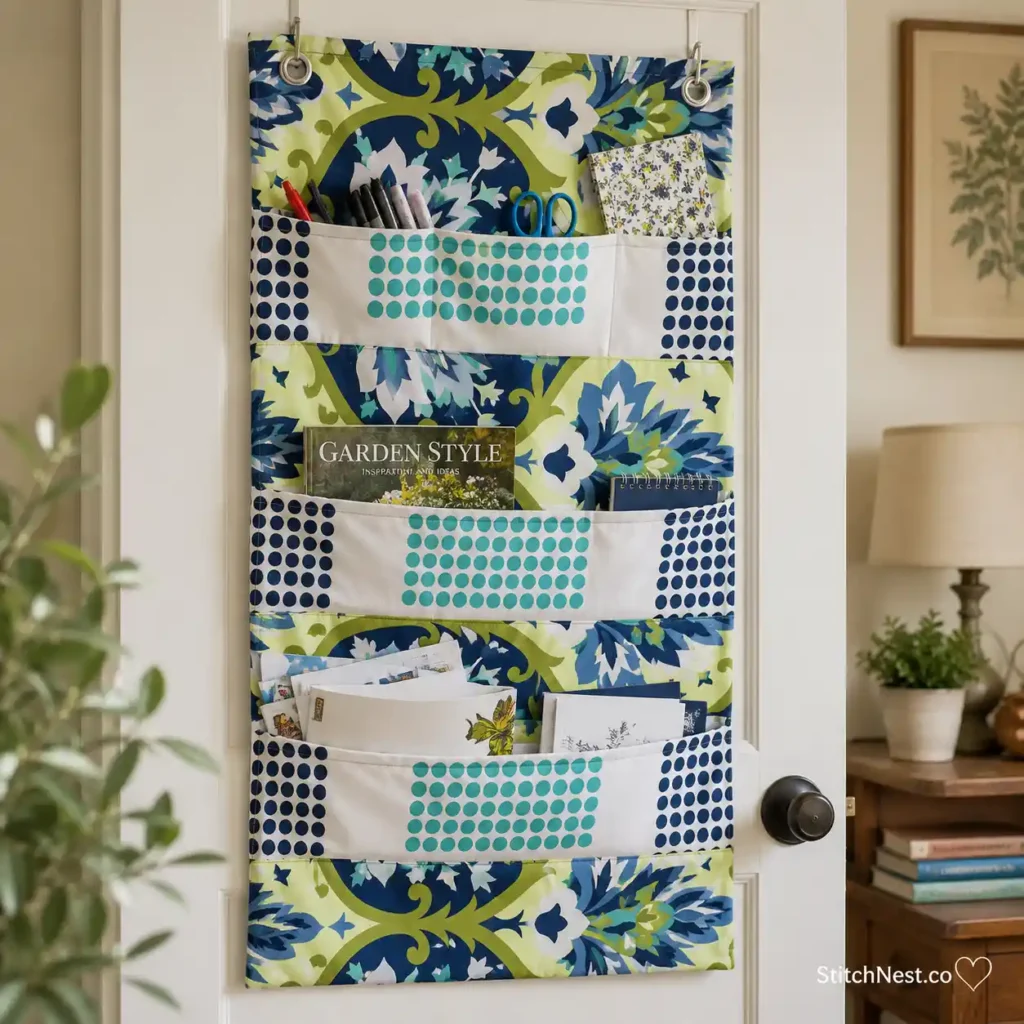
Skill Level: Beginner
Time to Make: 2–3 Hours
If you’re looking for a quick project that you can finish in an afternoon, this hanging organizer is a great choice. The layout stays simple, making it approachable even if you’re fairly new to quilting and sewing.
Before hanging it permanently, fill each pocket with the items you plan to store so you can check that everything sits comfortably without pulling on the fabric. Follow the tutorial on Quilting in the Rain.
9. DIY Hanging Organizer Sewing Tutorial
Skill Level: Beginner
Time to Make: 2–4 Hours
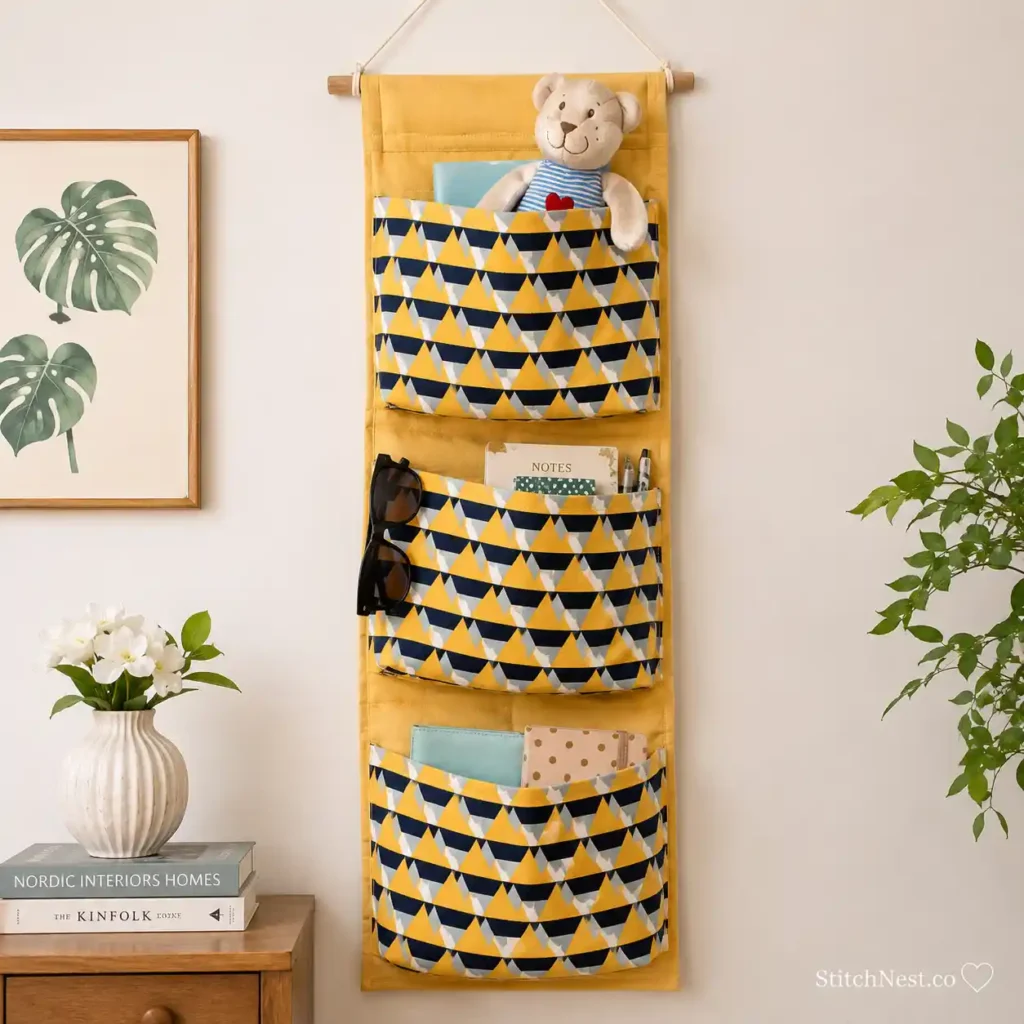
This versatile organizer can easily be adapted for a sewing room, nursery, bathroom, or entryway simply by changing the fabrics and pocket sizes. It’s one of those projects you’ll probably find yourself making more than once because it’s so practical.
If you’re sewing with directional prints, double-check they’re all facing the right way before attaching the pockets. Watch the complete tutorial on Sewing Times.
Helpful Tips Before You Start
Spend a few minutes thinking about what you’ll actually store before cutting your fabric. A pocket that’s perfect for scissors may be too narrow for a notebook or tablet, so adjusting the pocket sizes now is much easier than after everything has been sewn together.
Don’t skip quilting the background panel before adding the pockets. Even simple straight-line quilting gives the organizer more structure and helps prevent the fabric from sagging once the pockets are filled.
If you’re sewing with fabric from your stash, this is also a great scrap-busting project. Coordinating prints, solids, and leftover binding strips can come together beautifully without looking mismatched.
A wool pressing mat is one of the best upgrades for quilting projects like this. It helps you press crisp seams and pockets that lie flat, making the finished organizer look much more polished.
Common Mistakes to Avoid
One of the most common mistakes is making every pocket the same size. So pay attention to what you’ll actually be storing and adjust the dimensions to fit those items. A mix of narrow and wide pockets usually makes the organizer much more useful.
It’s also easy to underestimate how much weight the organizer will hold. Reinforce the top edge with extra stitching and use sturdy batting so the project keeps its shape over time. Finally, press each section before moving to the next step. A few extra minutes with the iron can make the finished organizer look much neater and help everything line up properly. You can also try these bag patterns if you want something stylish on the go! They’re great for parents!
Once you’ve finished your wall organizer, you’ll probably start spotting other places around the house that could use a little extra storage. If you’re ready for another quick and practical sewing project, don’t miss these easy quilted bedside caddy storage projects for beginners.