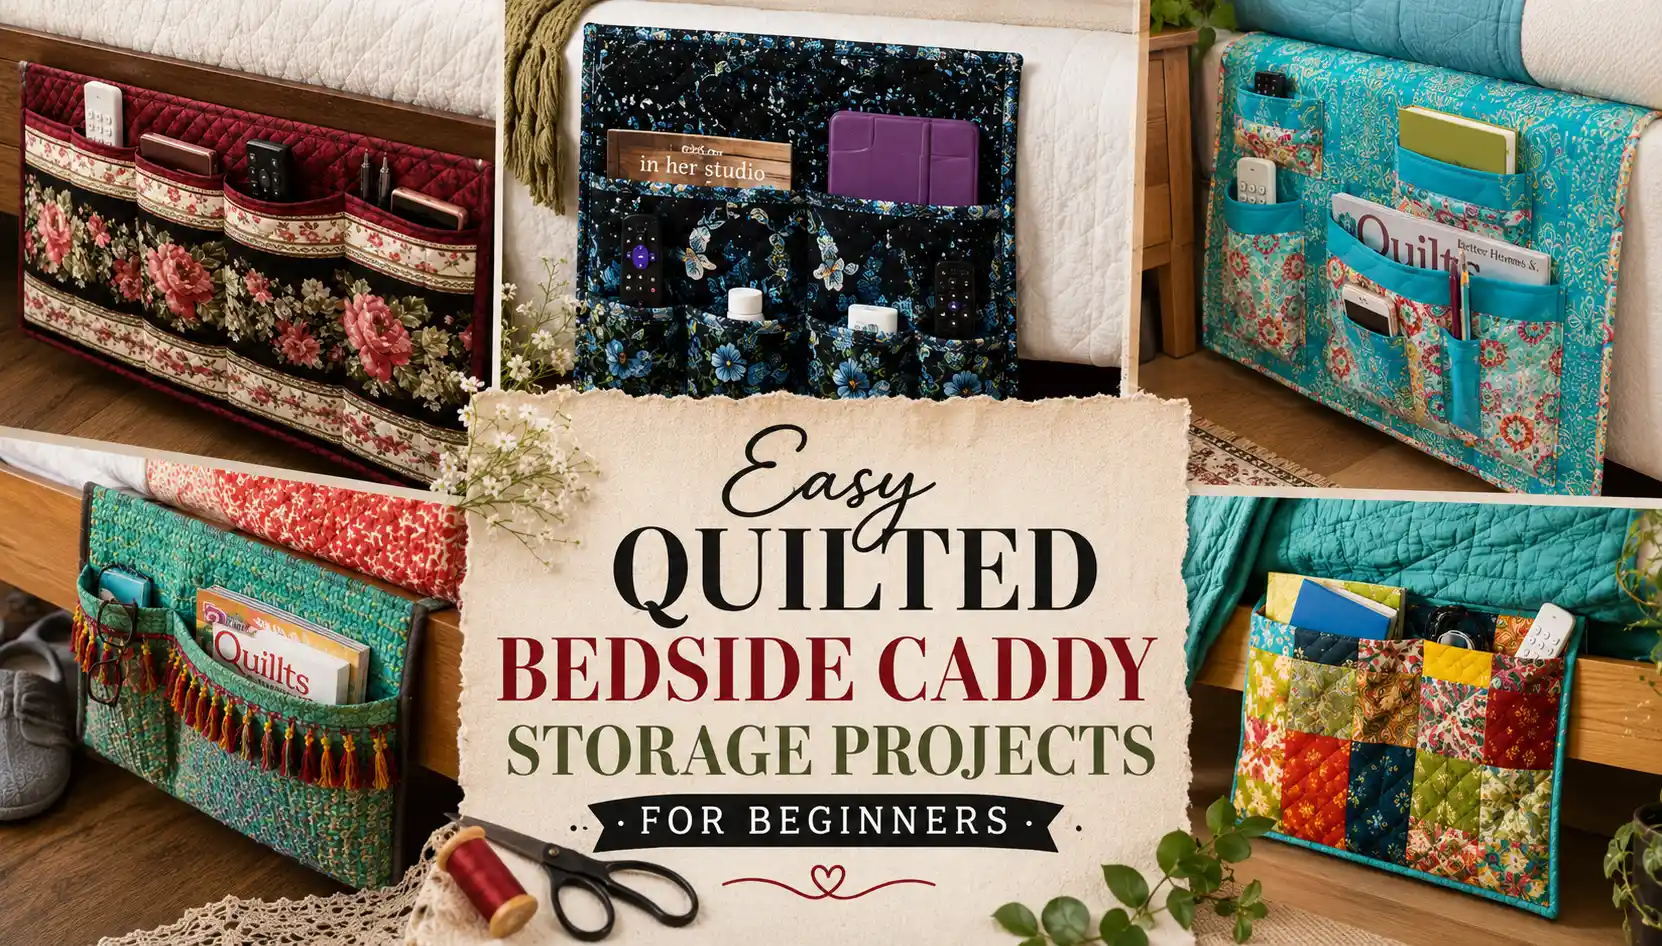
Quilted bedside caddy storage is one of those projects you’ll wonder how you ever lived without. They keep everything from books and tablets to glasses, remotes, and charging cables within easy reach, all without taking up valuable nightstand space. Better yet, they’re quick to sew, easy to customize, and make thoughtful handmade gifts for family and friends. If you’re looking for a practical quilting project you can finish in a weekend, these bedside caddy ideas are a wonderful place to start.
Things You’ll Need
- High-quality cotton fabric bundles
- Acrylic quilting rulers for precise shapes
- Sewing machine with quilting foot attachment
- Soft batting for a cozy finished feel
Easy Quilted Bedside Caddy Storage
1. Quilted Bedside Caddy – FREE Sewing Pattern
Skill Level: Beginner
Time to Make: 2–3 Hours
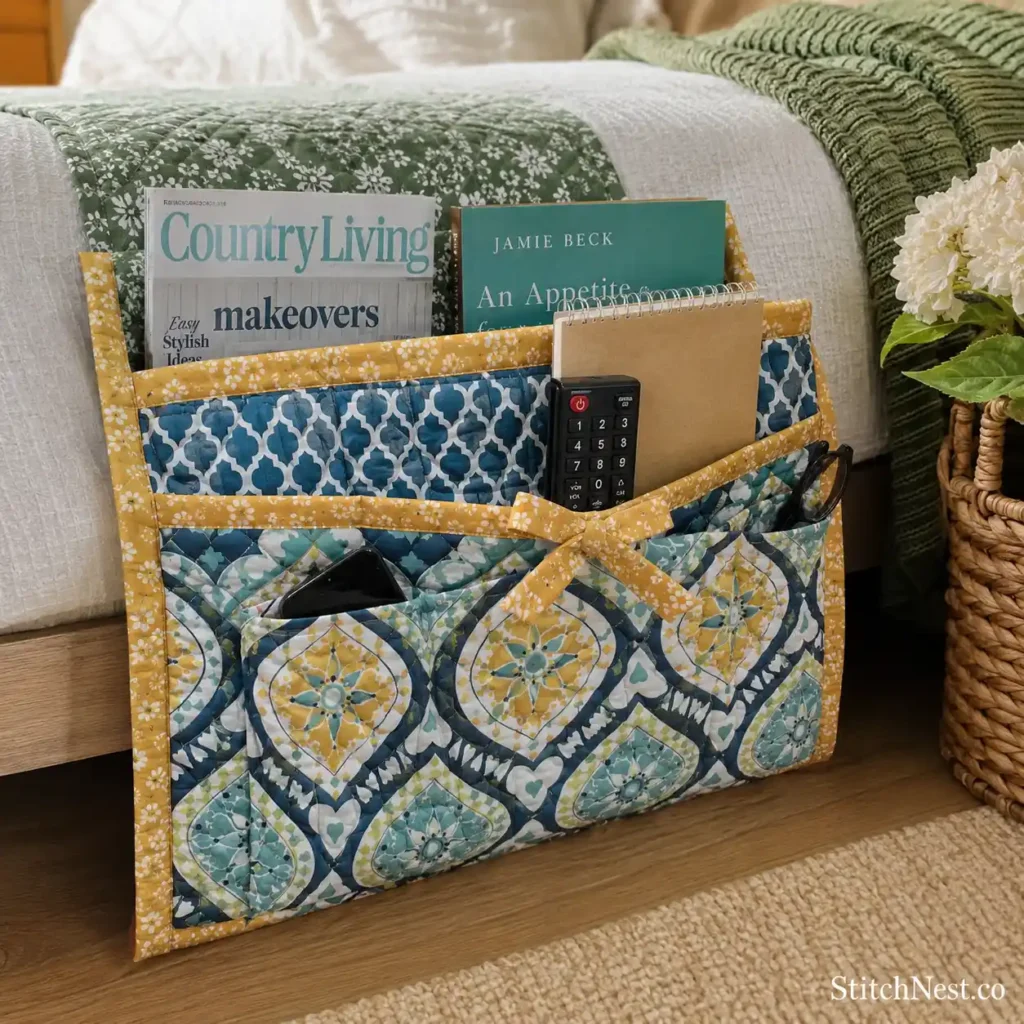
This bedside caddy keeps the design simple without sacrificing functionality, making it a great first sewing project. The roomy pockets are perfect for storing your phone, glasses, favorite book, or TV remote, and the straightforward construction comes together quickly. Take a few extra minutes to press each fabric piece before sewing because crisp seams make the finished organizer look much more polished. Follow the complete free tutorial from Sew4Home.
2. Bedside Storage Caddy Quilt Free
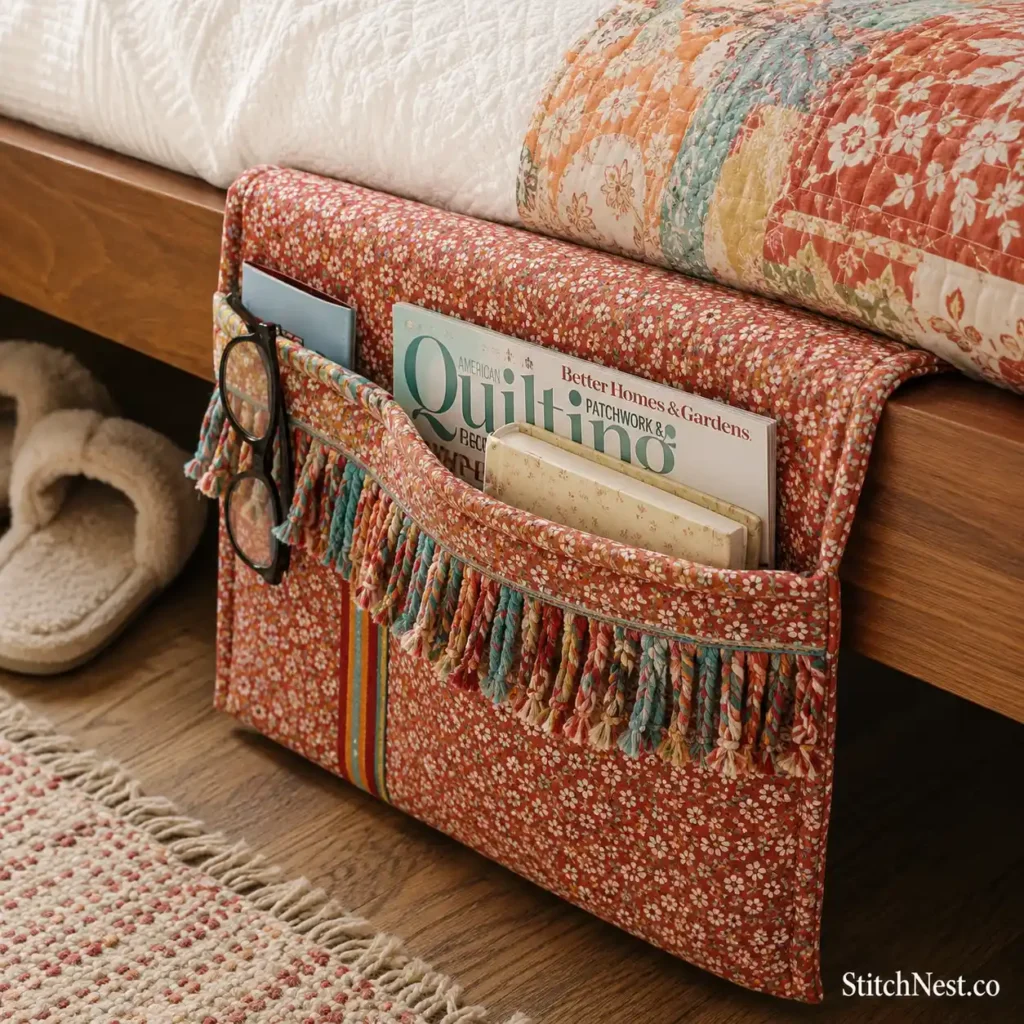
Skill Level: Beginner
Time to Make: 2–4 Hours
If you enjoy sewing projects that solve everyday problems, this bedside caddy is a fantastic choice. The generous pockets provide plenty of storage, and it’s easy to adjust the dimensions to better fit the items you use every night. Quilting the outer panel before attaching the pockets adds stability and helps the organizer keep its shape over time. You can download the free pattern from All People Quilt.
A Creative Grids quilting ruler is a worthwhile investment if you plan on sewing more organizers or quilts. The non-slip design helps keep every cut straight and precise.
3. Re-purposed Quilted Sari Bedside Caddy
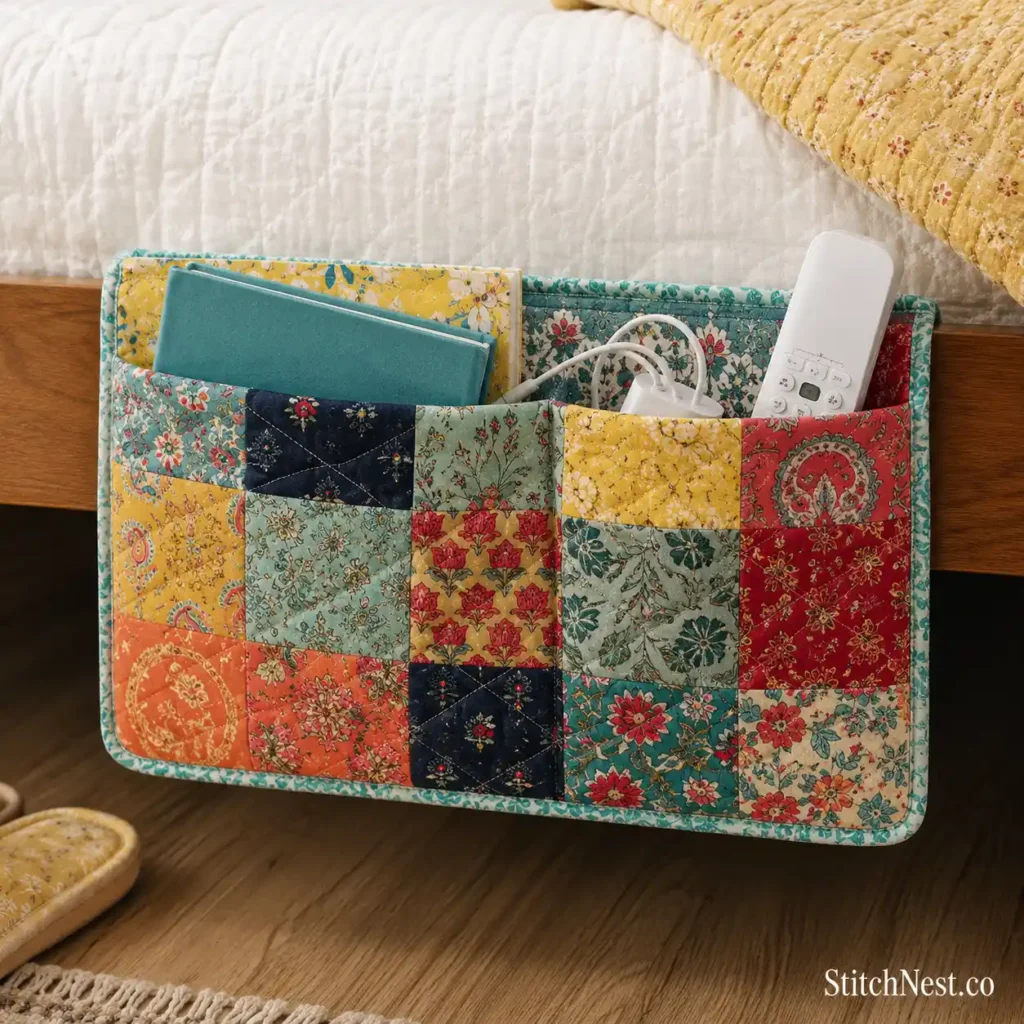
Skill Level: Beginner to Intermediate
Time to Make: 2–3 Hours
This beautiful project gives old quilted sari fabric a brand-new purpose while creating something that’s both practical and one of a kind. Every piece of fabric has its own colors and stitching, so each finished organizer feels completely unique. If your recycled fabric is lightweight, add a layer of interfacing before sewing to give the pockets extra support. See this creative idea from Uncommon Goods.
Nothing freshens up a table quite like flowers made from fabric. If you’re in the mood for more spring-inspired quilting ideas, these floral quilt table runner patterns are filled with bright, cheerful designs you’ll want to sew right away.
4. Bedside Caddy Pattern by Missouri Star
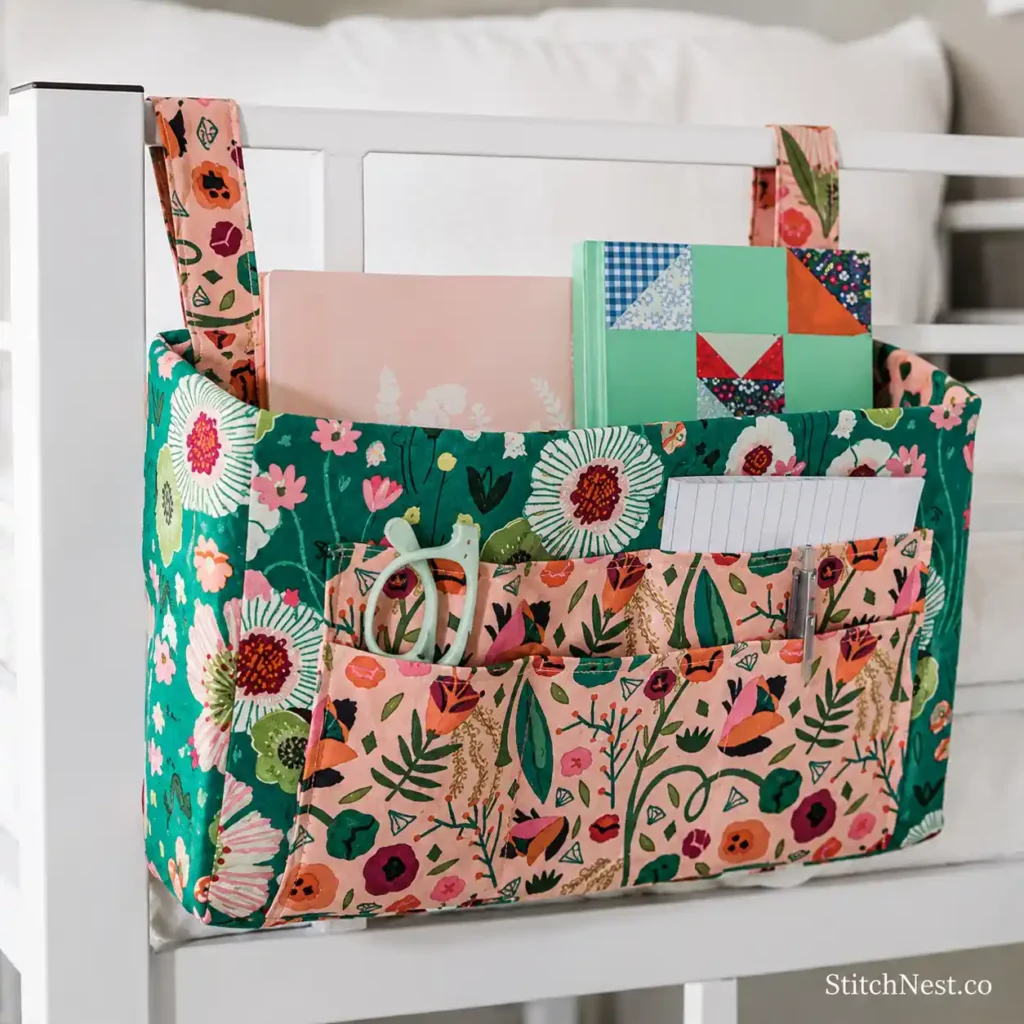
Skill Level: Beginner
Time to Make: 2–4 Hours
Missouri Star has a wonderful reputation for beginner-friendly patterns, and this bedside caddy is no exception. The design focuses on everyday function with sturdy pockets and a clean finish that’s easy to personalize using your favorite fabrics. Neat topstitching around each pocket adds durability and gives the finished project a professional appearance. Pick up the pattern from Missouri Star Quilt Company.
5. DIY Quilted Bedside Caddy Free Tutorial
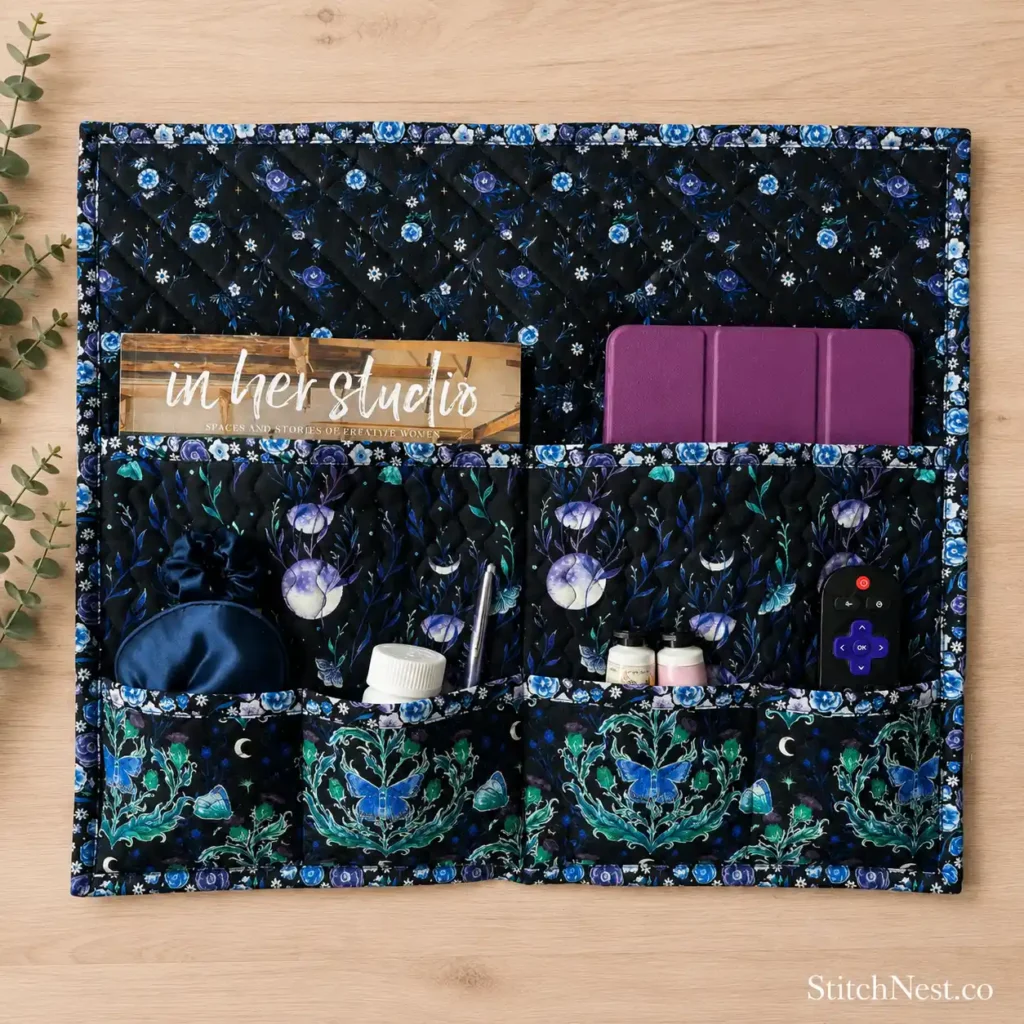
Skill Level: Beginner
Time to Make: 2–3 Hours
This tutorial proves that practical sewing projects don’t have to be complicated. The construction is easy to follow, and the finished organizer fits comfortably beside most beds without taking up much room. Try using a contrasting fabric inside the pockets to give the caddy a little extra personality every time you reach for your essentials. You’ll find the complete tutorial on SIY Sew It Yourself.
If you sew regularly, the Oliso TG1600 Pro Plus Smart Iron makes pressing seams quicker and helps your pockets and edges lie perfectly flat before assembly.
6. Free Quilting Bedside Gadget Caddy and Organizer Pattern
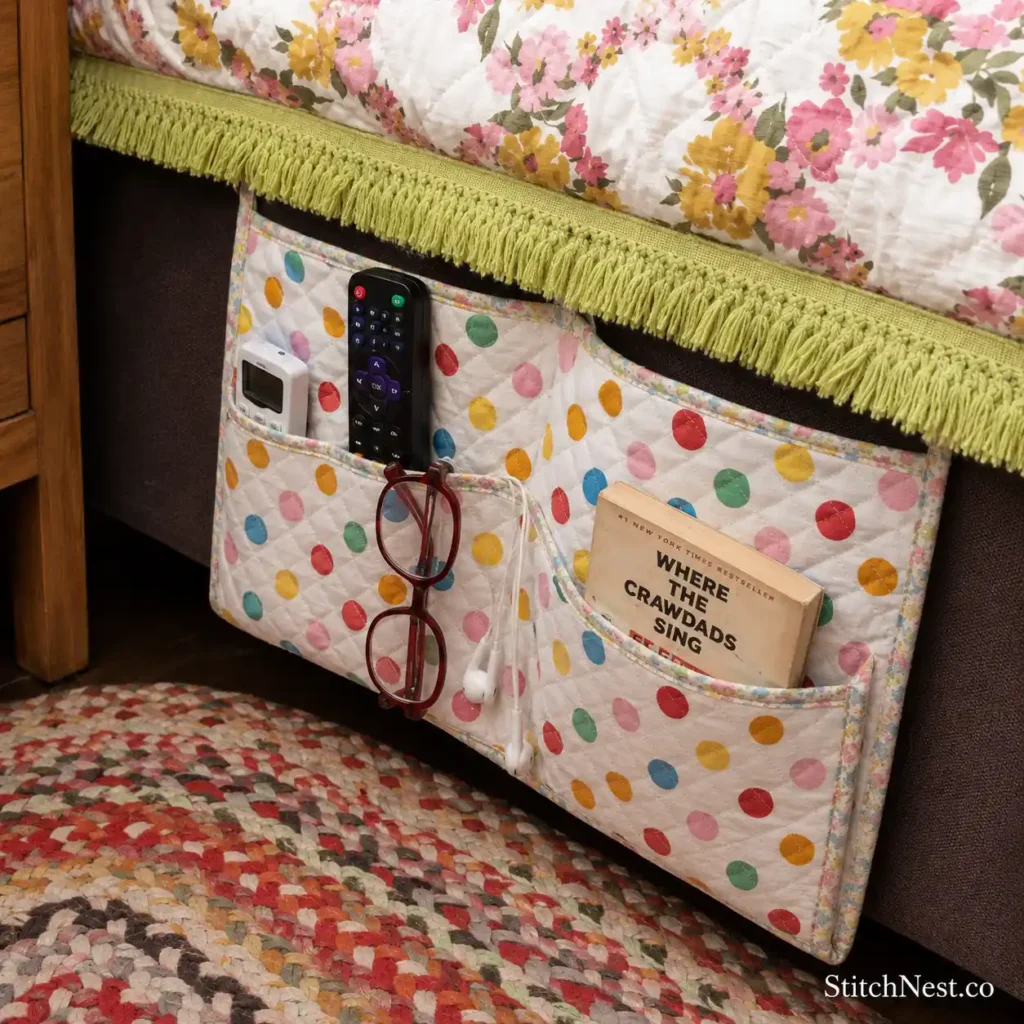
Skill Level: Beginner to Intermediate
Time to Make: 3–4 Hours
Modern bedside tables seem to collect phones, charging cables, tablets, earbuds, and reading glasses in no time, and this organizer helps keep everything neatly in one place. The multiple pocket sizes make it especially useful if you like having all your essentials within easy reach. Before sewing the pockets permanently, place your own gadgets inside to check that everything fits comfortably. Follow the free pattern from My Poppet Makes.
Looking for a great way to use favorite fabrics and leftover scraps? These granny square quilt patterns are packed with ideas you’ll want to try.
7. Bedside Caddy Sewing Pattern Download
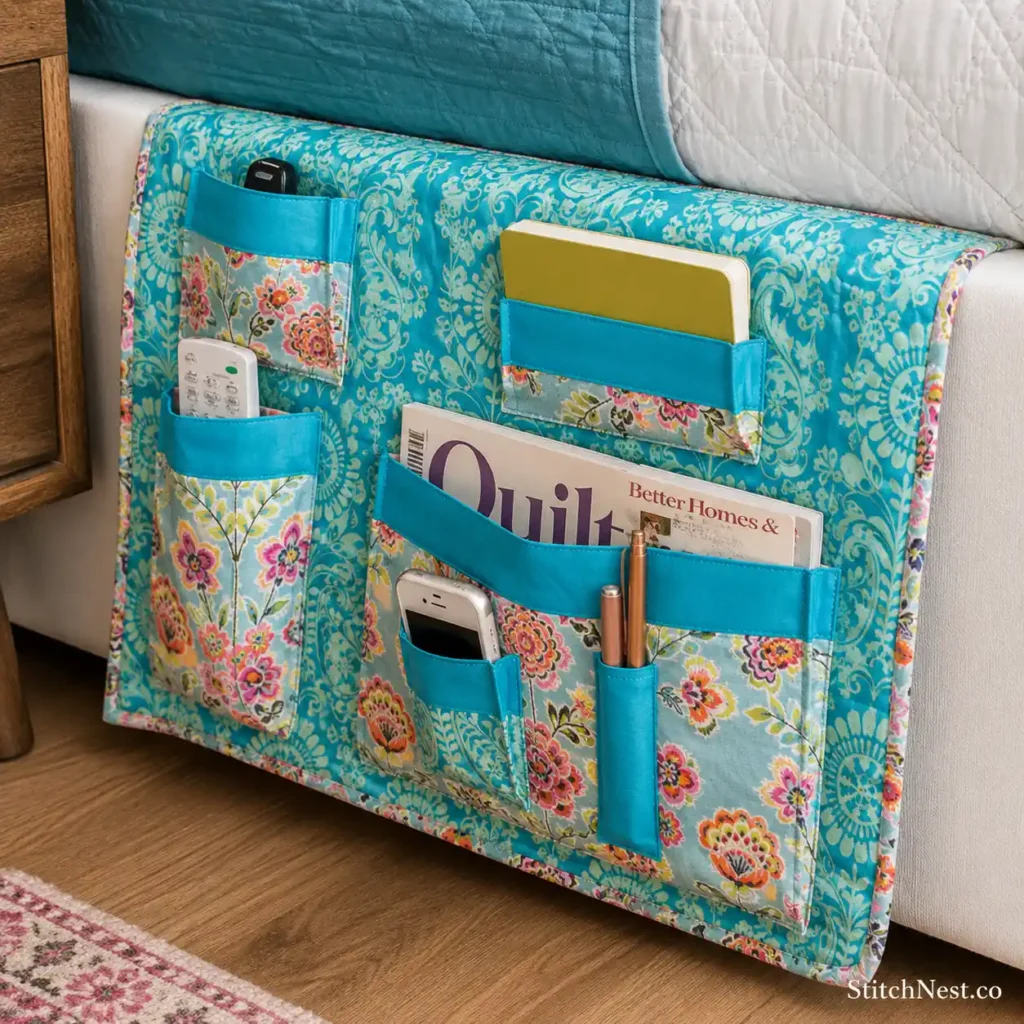
Skill Level: Intermediate
Time to Make: 3–5 Hours
If you’re ready for a slightly more detailed organizer, this downloadable pattern offers a polished finish with thoughtfully designed storage pockets. The clean lines make it suitable for bedrooms, sewing rooms, dorms, or even a favorite reading chair. Accurate measuring during the cutting stage will help every pocket line up neatly once everything is assembled. Download the pattern from Sew Daily.
Sometimes all you need is a fresh layout to fall in love with quilting all over again. These Walkabout quilt pattern ideas you’ll want to save are a great place to start.
8. How to Make a Quilted Bedside Caddy Pocket for Free
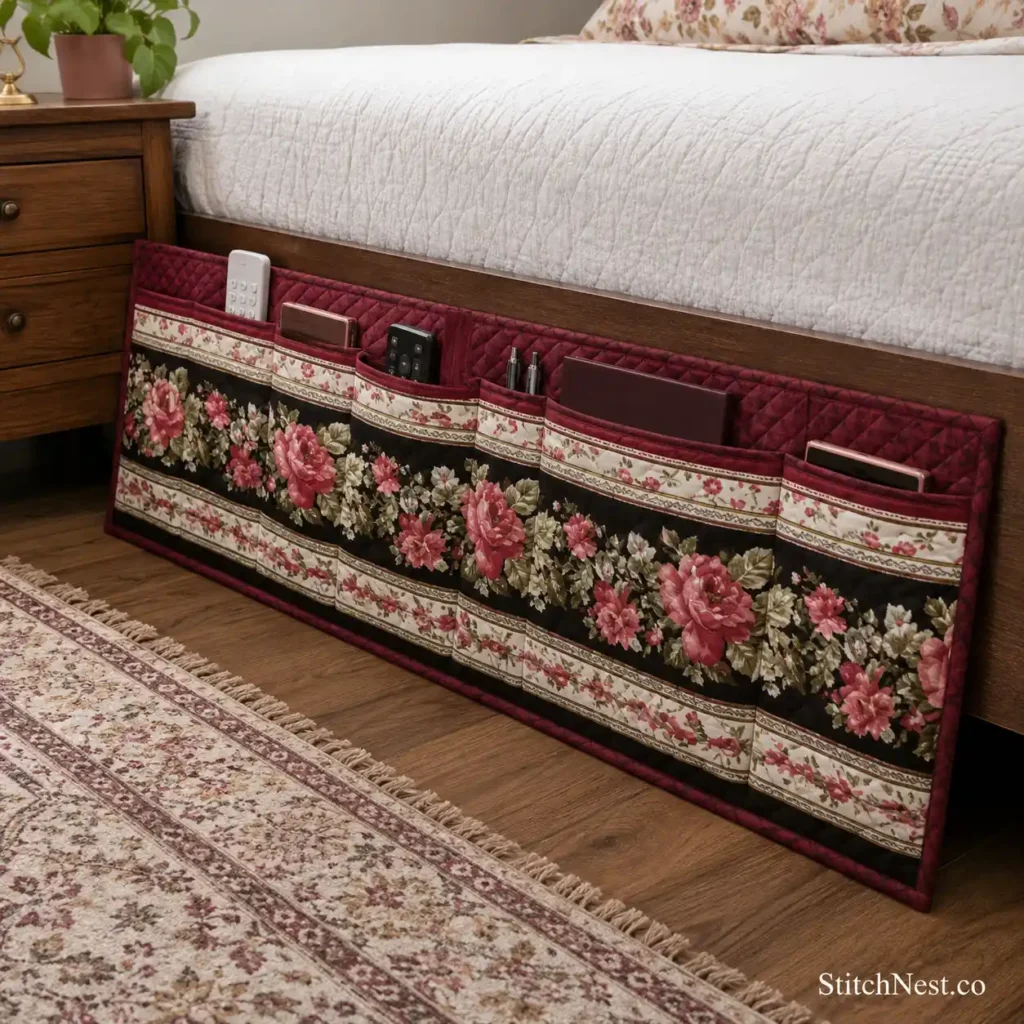
Skill Level: Beginner
Time to Make: 1–2 Hours
Some people learn best by watching each step, and this video tutorial walks you through the process at an easy-to-follow pace. It’s a wonderful introduction if you’re still building confidence with sewing and prefer visual instruction over written directions. By the end, you’ll have a practical organizer that’s ready to use right away. Watch the full tutorial on YouTube.
If quilting has become a regular hobby, the AccuQuilt GO! Fabric Cutter can save hours of cutting time and improve accuracy on projects of every size. It’s a bigger investment, but many experienced quilters consider it one of the best upgrades for their sewing room.
You know what would really complete your bookshelf and quilt set? These easy quilted book sleeve sewing patterns.
Helpful Tips Before You Start
- Choose quilting cotton instead of lightweight apparel fabric because it gives the organizer enough structure to support heavier items without stretching over time.
- Before stitching the pockets in place, fill them with the items you plan to store. A paperback book, tablet, water bottle, or phone may need different pocket sizes than the original pattern suggests.
- Take your time pressing every seam as you sew. Well-pressed fabric is much easier to work with, and the finished caddy will look noticeably neater.
- If you’re making one as a gift, try adding a hanging loop or personalizing it with quilt labels, embroidery, or a favorite fabric collection.
Not sure how much fabric you’ll need? Our free quilt fabric calculator can help you estimate yardage before you start cutting. And before you cut into your next fabric bundle, have a look at these free quilt patchwork rug DIY ideas you’ll want to make. You might see a project you’ll use every single day.
Common Mistakes to Avoid
One of the biggest mistakes is making the pockets too shallow. Test the depth with the items you’ll actually be storing before stitching everything together. It’s also worth reinforcing the top edge of each pocket with a row of topstitching because those areas receive the most daily use.
Another common mistake is choosing batting that’s too thick. Heavy batting can make the organizer bulky and more difficult to sew, especially around multiple pocket layers. Just see our beginner’s guide, and you’ll never go wrong with batting! Finally, double-check your measurements before cutting any fabric. Accurate cutting and consistent seam allowances will help the finished caddy hang neatly and keep the pockets aligned.
Your favorite fabrics don’t have to stay folded away in a bin. Put them to good use with these beautiful quilted wall hanging organizer patterns to sew.
Once you’ve sewn your first bedside caddy, you’ll probably start thinking about making another for a guest room, a child’s bed, or even your favorite reading chair. They’re quick to sew, endlessly practical, and a great way to put your quilting skills to good use. Happy sewing, and don’t forget to browse these Ribbon Dance quilt patterns you’ll want to sew next for your next project.