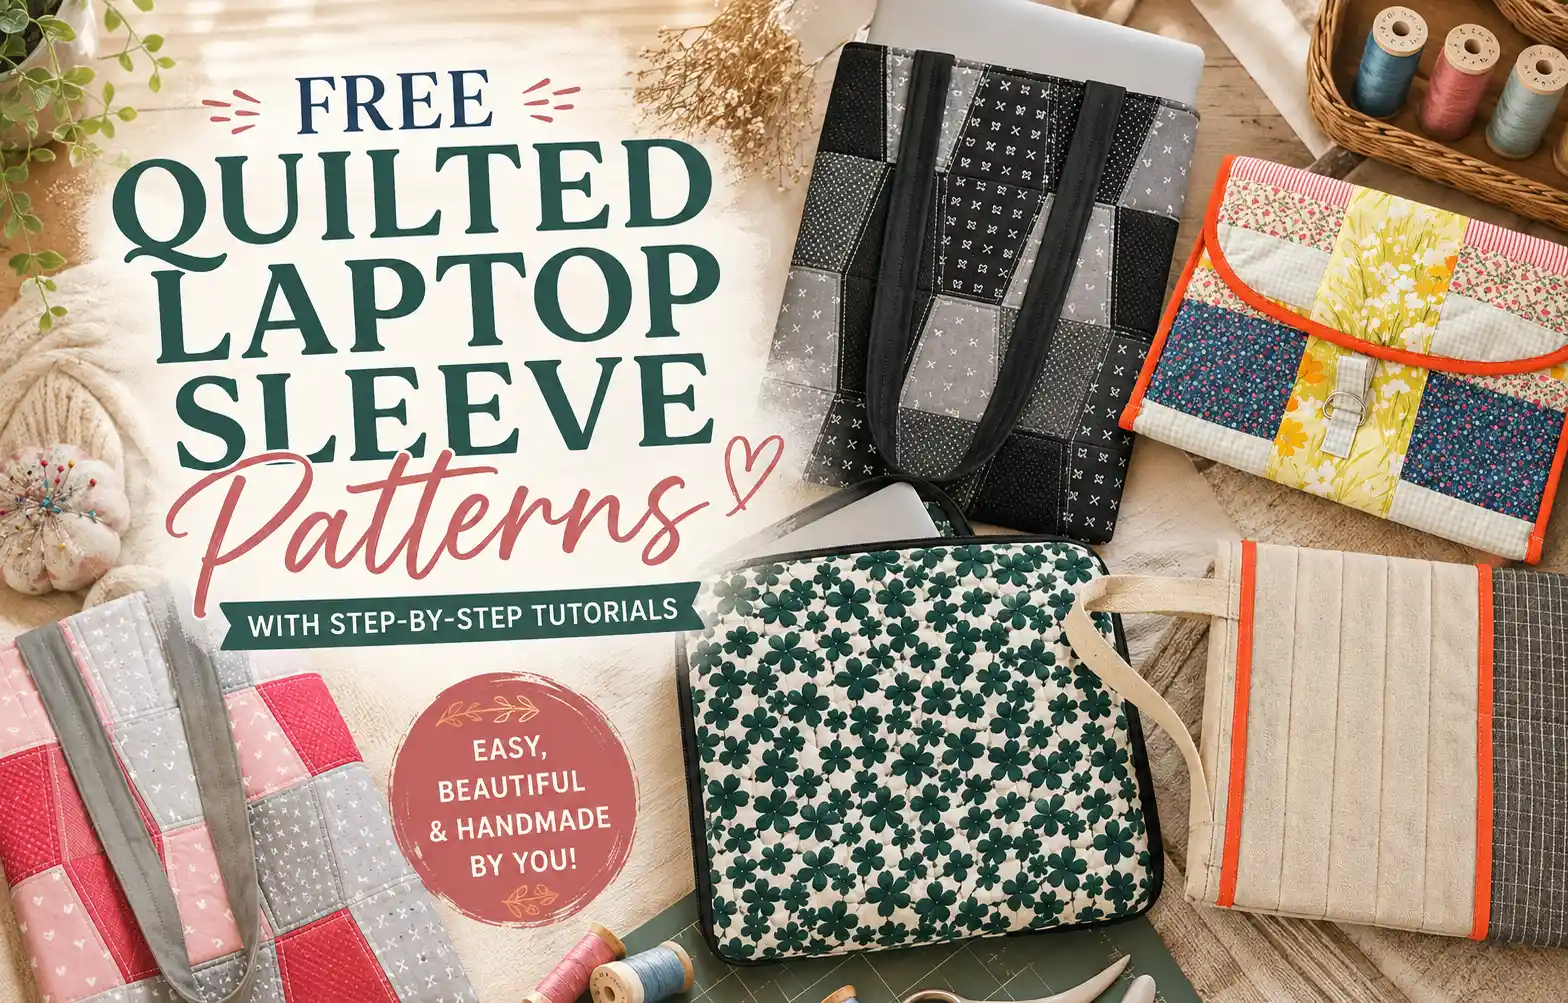
A quilted laptop sleeve is one of those sewing projects that’s practical from the very first day you use it. It protects your laptop from scratches, gives you a chance to show off your favorite fabrics, and comes together much faster than a full-size bag. It’s also a satisfying way to practice quilting, sewing zippers, and working with layers without taking on a complicated project. The patterns below include everything from simple sleeves for beginners to padded cases with pockets and handles.
Things You’ll Need
- High-quality cotton fabric bundles
- Acrylic quilting rulers for precise shapes
- Sewing machine with quilting foot attachment
- Soft batting for a cozy finished feel
If you make quilted bags, sleeves, or organizers regularly, ByAnnie’s Soft and Stable is worth trying. It adds structure without making your projects stiff, giving laptop sleeves a soft, padded feel that holds its shape beautifully.
Free Quilted Laptop Sleeve Patterns
1. Quilted Laptop Case Sewing Tutorial
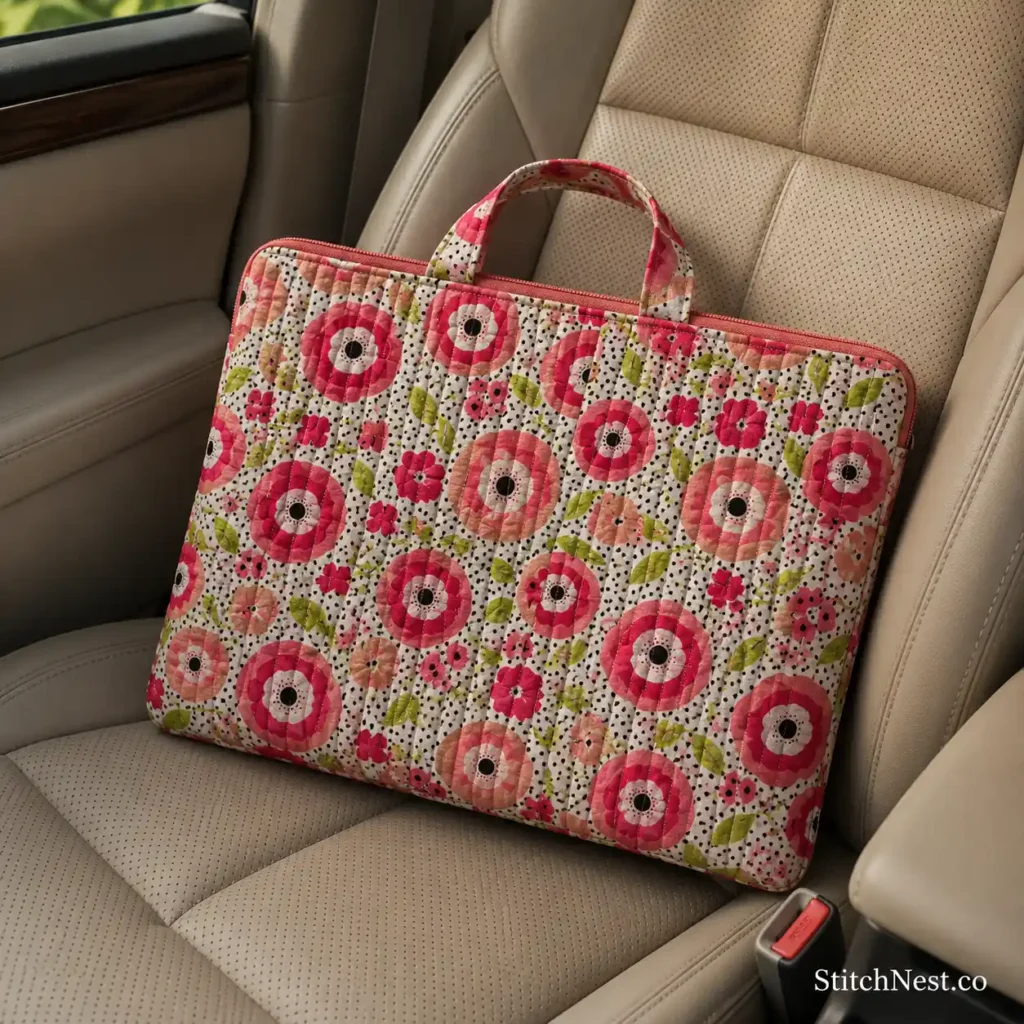
Skill Level: Beginner to Intermediate
Time to Make: 2–4 Hours
If you’ve never sewn a laptop sleeve before, this tutorial is a great place to start. The construction is easy to follow, and you’ll learn how a few layers of batting can turn simple quilting cotton into a case that feels sturdy and protective. Before cutting your fabric, measure your laptop with any protective shell or cover still attached. That little bit of extra room can make a big difference in the finished fit. Follow the complete tutorial on JMB Handmade.
2. Quilted Laptop Sleeve – Free Sewing Pattern
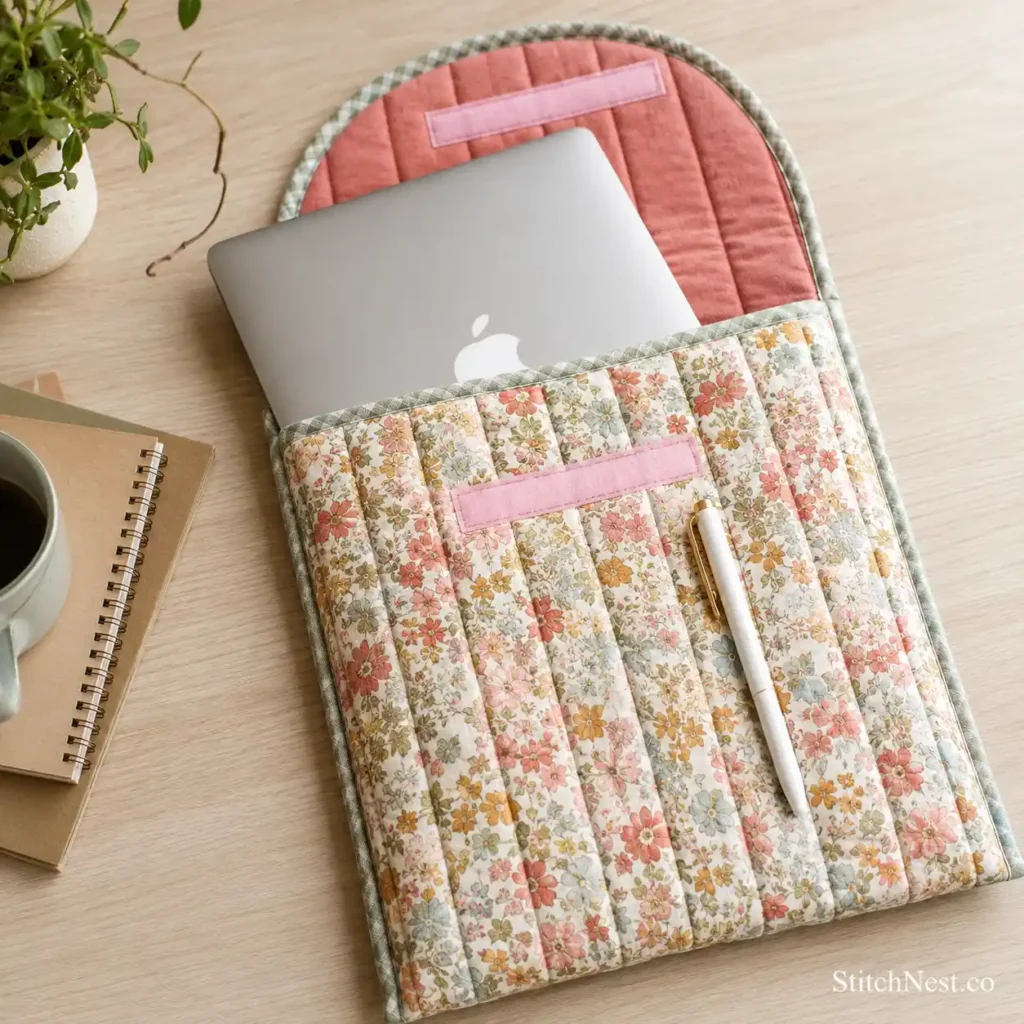
Skill Level: Beginner
Time to Make: 2–3 Hours
This pattern keeps things simple without looking plain, making it a wonderful weekend project if you’re still building confidence with sewing. The clean design leaves plenty of room to play with quilting lines, colorful prints, or even scraps from previous projects. Quilt your outer fabric before assembling the sleeve instead of trying to quilt through the finished case. It’s much easier to handle and gives a smoother result. You can download the free pattern from Bombshell Bling.
3. Free Patchwork Zippered Laptop Sleeve Sewing Pattern
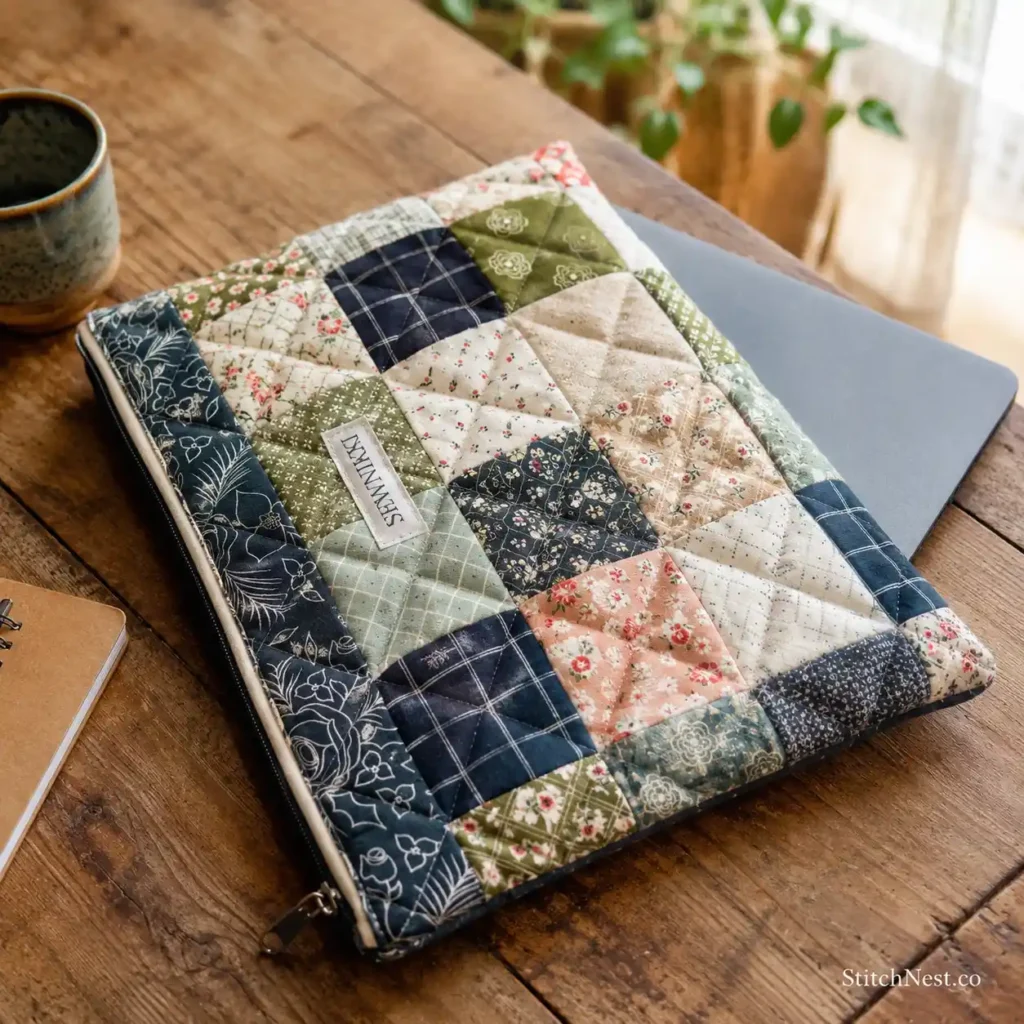
Skill Level: Intermediate
Time to Make: 3–5 Hours
If you enjoy patchwork, this sleeve gives you the perfect excuse to bring together fabrics you’ve been saving for something special. The zippered closure keeps everything secure, and the pieced front adds plenty of personality without making the project feel overly complicated. Before sewing the zipper into place, baste it first and check that it opens and closes smoothly. It’s a quick step that can save a lot of unpicking later. Take a look at the full pattern from Sewnikki.
Why leave out your phone when you’re sprucing up the laptop case? Here are crochet phone bag patterns to try!
4. Free Quilted Laptop Sleeve Case Tutorial
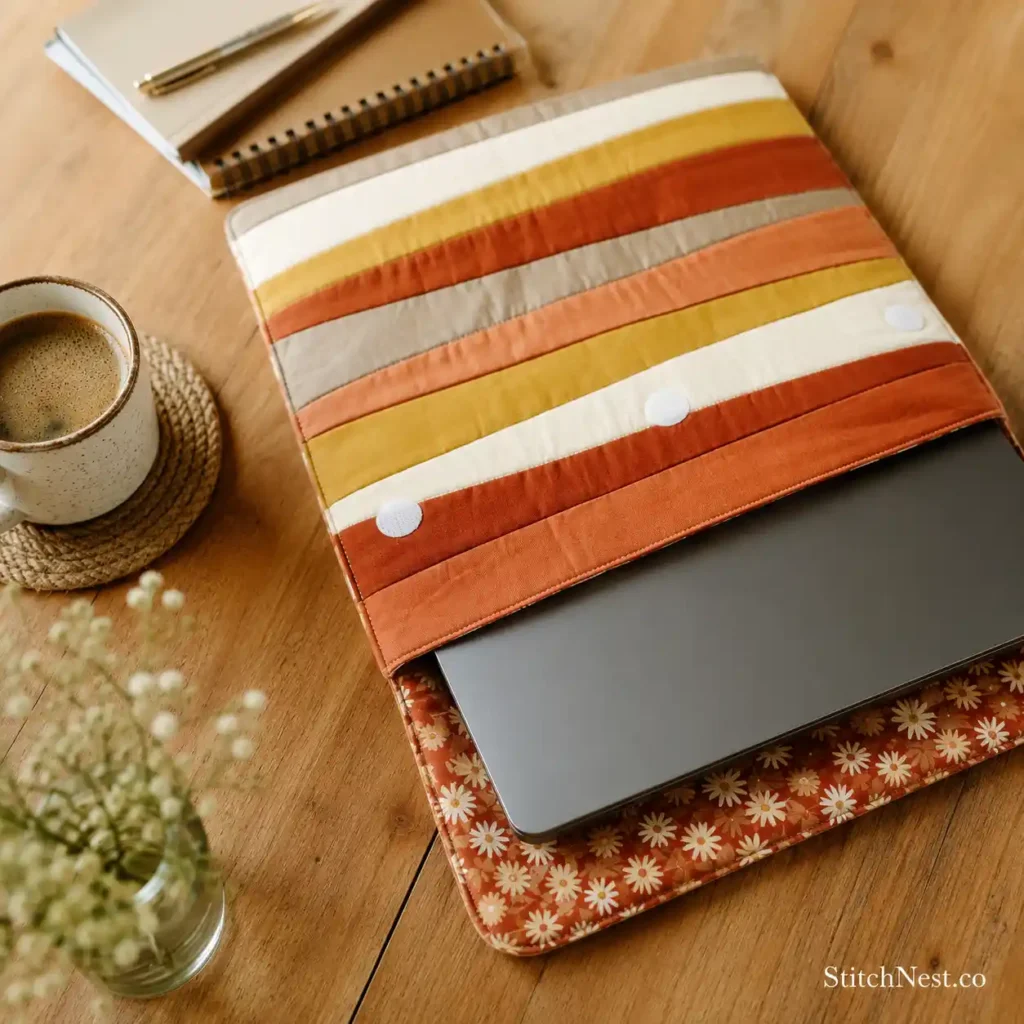
Skill Level: Beginner to Intermediate
Time to Make: 2–4 Hours
This tutorial focuses on creating a sleeve that’s soft enough to cushion your laptop but structured enough to hold its shape. If you’re quilting the outer panel yourself, don’t worry about making every line perfectly spaced. Once the sleeve is finished, the overall texture matters much more than tiny differences in the stitching. Pairing a solid fabric with a patterned lining is a simple way to give the case a polished look inside and out. Find the complete tutorial on Suzy Quilts.
Accurate cutting makes a big difference on projects like this. This Creative Grids quilt ruler helps you cut clean, square panels and pocket pieces, especially when you’re working with quilted fabric.
5. How To Make A Quilt Laptop Sleeve – Free Pattern
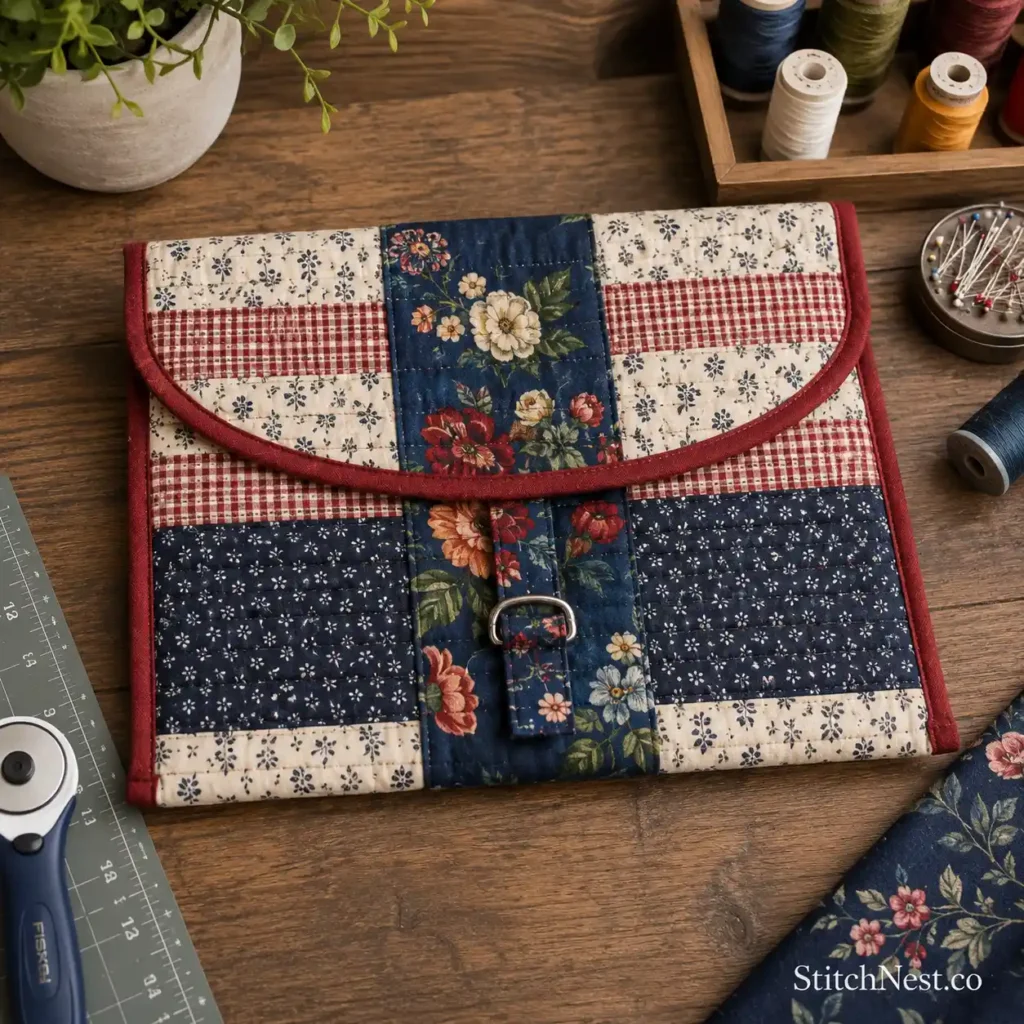
Skill Level: Beginner
Time to Make: 2–3 Hours
This project proves that useful sewing projects don’t have to take all weekend. The straightforward construction makes it approachable for beginners, but there’s still plenty of room to personalize it with your favorite fabrics or quilting designs. A walking foot can be really helpful here because it feeds all the layers evenly and helps prevent the batting from shifting as you sew. Visit Seam Whisperer to work through the full pattern.
Sometimes the most impressive quilt blocks start with the simplest ideas. These Hidden Wells quilt blocks that are surprisingly easy to make are proof of that.
6. Quilted Computer Sleeve Pattern Free
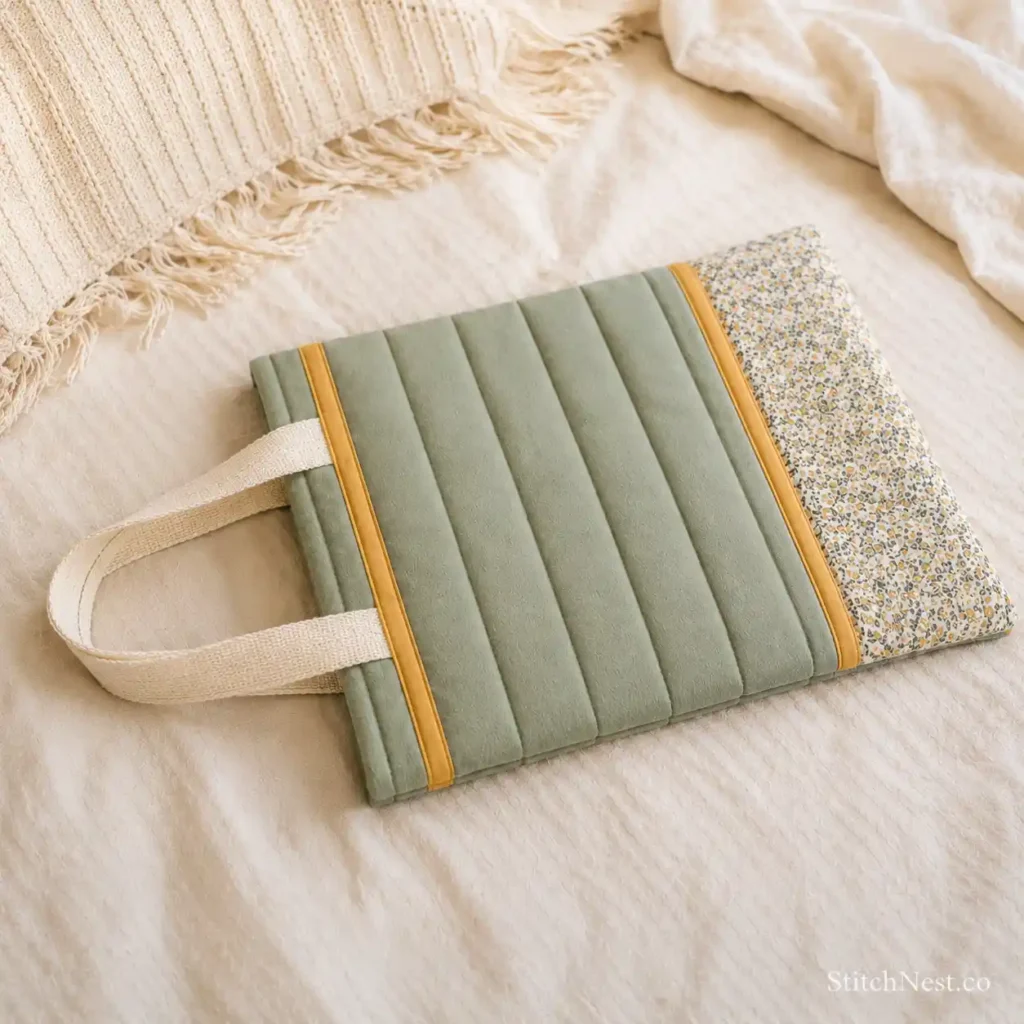
Skill Level: Intermediate
Time to Make: 3–5 Hours
Simple quilting and thoughtful fabric choices come together beautifully in this computer sleeve. The clean design lets the stitching stand out, making it a nice option if you’ve been wanting to practice straight-line quilting or gentle geometric patterns. Before trimming your quilted panels, let them rest for a few minutes after quilting. The fabric sometimes relaxes slightly, giving you more accurate measurements before assembly. See the complete project from Purl Soho.
If you’re planning your warm-weather crochet projects, these crochet summer hat patterns are a great way to add something practical to your handmade wardrobe.
7. Free Quilt Laptop Bag Pattern Floral
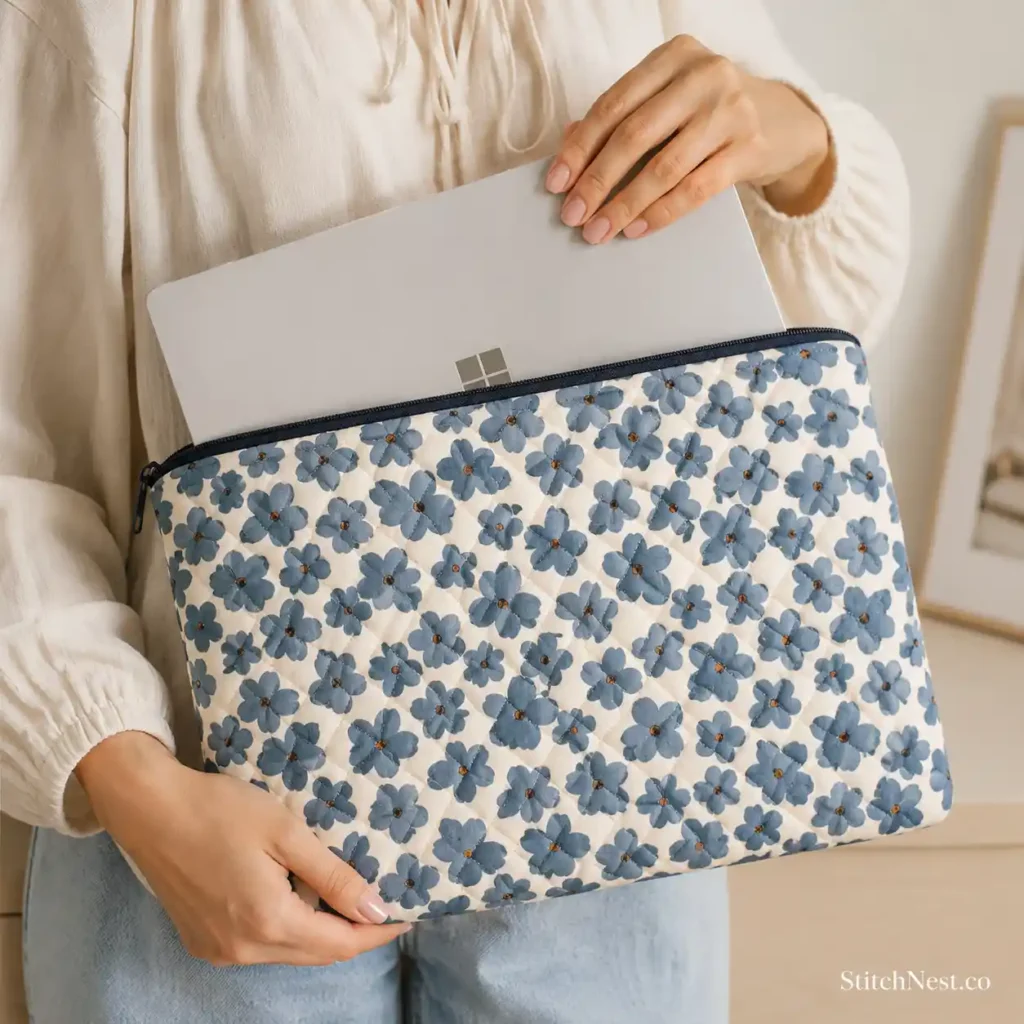
Skill Level: Beginner to Intermediate
Time to Make: 3–5 Hours
If you carry your laptop between home, work, or classes, a sleeve with sturdy handles can be a real upgrade. This floral design feels fresh and cheerful without sacrificing practicality, and it’s roomy enough to tuck in a notebook or charging cable too. Before attaching the handles, fold the bag in half and mark the center so they’re evenly spaced. Little details like that give the finished bag a much more professional look. You can find the complete pattern on Simply Sewing Magazine.
8. Beginner Free Quilt Laptop Sleeve PDF + Tutorial
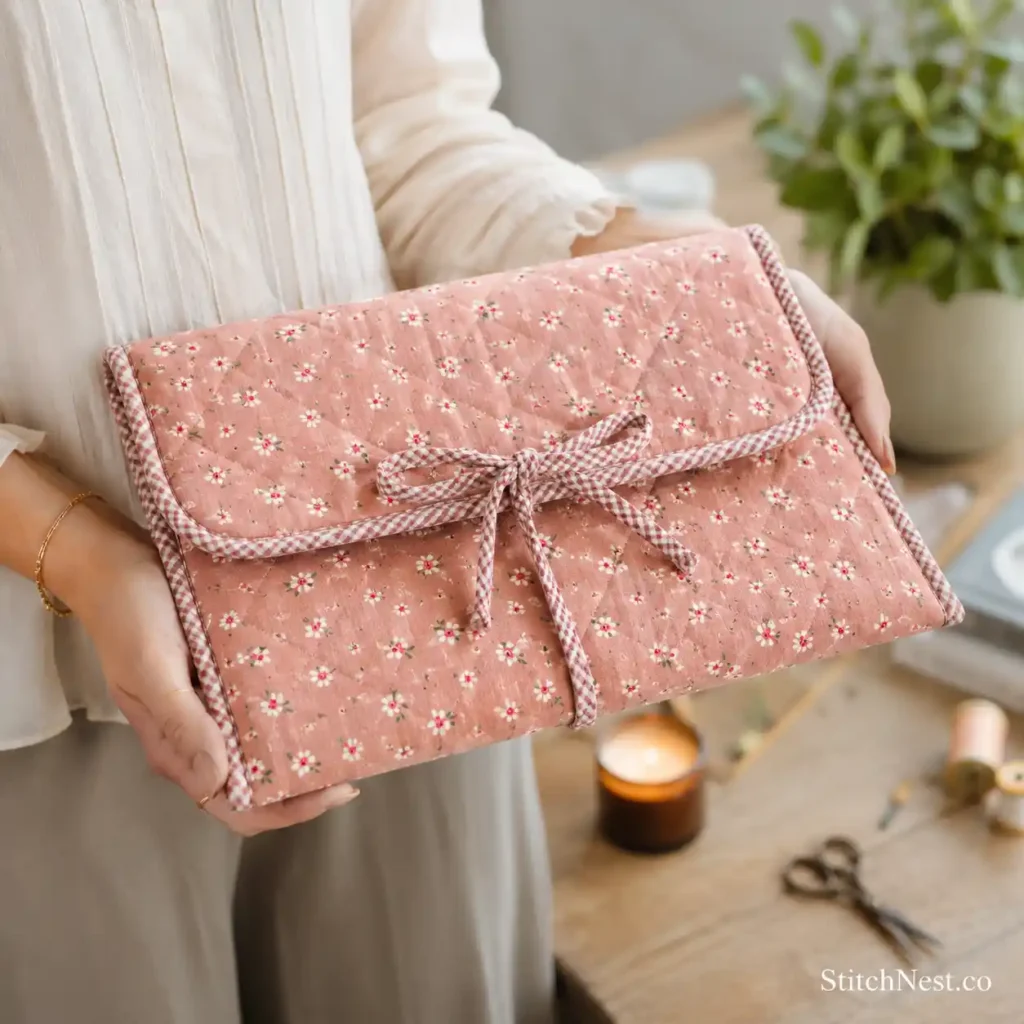
Skill Level: Beginner
Time to Make: 2–3 Hours
Sometimes it’s easier to learn by watching someone sew each step, and that’s exactly what makes this video tutorial so helpful. The instructions move at a comfortable pace, making it easy to pause, sew a section, and pick right back up. If you’re using thicker batting for extra protection, lengthen your stitch slightly so the layers feed through your machine more smoothly. Watch the full tutorial on YouTube whenever you’re ready to get started.
A quality Oliso TG1600 Pro Plus Smart Iron makes pressing quilted panels and bulky seams much easier. Crisp seams help laptop sleeves hold their shape and give the finished project a much cleaner look.
9. Quilted Laptop Sleeve with Front Pocket Free
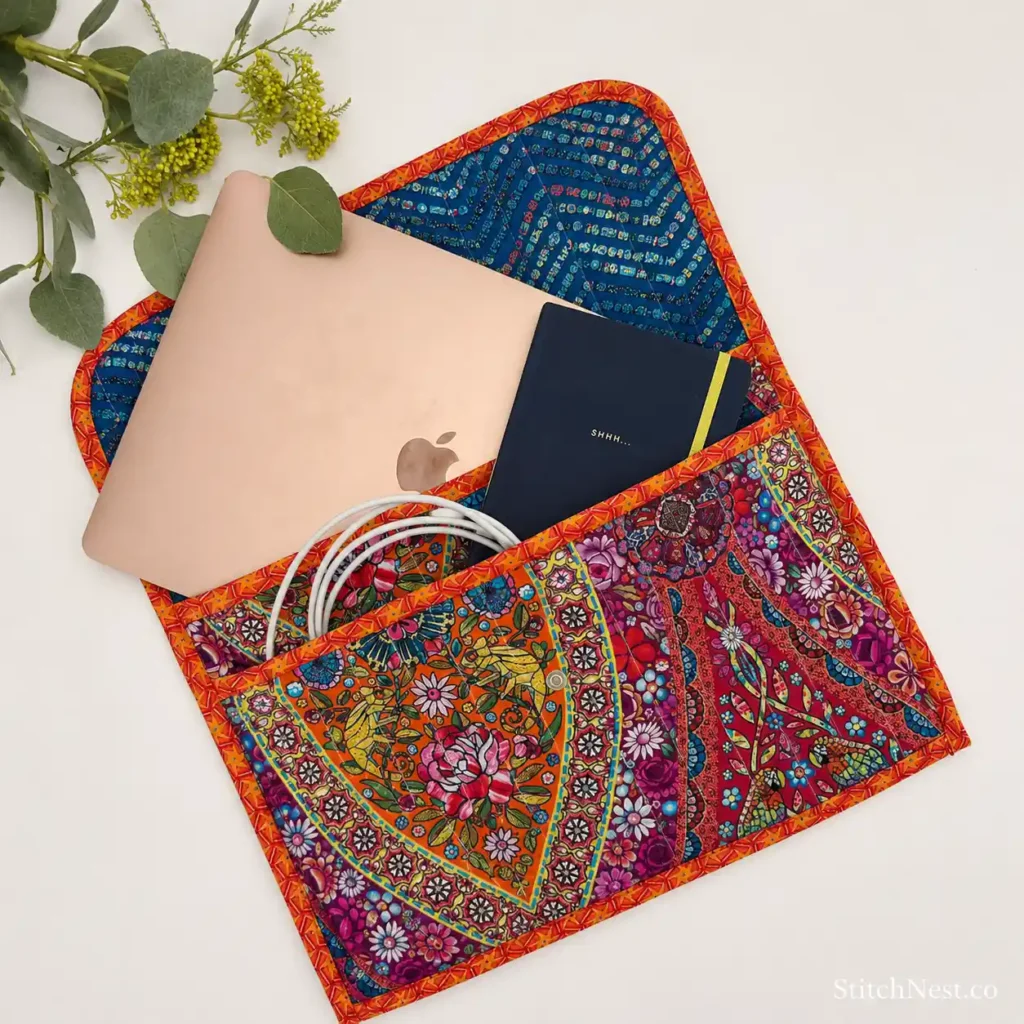
Skill Level: Beginner to Intermediate
Time to Make: 3–4 Hours
A front pocket might seem like a small addition, but you’ll be surprised how often you reach for it. It’s the perfect spot for a notebook, charging cable, mouse, or a few pens, keeping everything together instead of searching through your bag. Before sewing the pocket onto the sleeve, place the items you plan to carry inside it to make sure the size works for your needs. Follow the complete tutorial from Sew It Yourself.
You should also try out these free quilt patchwork rugs if you want to make use of fabrics for home decor!
10. Cool and Stylish Laptop Case Sewing Tutorial
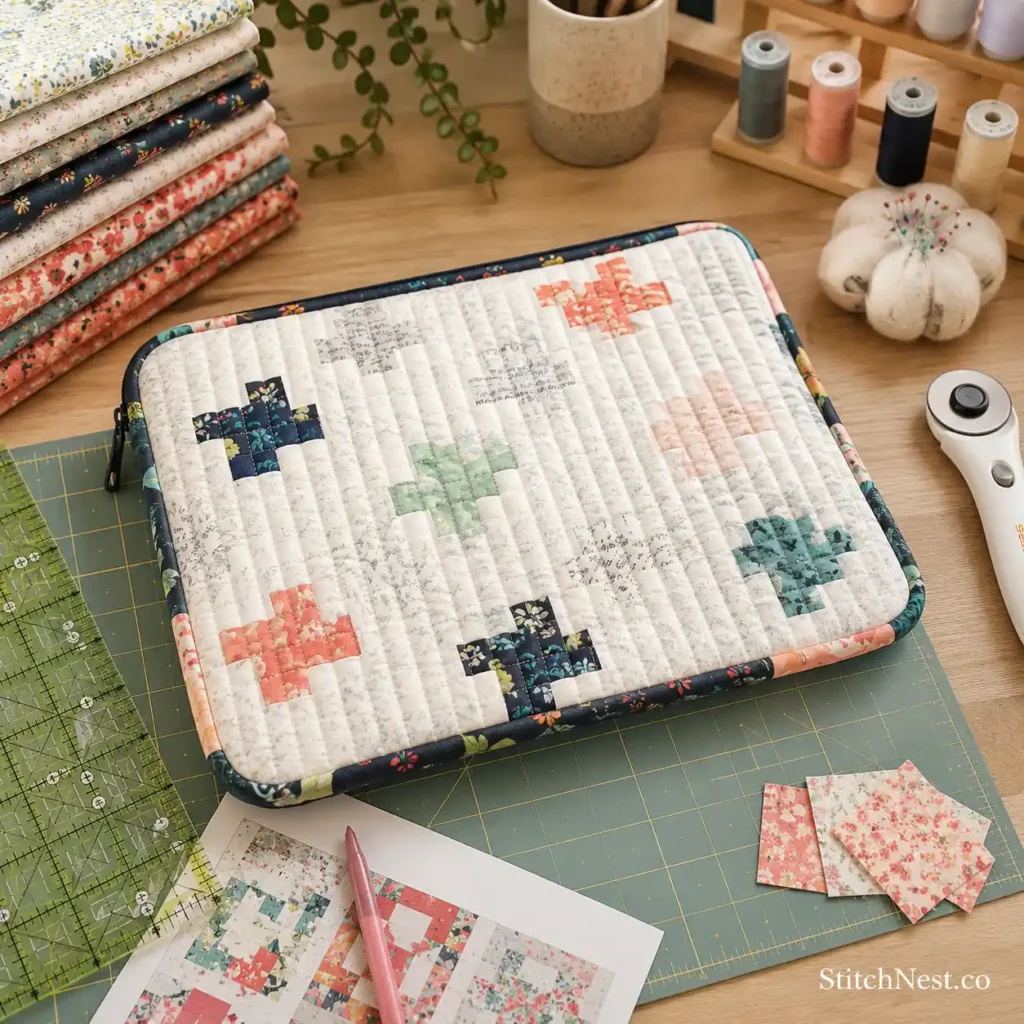
Skill Level: Intermediate
Time to Make: 3–5 Hours
This case has a clean, modern look that’s easy to personalize with your favorite fabrics. It works especially well with bold solids or larger prints that deserve a little room to shine. Take your time pressing each seam as you sew because crisp edges help the case keep its shape and give it a neater finish. Check out the full sewing tutorial on Brigitte Heitland’s website.
11. Quilted Laptop Bag Free Tutorial Pattern
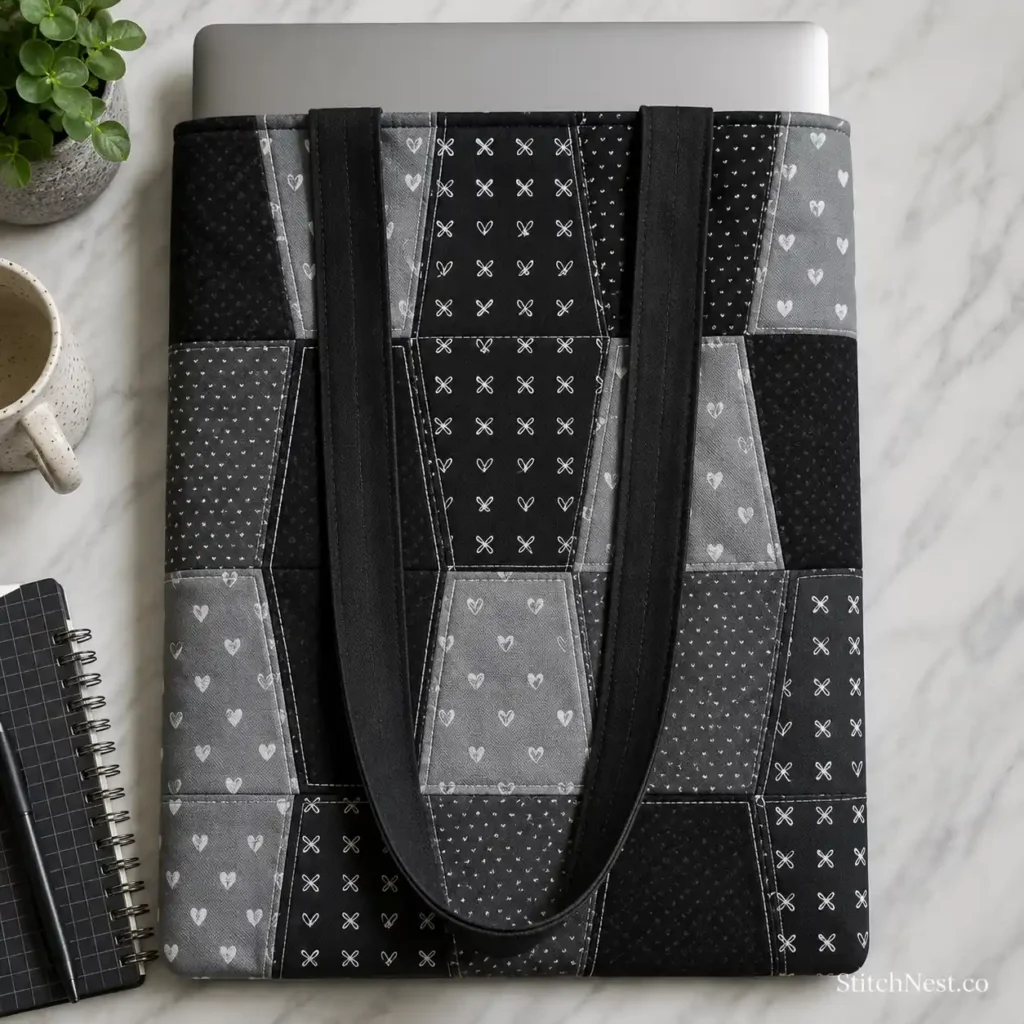
Skill Level: Intermediate
Time to Make: 4–6 Hours
If you’d like something that carries more than just your laptop, this quilted bag is a wonderful choice. The larger size gives you space for notebooks, chargers, and everyday essentials, making it just as useful for work as it is for travel. When quilting the outer panels, keep your stitching evenly spread across the fabric so the batting stays secure and the bag holds its shape after regular use. Head over to The Yellow Birdhouse for the complete tutorial.
Helpful Tips Before You Start
- Measure your laptop before cutting any fabric, even if you’re following a pattern designed for a similar size. Small differences between brands can affect the fit, especially if you use a hard shell case or like a little extra room for a sleeve.
- Choose batting that gives the right balance of padding and flexibility. A sleeve should protect your laptop, but it shouldn’t feel stiff or bulky. If you’re unsure which type to use, our beginner’s guide to quilt batting can help you compare the different options.
- Think about the fabrics you’ll use on the inside as well as the outside. A lighter lining makes it much easier to see small items like flash drives or charging cables, especially if your sleeve includes pockets.
- If your project has a zipper, sew a few practice seams on scrap fabric first. It’s a quick way to check your stitch length, reduce puckering, and build confidence before working on the actual sleeve.
Working with quilted layers? Grab a set of Clover Wonder Clips and make sewing bulky projects much easier.
Common Mistakes to Avoid
One of the biggest mistakes is cutting the fabric before measuring your laptop. Even laptops with the same screen size can vary in thickness and overall dimensions, so it’s always worth checking first. Another common issue is choosing batting that’s too thick, which can make the sleeve bulky and harder to sew around the edges.
Don’t rush through the quilting either. Uneven quilting can cause the layers to shift during assembly, making the finished sleeve look slightly twisted. Finally, remember to test your zipper or closure before sewing the final seams. Catching a small problem early is much easier than opening up a finished project.
Once you’ve finished your laptop sleeve, you might find yourself looking for more projects that help keep everyday life organized. These beautiful quilted wall organizer patterns to sew are a great next stop.