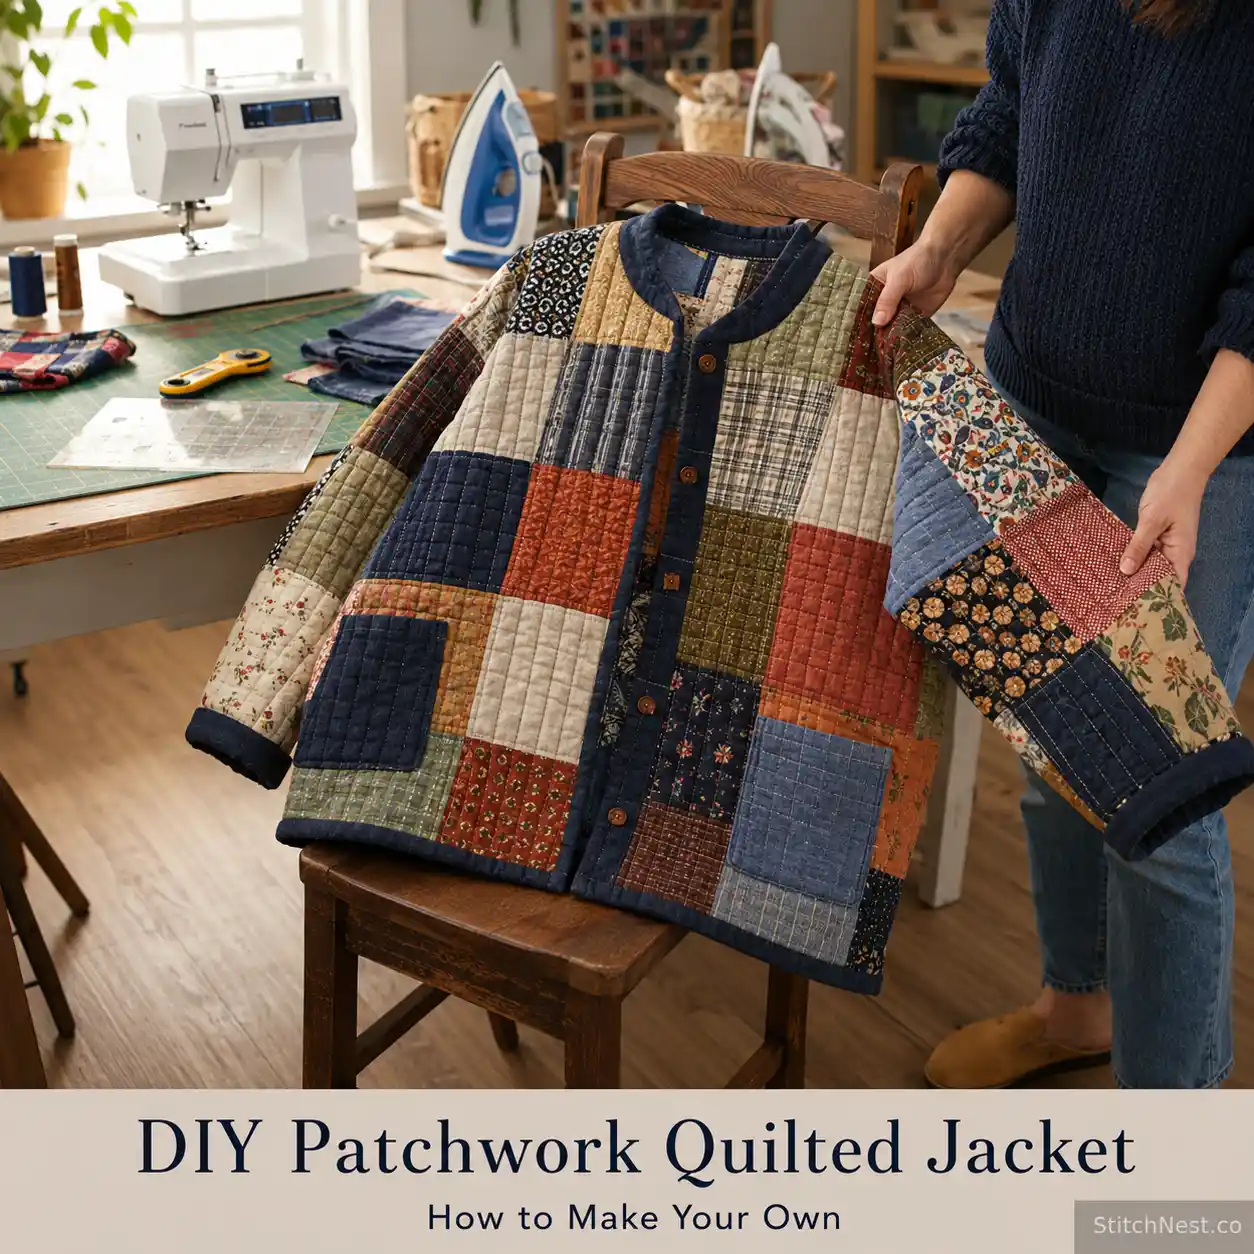
A patchwork quilted jacket can look complicated at first, but the construction becomes much easier once you separate it into two jobs; making the quilted fabric and making the jacket. You are essentially creating your own fabric first, then turning that fabric into a wearable jacket. That gives you time to get the patchwork, colors, and quilting right before you have to deal with sleeves, pockets, collars, and closures. For this tutorial, we are going to use the method that gives you the most control; you will make your patchwork fabric, quilt it, cut your jacket pieces from it, and then sew the jacket together.
What You Will Need
You will need a simple jacket pattern, patchwork fabrics, batting, backing fabric if your jacket will not be lined, thread, a sewing machine, rotary cutter, cutting mat, quilting ruler, fabric scissors, clips or pins, an iron, fabric marker, and the materials required for your chosen closure.
For the outer fabric, quilting cotton is the easiest place to start, but you can also combine stable woven fabrics such as lightweight linen or canvas. If you mix fabrics with very different stretch or weight, stabilize the lighter or stretchier material before piecing it into a structural jacket panel.
A walking foot is helpful because it feeds the quilt sandwich more evenly, particularly on larger jacket panels. A quarter-inch presser foot is useful if you are piecing traditional blocks and want consistent narrow seams.
If you want to use repeated shapes in your patchwork, an AccuQuilt GO! Me Fabric Cutter can speed up cutting.
How to Make Your Own DIY Patchwork Quilted Jacket
Step 1: Choose a Simple Jacket Pattern
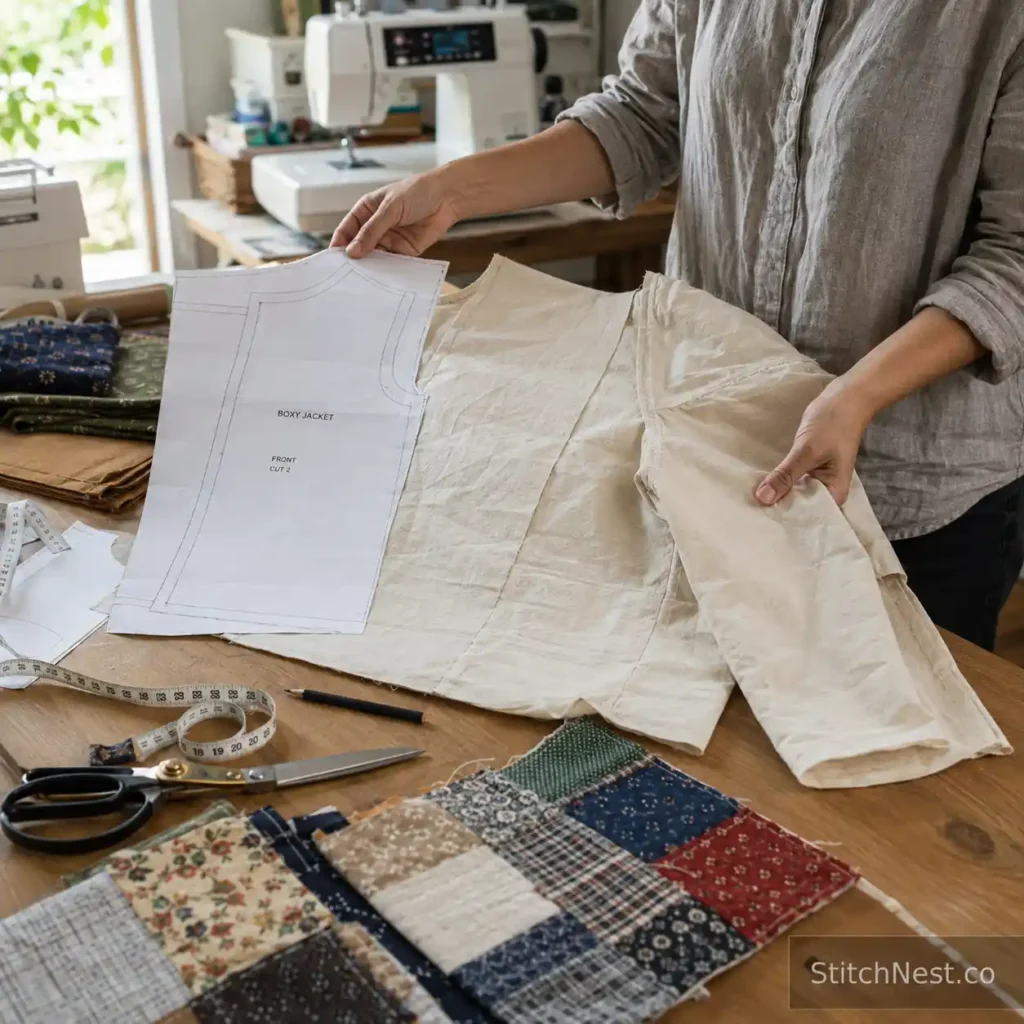
Before buying fabric, choose the jacket you actually want to make. For your first quilted jacket, look for a relaxed or boxy shape with relatively simple sleeves and an uncomplicated collar or neckline.
A pattern with lots of darts, princess seams, complicated collars, or very fitted sleeves creates more work because every seam changes how the patchwork needs to be planned. A simple workwear-style jacket is often easier because you get straighter body sections and more generous areas for your quilt design.
Do not choose your size from the size chart alone. Measure the finished garment dimensions in the pattern and compare them with a jacket you already own that fits the way you like. Quilted fabric has more body than ordinary garment fabric, and batting adds thickness between you and the outer layer.
Pay particular attention to the shoulder, upper arm, sleeve circumference, and armhole. A jacket can have plenty of room around the waist and still feel restrictive if the upper body or sleeves are too narrow.
If you are unsure about the pattern, make a quick test garment from inexpensive cotton or an old sheet. You do not need to finish it beautifully. You only need enough of the jacket to check the shoulder, sleeve, body width, and length before cutting into your quilted fabric.
That small test can save you hours. Quilting changes the thickness and drape of fabric, so a pattern that fits perfectly in lightweight cotton can feel different once batting and quilting are added.
Step 2: Decide How Your Patchwork Will Work
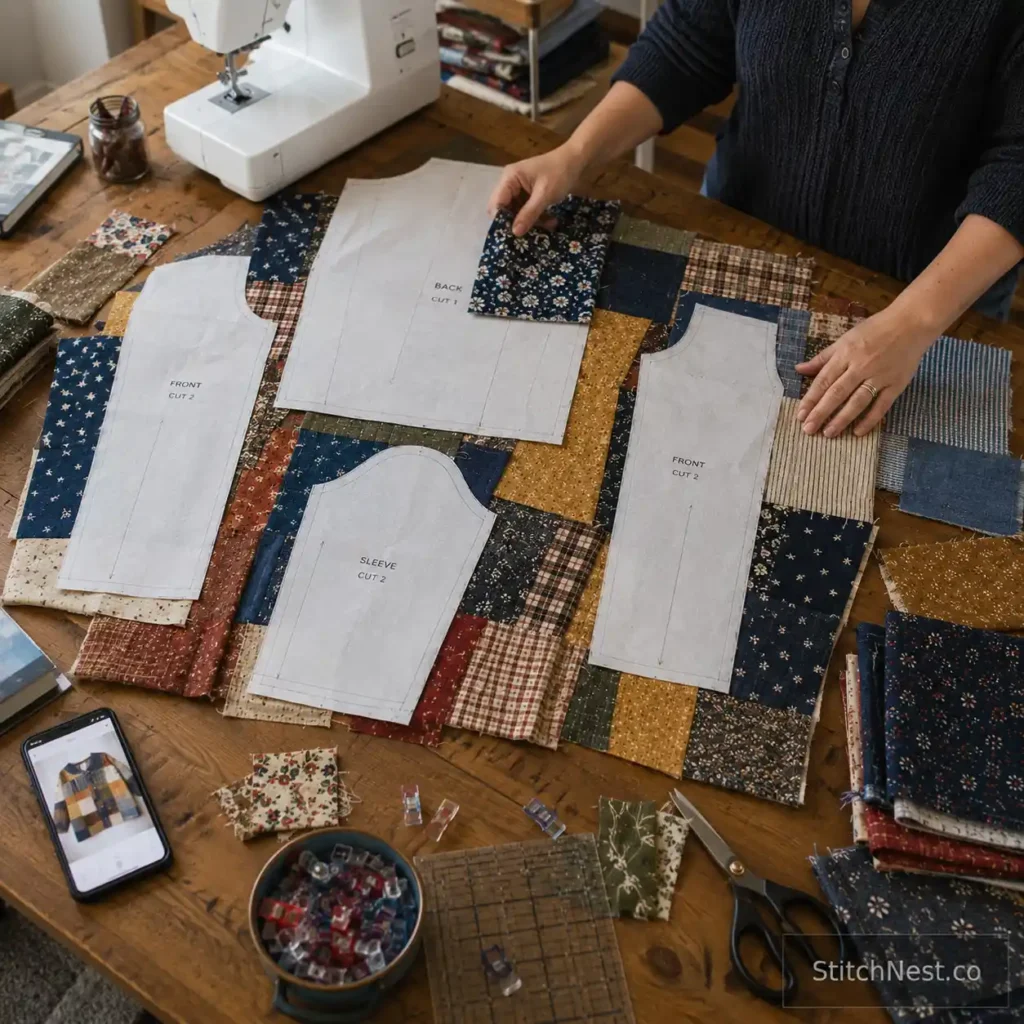
Now we move into the quilting side of the project. Before cutting dozens of squares, study the actual jacket pattern pieces because the back, fronts, sleeves, pockets, and collar all have different shapes.
Here, we are going to build the patchwork as separate flat panels, quilt those panels, and then cut the finished jacket pieces from them. That is the method we will follow from this point forward. You can use other methods later, but having one clear construction route keeps this first project manageable.
Print or trace the jacket pieces onto paper and arrange them over a table-sized sheet of paper or directly over your planned fabric layout. This lets you see where important blocks will land after cutting.
You do not want to spend an afternoon making a beautiful star only to discover that the sleeve seam cuts straight through its center. Planning with paper pattern pieces prevents that problem before it happens.
Think of the jacket as several visual areas. The back can carry the main patchwork design, the fronts can be slightly quieter, and the sleeves can use simpler blocks or strips. Pockets can repeat a small motif from the main body.
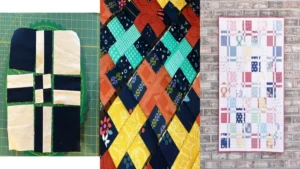
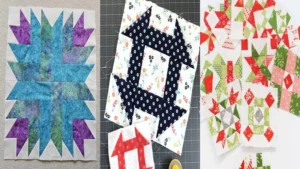
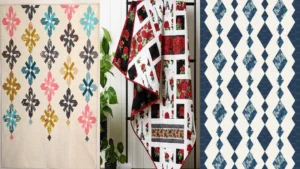
For more patchwork layout ideas, quilt ideas, and patterns for every skill level is useful for studying blocks and color arrangements before you settle on your own design. If you want a more structured geometric direction, free star quilt block patterns for beginners can give you shapes that are easy to enlarge for garment panels.
Step 3: Build a Color Palette Before Cutting
Patchwork does not have to mean using every fabric you own. In fact, a small color family usually makes a scrap jacket look much more intentional.
Choose three or four main colors, then allow a few supporting fabrics to break the rules. You might use cream, rust, mustard, olive, navy, and brown, for example. The exact colors do not matter as much as repeating them across the jacket.
Look at value, not just color. Put some light pieces beside dark pieces and use medium-value fabrics between them. If everything is medium in value, the patchwork can become muddy even when every individual fabric looks good.
Repeat a few fabrics across different sections. If a particular floral appears on the back, bring that same floral onto a sleeve or pocket. You do not need equal amounts of every fabric; repetition is enough to connect the jacket visually.
Large prints need room to breathe. Give a large floral or geometric print a bigger patch so the design can actually be seen, then use small checks, stripes, dots, or tiny florals between those larger pieces.
If you want to bring a seasonal idea into the jacket, free Christmas quilt patterns can give you motifs that are easy to simplify into stars, trees, or small appliqué details. For a softer floral direction, free floral quilt table runner patterns can help you think about repeating flowers across a narrow jacket section.
Lay everything out before sewing and take a photograph. Your phone is useful here because the photograph lets you see the overall balance instead of getting distracted by individual fabrics.
Step 4: Piece the Patchwork Fabric for Your DIY Patchwork Quilted Jacket
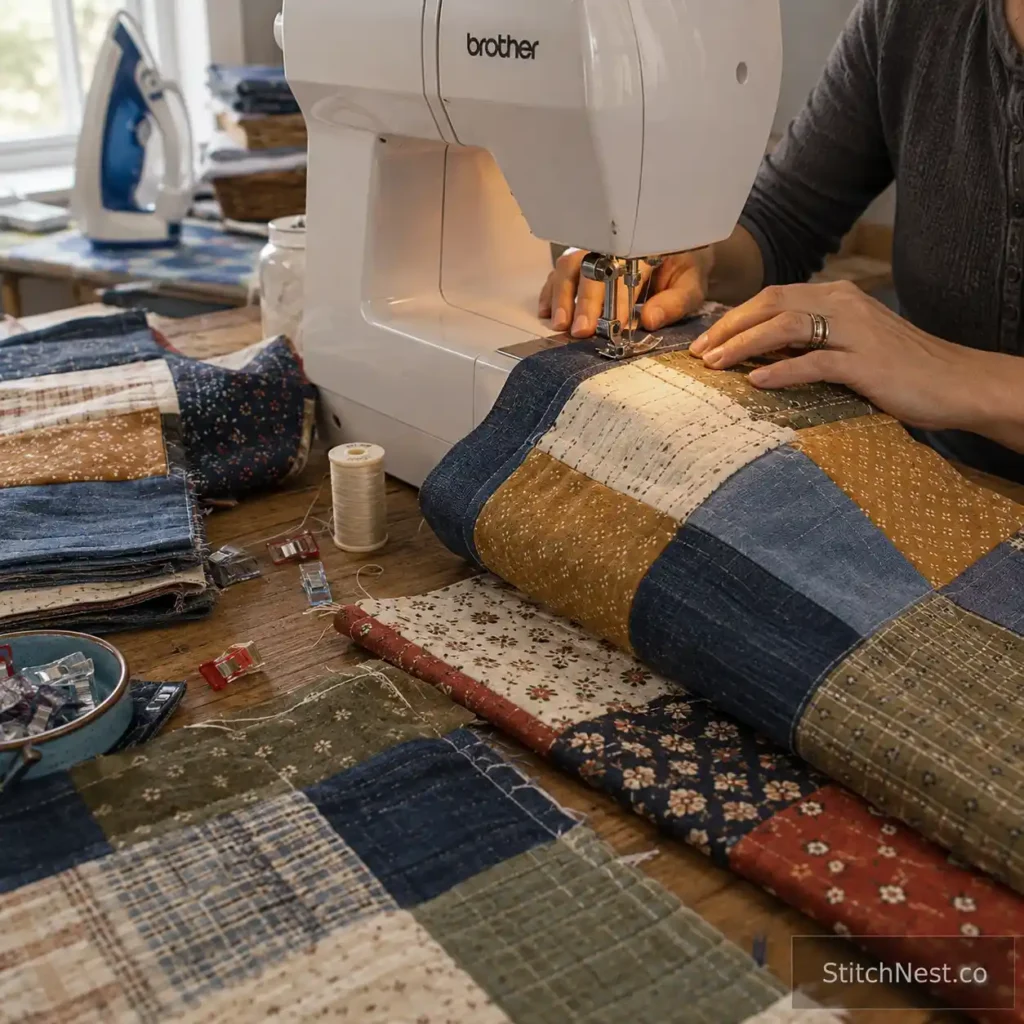
Once your layout is settled, start piecing the fabric as you would a quilt top, but keep the jacket construction in mind from the beginning.
Keep your seam allowance consistent and press regularly. This matters even more in a garment because uneven seams can create extra thickness around armholes, collars, pockets, and other areas where several layers meet.
If you are using traditional quilt blocks, check which pieces need to be mirrored. Jacket fronts and sleeves are often cut as pairs, so one pattern piece may need to be flipped before you place it on the patchwork.
This is easy to overlook. A directional block can look perfect on one sleeve and end up upside down on the other if you do not plan orientation before cutting.
Also watch where seams intersect. Several patchwork seams meeting at one point can create a bulky lump once batting and backing are added. Spread those intersections across the panel whenever possible.
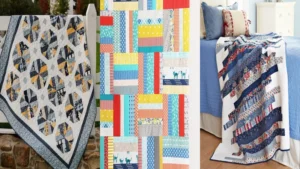
If you are using scraps from previous projects, free jelly roll quilt patterns for fast and cozy quilts can give you ideas for strip-based layouts. You can adapt the same principle to your jacket by cutting longer strips instead of making every patch a square.
Do not worry if your patchwork is not identical from one panel to another. The jacket does not need to look factory-produced. What matters is that the colors, scale, and general rhythm feel deliberate.
Step 5: Quilt Your Jacket Panels
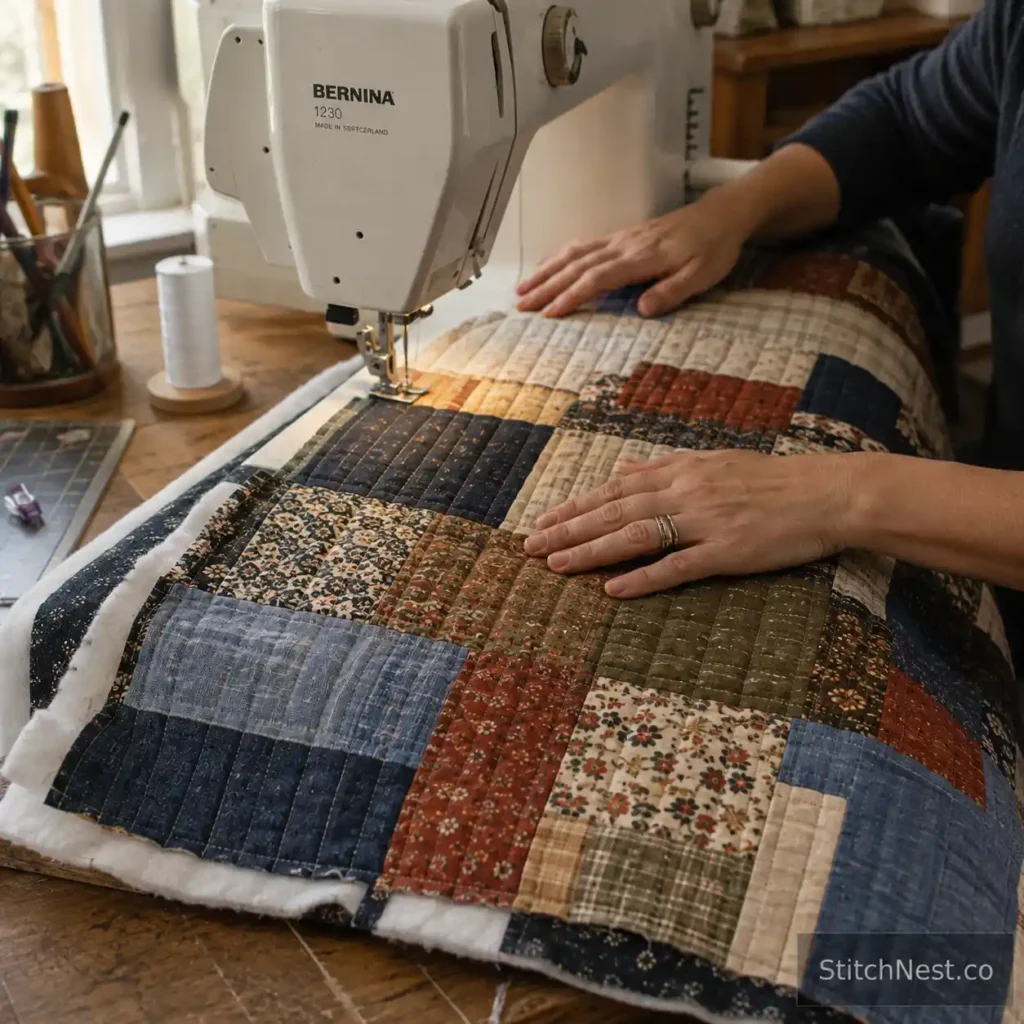
Now you have the quilt top, but do not cut your final jacket pieces yet. First, create the quilt sandwich using your patchwork top, batting, and backing.
Give yourself some extra fabric around the outside because the layers can shift during quilting. Baste securely with pins, clips, hand basting, or a temporary spray adhesive.
For a jacket, straight-line quilting is one of the easiest choices. You can run lines vertically, horizontally, diagonally, or create a simple grid. If your patchwork already has plenty of visual activity, uncomplicated quilting often works better than adding another complicated pattern.
Keep your quilting density appropriate for clothing. Dense quilting makes fabric firmer, and you will notice that most in sleeves and areas that need to bend.
A useful trick is to make a small sample using the exact fabric, batting, backing, thread, needle, and quilting pattern you intend to use. Fold it, scrunch it, drape it over your arm, and sew across it. If it feels stiff before becoming a jacket, change the batting or quilting density now.
Quilted laptop sleeve patterns are useful for understanding how quilting density and padding affect a smaller functional project. The construction is different, but the same principle applies; more quilting and more layers create a firmer fabric.
For another practical reference, quilted wall hanging organizer patterns can help you see how quilted panels behave when they need to support additional layers and attached pieces.
Step 6: Cut the DIY Patchwork Quilted Jacket Pieces
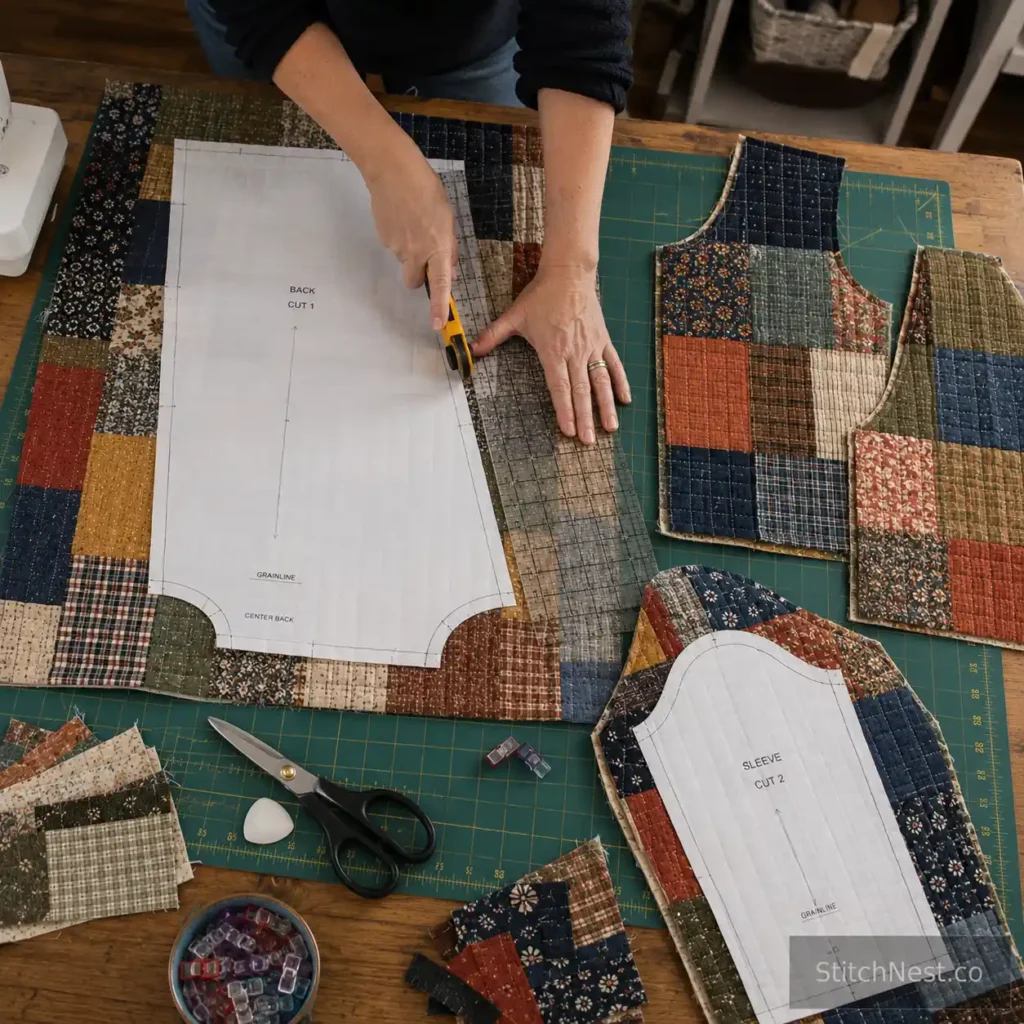
Once your patchwork has been quilted, place the paper pattern pieces on top. This is where all the planning you did earlier pays off.
Look carefully at where each piece will fall. If you have a large flower, star, or other focal block, decide whether you want it centered, offset, or deliberately cut by a seam.
Keep the grainline markings from the pattern. Even patchwork fabric needs to be placed correctly on the garment, especially for sleeves.
Pay attention to mirrored pieces too. Your two fronts will usually be mirror images, and sleeves are commonly directional due to their curved sleeve caps.
Do not rush this stage. It is much easier to move a paper pattern around than it is to move a sewn jacket.
If you need repeated shapes for cuffs, pockets, or appliqué, AccuQuilt GO! Me Fabric Cutter can help you reproduce them consistently. Your rotary cutter and Creative Grids quilting ruler are usually all you need.
Mark all notches, center points, fold lines, pocket placement, and other pattern markings before removing the paper. Use a removable marking tool that will not show through your final fabric.
Step 7: Make the Pockets Before Assembling the Jacket
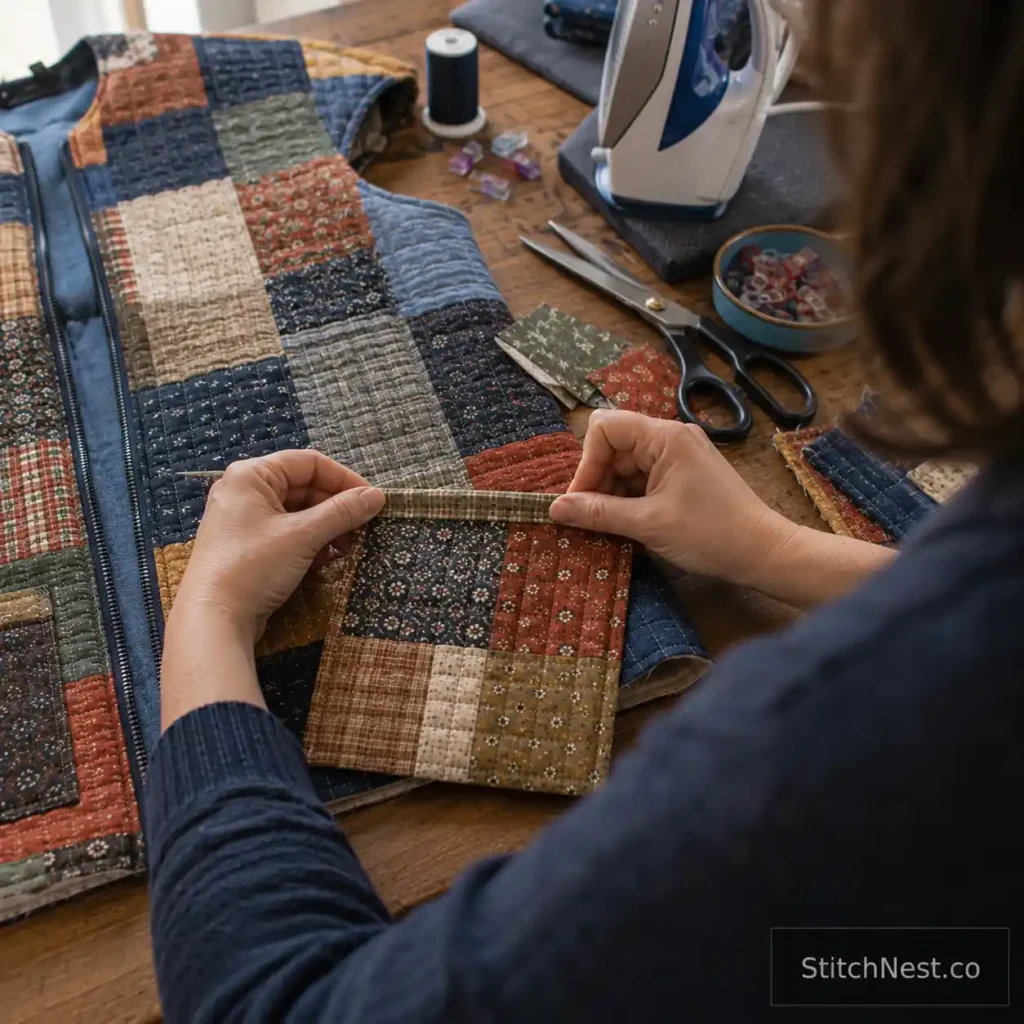
Pockets are much easier to construct when the jacket front is still flat. For a first patchwork jacket, a large patch pocket is one of the simplest choices and gives you another place to show off your fabrics.
You can make the pocket from a single coordinating fabric, use a small patchwork block, or repeat a section from the jacket front. If you quilt the pocket, avoid making it excessively thick because its edges already contain several layers.
A useful method is to quilt the pocket fabric first, trim it to shape, finish the upper edge, and then attach it to the jacket front. This gives you a clean pocket without trying to quilt a small piece after it has already been sewn onto the garment.
Before attaching it permanently, put the jacket front against your body and check the pocket height. You want to be able to reach into it naturally without the opening sitting too high or too low.
For a small decorative pocket, quilted sunglasses case patterns can give you ideas for compact quilted shapes and finishing details. If you want a more decorative direction, the cutest free heart quilt patterns can inspire a small heart appliqué or pocket motif.
Step 8: Assemble the DIY Patchwork Quilted Jacket
Now the quilted pieces become a jacket. Start with the main body pieces, usually joining the shoulders and then the side seams according to your pattern instructions. Press each seam as you go instead of waiting until the jacket is finished.
Quilted fabric is thicker than ordinary garment fabric, so slow down when you approach bulky seams. If the presser foot struggles to climb over a thick ridge, use a small scrap of folded fabric to help level the foot as it approaches the seam.
Your machine should not be forced through the thickest point at full speed. If necessary, use the hand wheel to control the needle as it passes through the bulky section.
Sleeves deserve particular attention. Match your sleeve notches correctly and ease the sleeve into the armhole rather than pulling one piece to make it fit.
This is another reason the test garment matters. A sleeve that is slightly too narrow can become much more restrictive once quilting and batting add thickness.
For a machine that can handle substantial quilting and garment work, Juki TL-2010Q sewing and quilting machine is one option. The Juki TL-18QVP is another great option designed for sewing and quilting. You do not need either machine for this project; a domestic machine can work if you respect its thickness limits and test your layers first.
Step 9: Finish the Inside of the Jacket
You have several choices for the inside. You can add a full lining, bind exposed quilt seams, or let the quilted backing become the visible interior.
A lining gives the cleanest finish and makes the jacket easier to put on because clothing slides against a smoother surface. It can also hide seam allowances and protect the batting from rubbing against your clothes.
Binding is another good option, especially if you want the handmade quilting to remain visible inside the jacket. It can cover raw quilted edges around the hem, neckline, and other exposed areas.
If you use binding, do not rush the corners. Quilted fabric is thicker than ordinary fabric, so you may need to trim some bulk from the seam allowance before turning the binding.
If you are adding a lining, choose a fabric that can move comfortably over the quilted outer layer. A lining that is too stiff can make the jacket feel bulky, and a lining that is too small can pull the outer fabric out of shape.
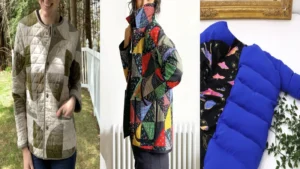
For a lighter, softer jacket, you can also keep the construction simple and bind only the areas that need a finished edge. The goal is to make the inside comfortable and secure, not to add layers simply because traditional quilts have them. You should also try out one of these quilted vest patterns!
Step 10: Add the Collar or Neckline
If your pattern has a collar, make it after the main jacket is assembled and before the final closure is attached. A simple collar is easier to manage than a highly structured one because quilted fabric already has some body.
If your jacket has a plain neckline, you can finish it with binding or a facing. Keep the finish neat because the neckline sits close to your face and receives regular movement.
This is also a good place to repeat an anchor fabric from the main patchwork. A small strip of one of your recurring fabrics can make the collar feel connected to the rest of the jacket. Same goes for these quilted housecoats!
If you want to add a decorative element to the neckline, keep it relatively flat. Thick appliqué, bulky trim, or several layers of fabric can make the collar uncomfortable and can interfere with the way it folds.
Step 11: Choose and Add the Closure
Buttons, snaps, ties, and zippers can all work on a quilted jacket. For a first jacket, snaps or larger buttons are often easier than installing a zipper into thick quilted fabric.
Whatever closure you choose, reinforce the area behind it. Quilted fabric can compress or distort when you repeatedly pull a button or snap open. A small piece of interfacing behind the closure can distribute that stress across a larger area.
Try the jacket on before permanently attaching every button or snap. Mark the positions with the jacket closed and standing naturally, then check them again when you sit down.
The closure should hold the jacket comfortably without creating a large horizontal pull across the chest. If you see strain lines, move the closure or revisit the fit before finishing it.
For a simple decorative closure, you can also use fabric-covered buttons made from one of your patchwork fabrics. That small detail can make a very mixed patchwork design feel more connected. And hey, while you’re at it, try these quilted hoodies next!
Step 12: Check the Fit Before You Call It Finished
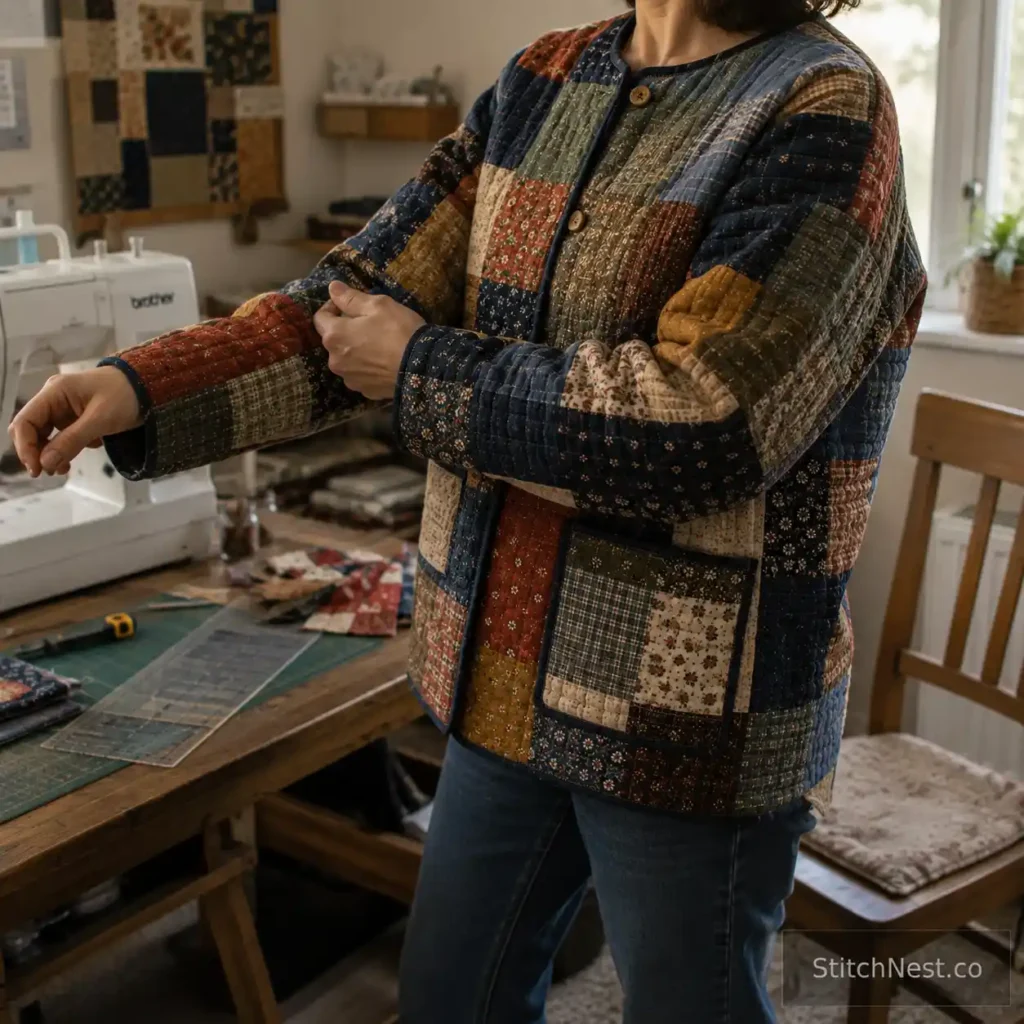
This is the part we would never skip. Put the jacket on and move your arms forward. Reach overhead. Sit down. Cross your arms. Bend your elbows.
Pay attention to where the fabric pulls. A quilted jacket needs room for movement, particularly around the upper back and arms. Added batting and quilting can make a previously comfortable pattern feel smaller.
Check the sleeve length too. Quilted sleeves can feel slightly shorter once the fabric has more body. Look at the hem when you move; if it rides up significantly, the body may need more ease or the pattern may need adjustment.
Do not judge the fit only by standing still in front of a mirror. Clothing has to work when your body moves, and a quilted garment gives you less flexibility than an ordinary lightweight jacket.
If something feels tight, fix it before the final finishing. It is much easier to adjust a seam allowance or side seam before the lining and binding are fully attached.
Step 13: Finish the Hem and Edges
Once you are happy with the fit, finish the remaining raw edges. The hem can be bound, faced, turned under, or finished according to your pattern and the thickness of your quilted fabric.
If you are using a lining, the lining can hide many raw edges. If you are leaving the quilted backing visible, make sure your finishing method is neat enough to become part of the design.
Press the hem carefully and check the heat requirements of your batting. Some synthetic materials can react badly to excessive heat, so use the temperature appropriate for the least heat-tolerant layer in your jacket.
Give the jacket a final thread trim and inspect both sides. Pay particular attention to pocket corners, sleeve seams, neckline, closure areas, and underarms because these areas see a lot of movement and stress.
If you want a more structured edge, quilted wall hanging organizer patterns can give you useful ideas for reinforcing and finishing quilted panels. For a softer seasonal direction, free fall sewing projects can provide additional ideas for fabric combinations and small sewn details.
How to Make Patchwork Look Intentional
This is one of the most useful things you can learn from making a quilted jacket: you do not need matching blocks. You need repetition.
Use different sizes of prints, but avoid putting several large prints directly beside one another. Small checks, stripes, dots, and low-volume fabrics can give your eyes somewhere to rest between larger designs.
Do not be afraid of empty space either. A larger solid or low-volume fabric between busy blocks can make the detailed pieces stand out and can help the jacket look more like clothing than a quilt simply cut into a coat.
Think about the garment shape as you design. The shoulder seam, center front, hem, pockets, and sleeves are part of the quilt composition. A block that looks perfect on a flat table may need to be shifted once you see how it will be divided by the garment seams.
Common Mistakes to Avoid
The biggest mistake is choosing a complicated jacket pattern for your first attempt. Keep the silhouette simple and let the patchwork provide the interest.
Another common problem is using too much batting. A quilted jacket should still behave like clothing. If the body stands away from you and the sleeves feel stiff, your layers may be too heavy or your quilting may be too dense.
Do not skip the test garment either. It is much cheaper to discover a problem in a mock-up than after spending hours piecing and quilting the final fabric.
Ways to Customize Your DIY Patchwork Quilted Jacket
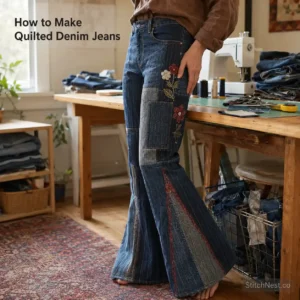
Once you have the basic construction down, you can take the design in almost any direction. You could make a traditional scrappy jacket with dozens of small cotton pieces, a denim-and-cotton jacket using reclaimed jeans, a modern jacket with large geometric blocks, or a soft floral version made from vintage-inspired fabrics. Perhaps a quilted denim jeans?
Another option is to make the sleeves from one coordinating fabric and concentrate the patchwork on the body. That gives you a cleaner silhouette and makes the back panel the main feature.
You can add embroidery, appliqué, crochet sections, vintage buttons, contrasting binding, or pieces of an old quilt that has been damaged beyond practical repair. If you are using heat-activated appliqué pieces, HeatnBond Lite can be useful for securing shapes before you stitch them permanently.
How to Care for a DIY Patchwork Quilted Jacket
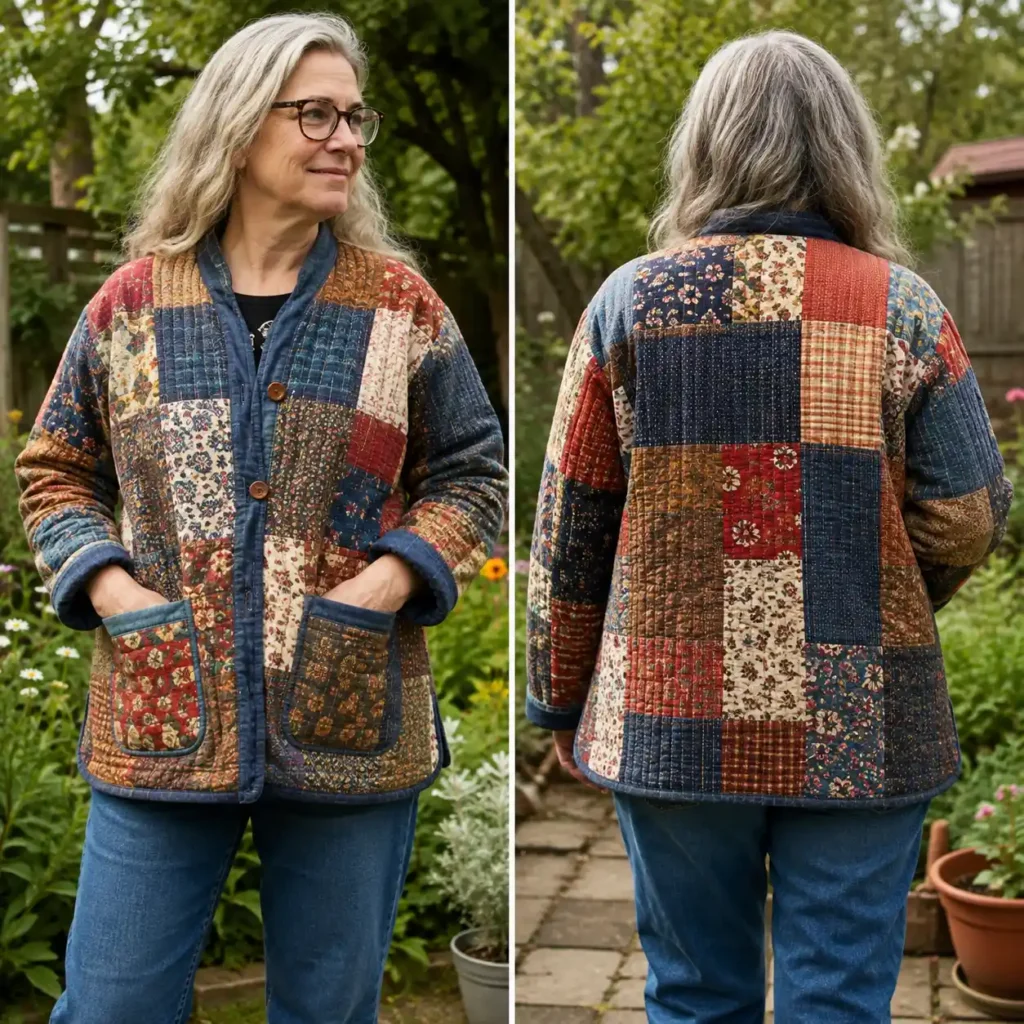
Care depends on the fabrics, batting, lining, and embellishments you use. A jacket made from washable cottons will have different requirements from one that contains vintage fabric, delicate embroidery, specialty trims, or materials that should not be machine washed.
If the entire jacket is washable, turn it inside out and use a gentle cycle. Avoid unnecessary high heat because quilting can exaggerate shrinkage differences between fabrics, and heat can affect some batting and stabilizers.
After washing, reshape the jacket before drying so the hem and seams remain straight. If you notice loose stitching, repair it early rather than waiting for repeated wear to enlarge the problem.
Take your time planning the patchwork. Test the jacket pattern. Make a small quilting sample. Check your fabric weight. Lay the pattern pieces over the patchwork before cutting. Then assemble the jacket slowly, paying extra attention to bulky seams and areas that need to move.
Once you understand that process, you can make the jacket your own. Use scraps from old quilts, fabrics left over from previous projects, vintage shirts, denim, florals, stripes, embroidery, or simple solids. You can keep the design restrained or build a much more detailed garment.