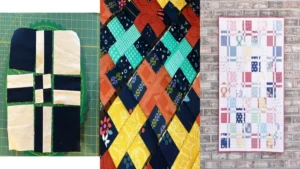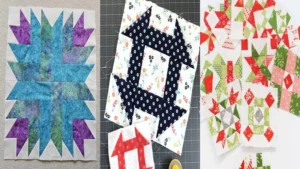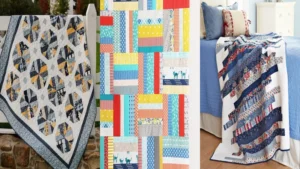
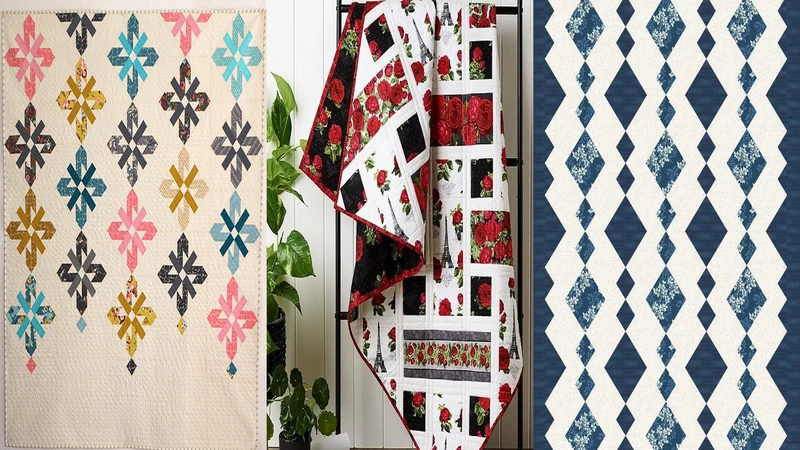
Chandelier quilt patterns are a great choice when you want a quilt with plenty of movement but still want construction that feels manageable. You can make these cascading diamond designs with charm squares, fat quarters, scraps, or just three yards of fabric. From a quick baby quilt to a larger throw, you will find plenty of ways to make this classic design fit your fabric stash and your sewing style.
Things You’ll Need
- Rotary cutter with a self-healing cutting mat
- High-quality cotton fabric bundles
- Acrylic quilting rulers for precise shapes
- Sewing machine with quilting foot attachment
- Soft batting for a cozy finished feel
Chandelier Quilt Patterns to Add to Your List
Looking for the pattern or tutorial? You’ll find the source link right below each image. Some featured projects are shared for inspiration, so not every image includes a step-by-step tutorial!
1. Free 3 Yard Chandelier Quilt Pattern
Skill Level: Beginner
Time to Make: About 4 to 6 hours
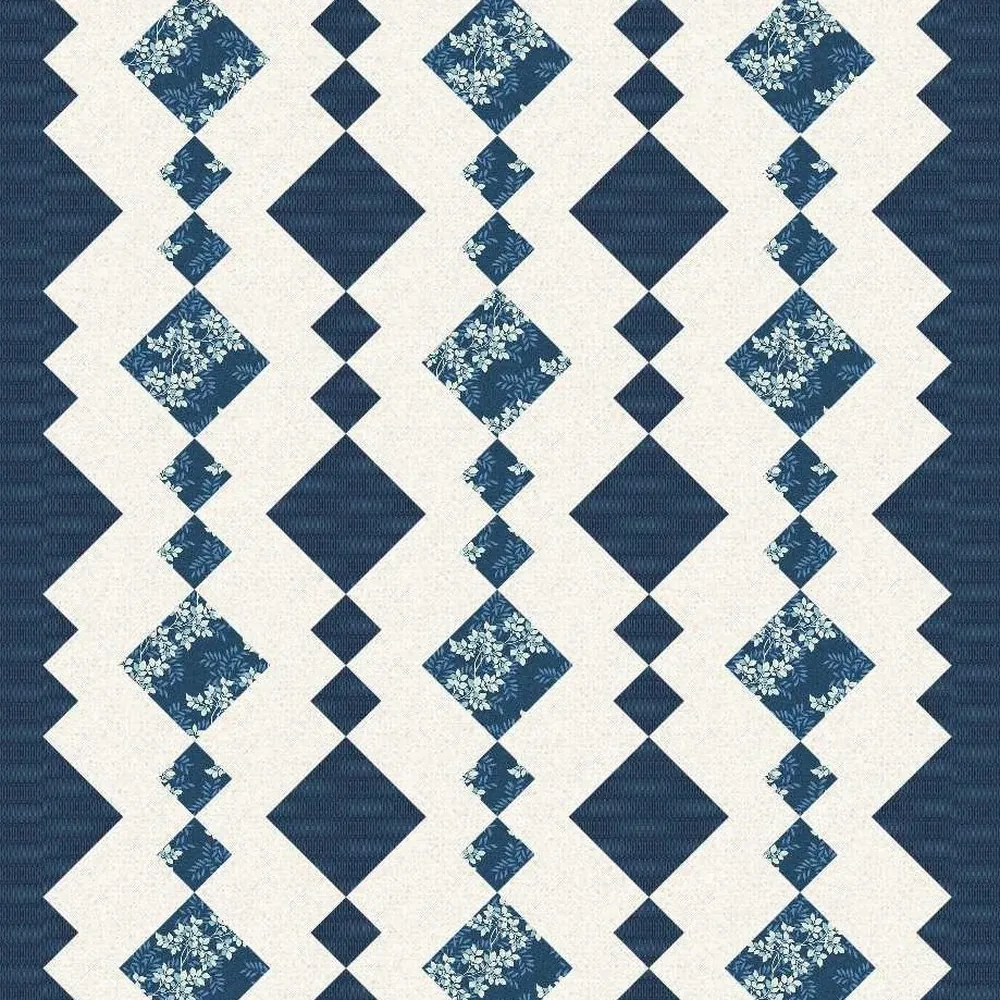
If you have three yards of fabric waiting in your stash, this version gives you a straightforward way to turn them into a 48 by 59 inch throw. The 8-inch Chandelier blocks are set on point, with additional pieces creating the straight outer edges.
You can keep the quilting simple with straight lines or crosshatching and a walking foot. For another project that makes good use of a small fabric selection, these easy quilt blocks are worth keeping nearby for your next sewing day.
2. Free Chandelier Quilt Pattern PDF
Skill Level: Beginner
Time to Make: About 4 to 6 hours
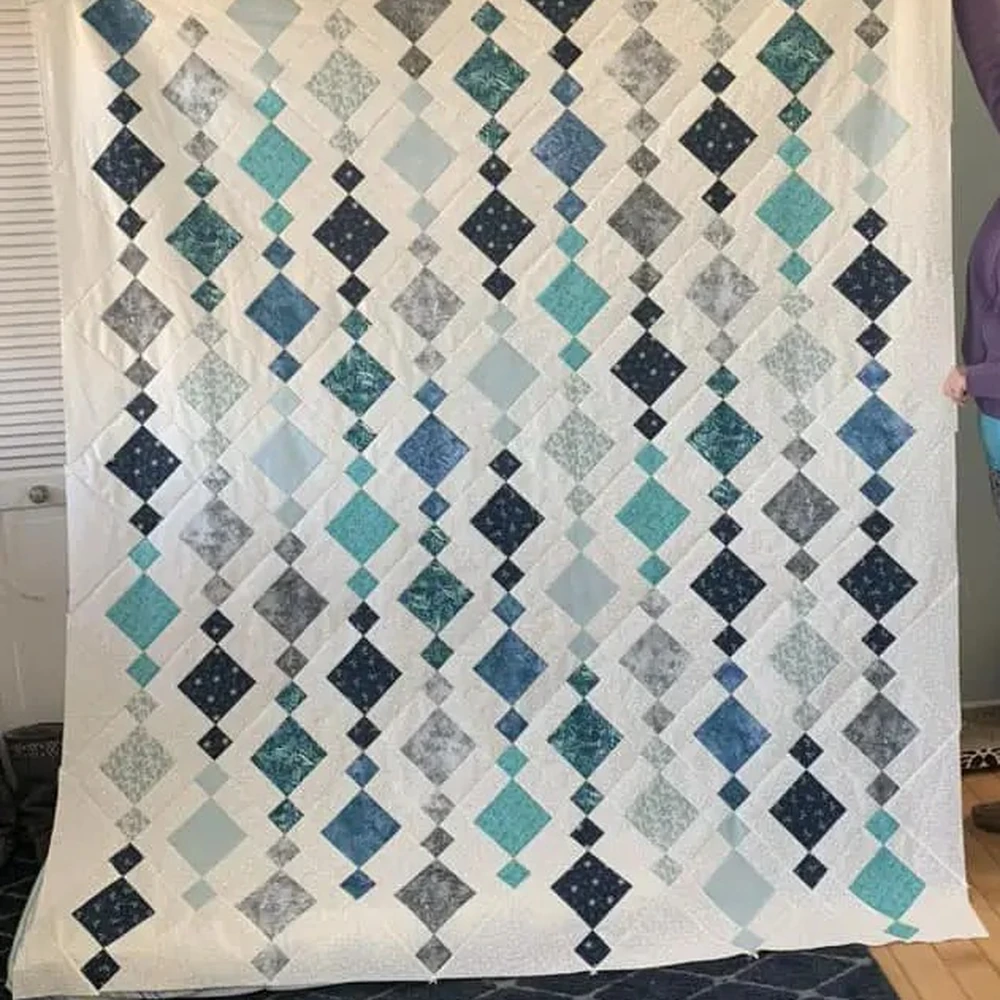
This classic Chandelier design is a particularly good fit if you have charm squares or fat quarters you have been saving. The cascading diamond arrangement gives every print a chance to stand out, so you do not need a complicated fabric plan to get a lovely result.
We recommend laying all your pieces out before sewing the blocks together. A Brother straight stitch machine gives you a useful setup for accurate piecing, especially when you are working through a larger stack of small pieces.
3. Free Chandelier Quilt Pattern With Video Tutorial
Skill Level: Beginner
Time to Make: About 4 to 5 hours
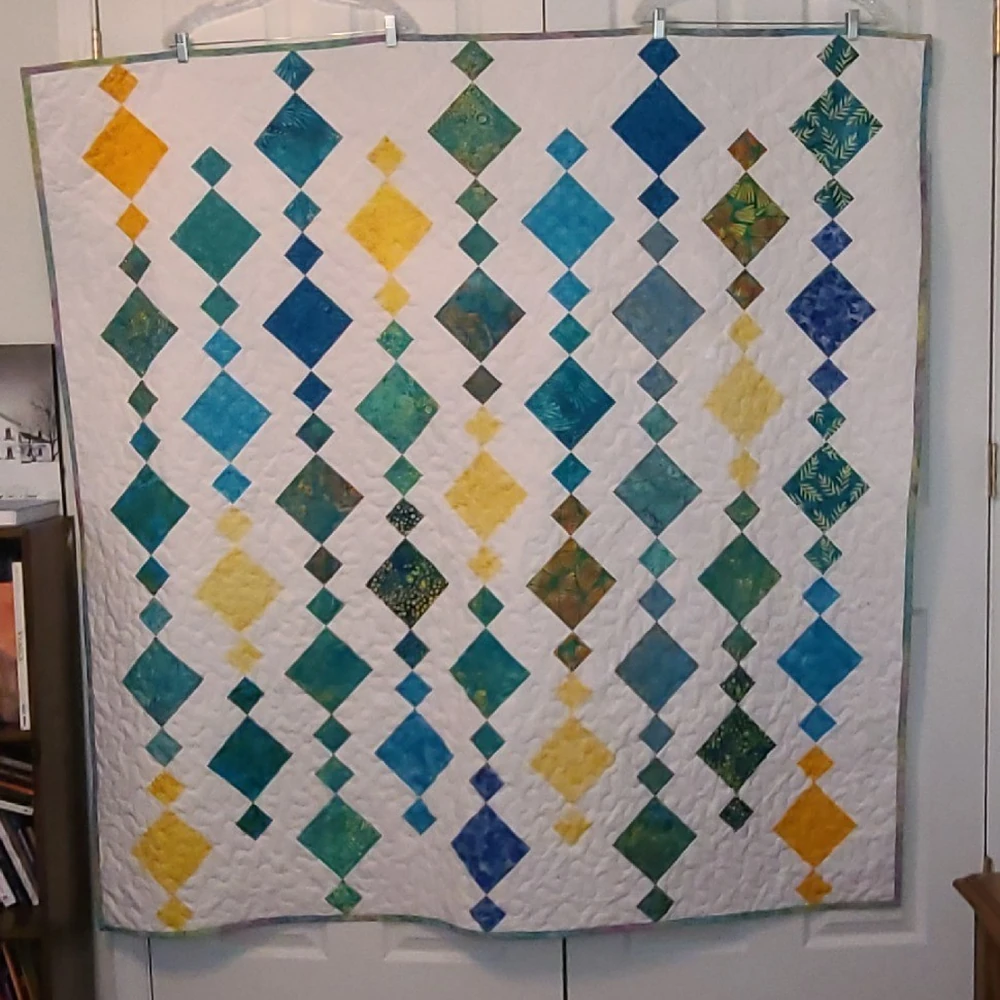
You will be working with a charm pack-friendly design here, which makes this a nice option when you want to sew without spending hours cutting dozens of different fabric shapes. The pattern creates cascading diamonds, and the extra border used in this version gives the design a framed finish.
Try sorting your charm squares into light, medium, and dark groups before you begin. You will have an easier time keeping the diamonds visible once the blocks are joined. These Layer Cake quilt patterns offer another good way to think about balancing precut fabrics.
4. Chandelier Quilt Along
Skill Level: Intermediate
Time to Make: About 6 to 8 hours
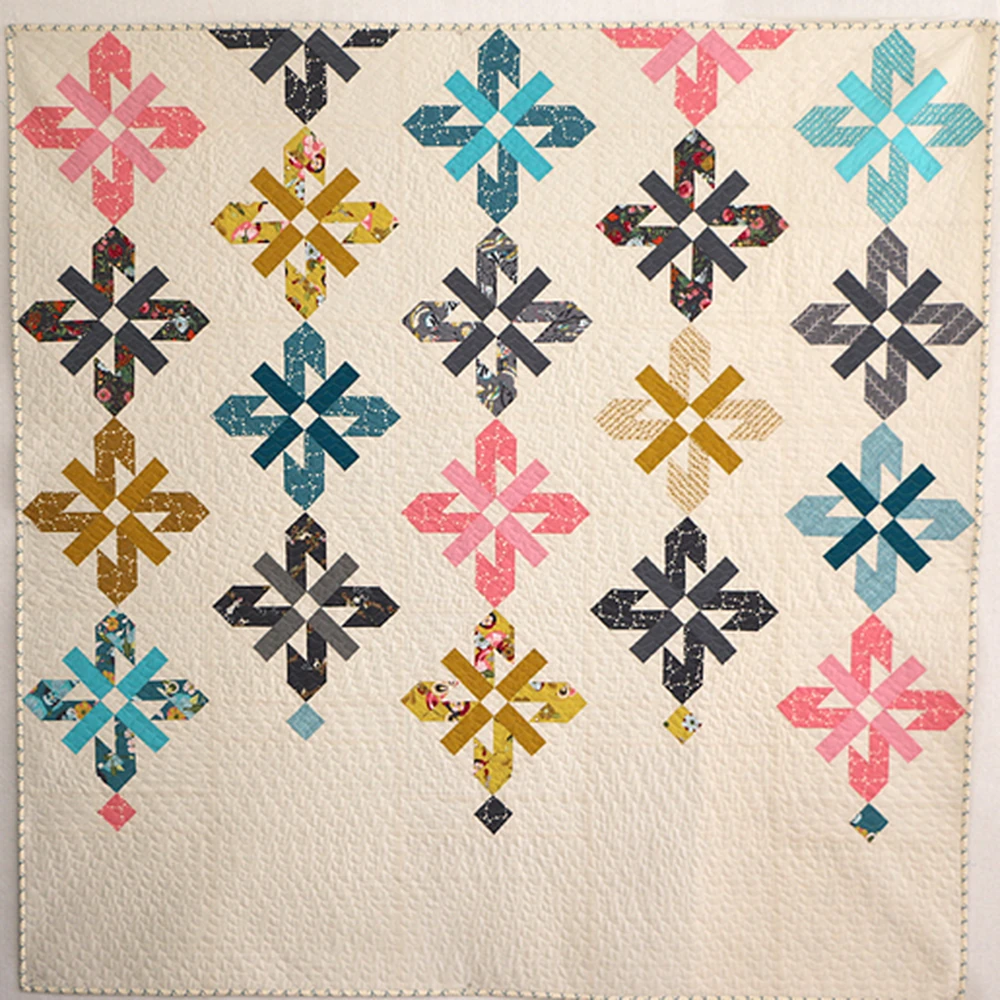
You get a little more piecing practice with this version because the blocks use half square triangles, square in a square construction, and separate diamond units. The finished quilt is about 59 1/2 inches square, and the layout is surprisingly forgiving because the most important points are at the top and bottom of the blocks.
Take your time squaring up each block before moving on. A quarter-inch presser foot helps you keep your seam allowance consistent, which makes matching the later units much easier.
5. Classic Chandelier Quilt Pattern
Skill Level: Beginner
Time to Make: About 4 to 6 hours
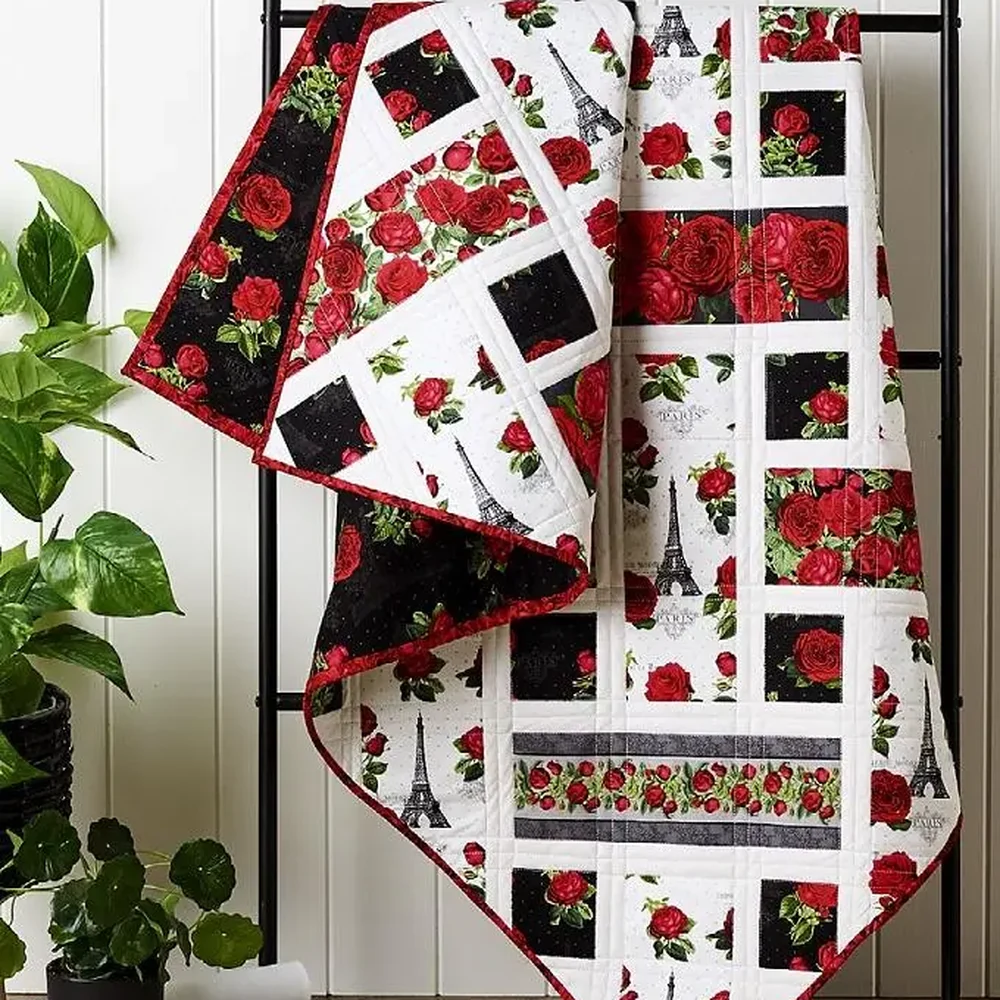
This version is a good place to start if you like the look of a Chandelier quilt but do not want to commit to an elaborate piecing method. The design relies on repeating blocks arranged diagonally, so you can create a strong sense of movement from relatively simple units.
You can also use this style to work through fabrics that do not seem to belong together at first. Keep a potato chip quilt idea nearby if you enjoy scrap-friendly layouts that let you keep sewing without stopping to plan every fabric combination.
6. Christmas Colors Chandelier Quilt
Skill Level: Beginner
Time to Make: About 6 to 8 hours
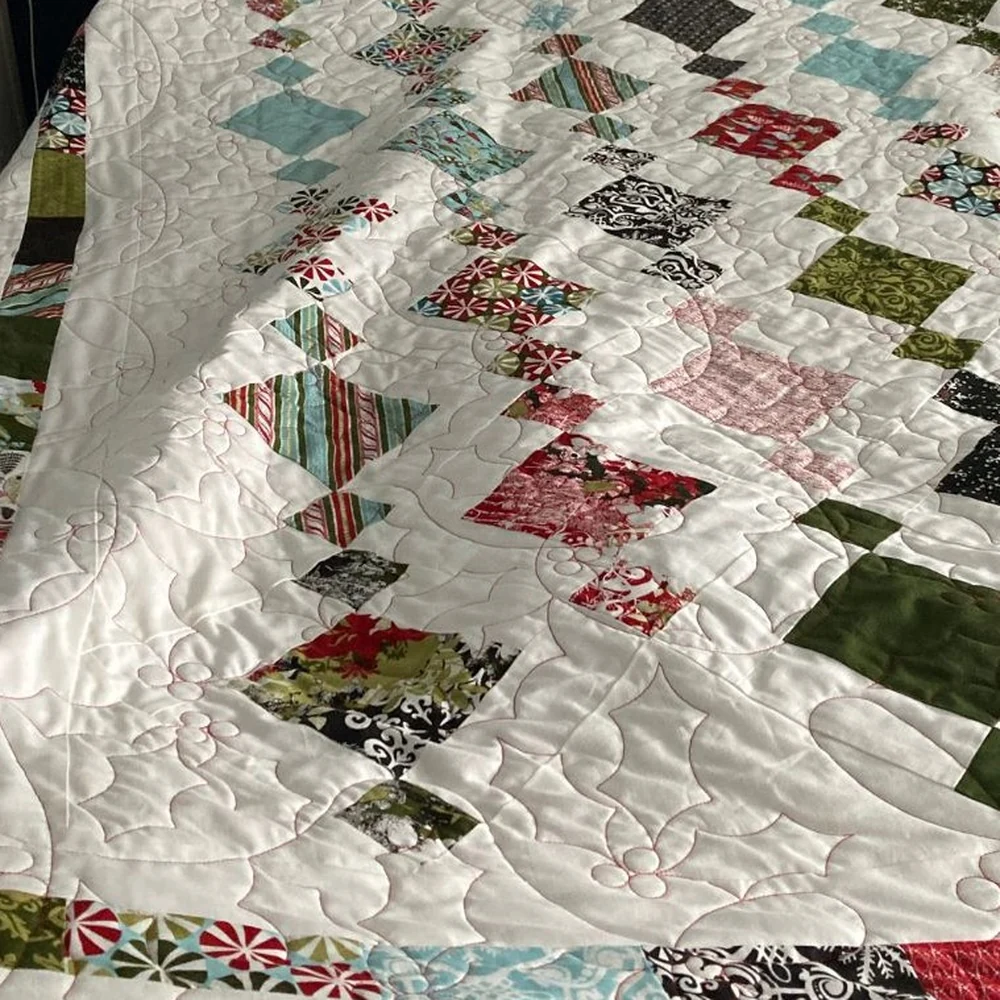
Bring your holiday fabrics into the design with this Christmas-focused version. It uses four charm packs, a jelly roll, and background fabric, making it especially useful if you already have precuts in your Christmas stash. The finished quilt measures about 64 by 76 inches, so you get a generous size for a bed or seasonal throw.
For crisp seams in all those repeated units, keep your pressing routine consistent from the first block onward. A tailor’s clapper is handy when you want seams to lie flat without stretching freshly pressed fabric.
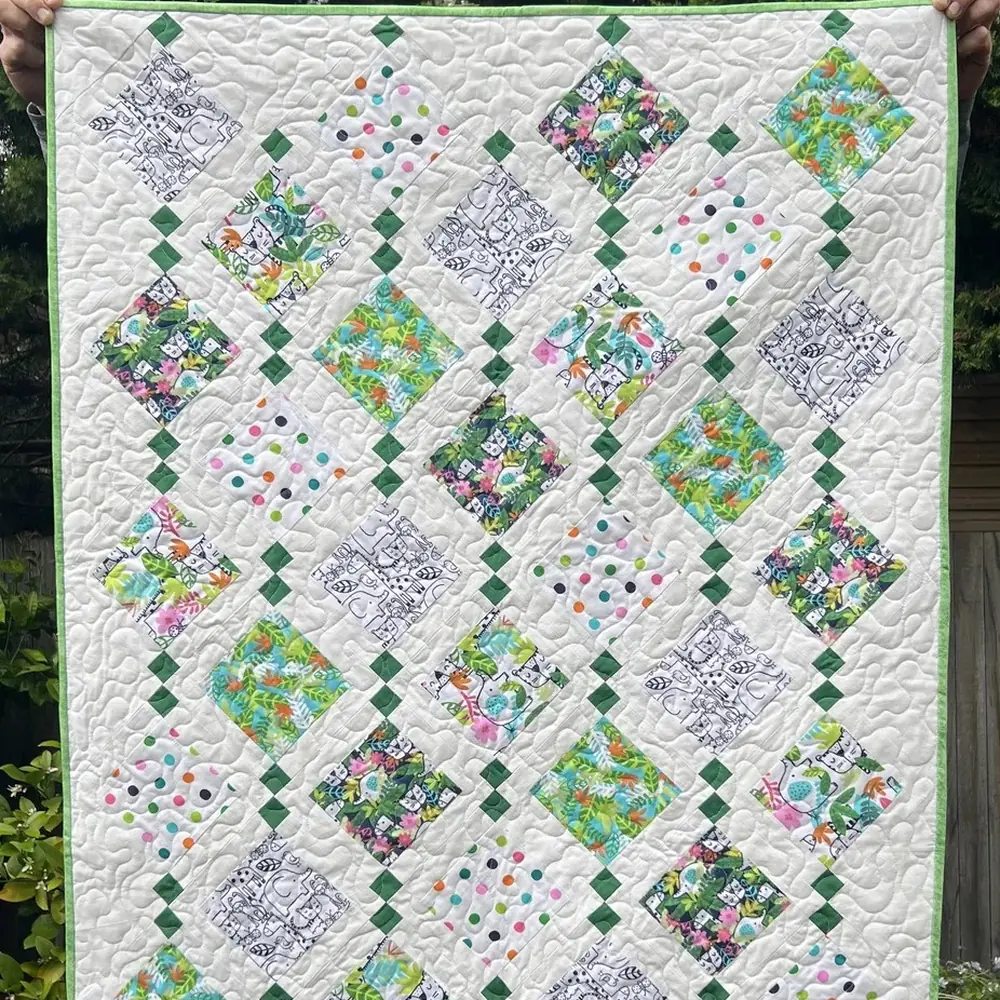
7. Baby Chandelier Quilt
Skill Level: Beginner
Time to Make: About 3 to 4 hours
You can scale the Chandelier design down beautifully for a baby quilt, making this version a practical way to use charm squares and smaller pieces from your stash. The smaller scale keeps the project approachable, and you can have fun choosing playful prints without needing a large fabric collection.
If you are making this for a new baby, consider a soft cotton backing and quilting that will hold up to regular washing. These baby shower quilt patterns are another useful source of ideas if you want to build a small quilt collection.
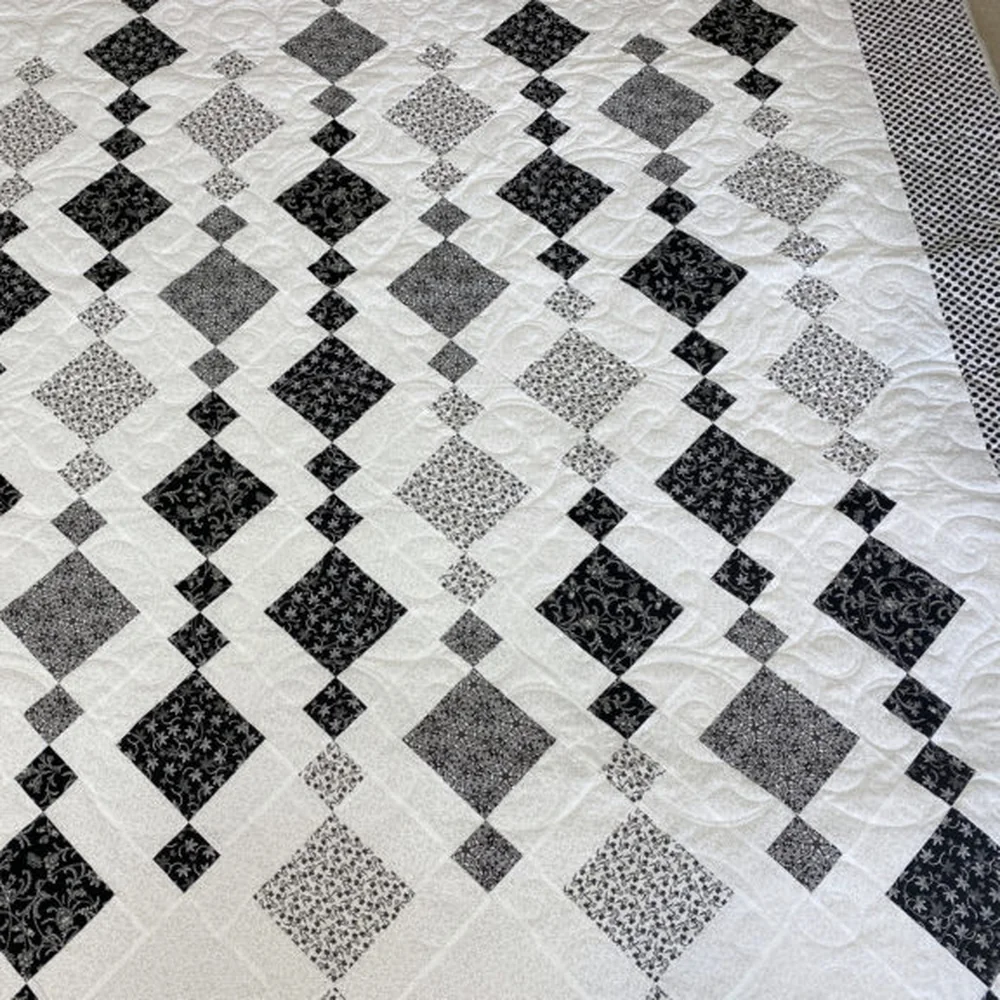
8. Angela’s Chandelier Diamond Quilt
Skill Level: Intermediate
Time to Make: About 6 to 8 hours
You will appreciate this version if you want to focus on the diamond effect and let the fabric choices do much of the work. Chandelier layouts are especially good for showing off coordinated prints because the repeated blocks create a strong path across the quilt.
Before you start sewing, take a quick photo of your fabric layout. You can turn that photo to black and white to check the balance of light, medium, and dark values before committing to the arrangement. A lighted seam ripper is also useful when you need to correct a misplaced unit without losing your place.
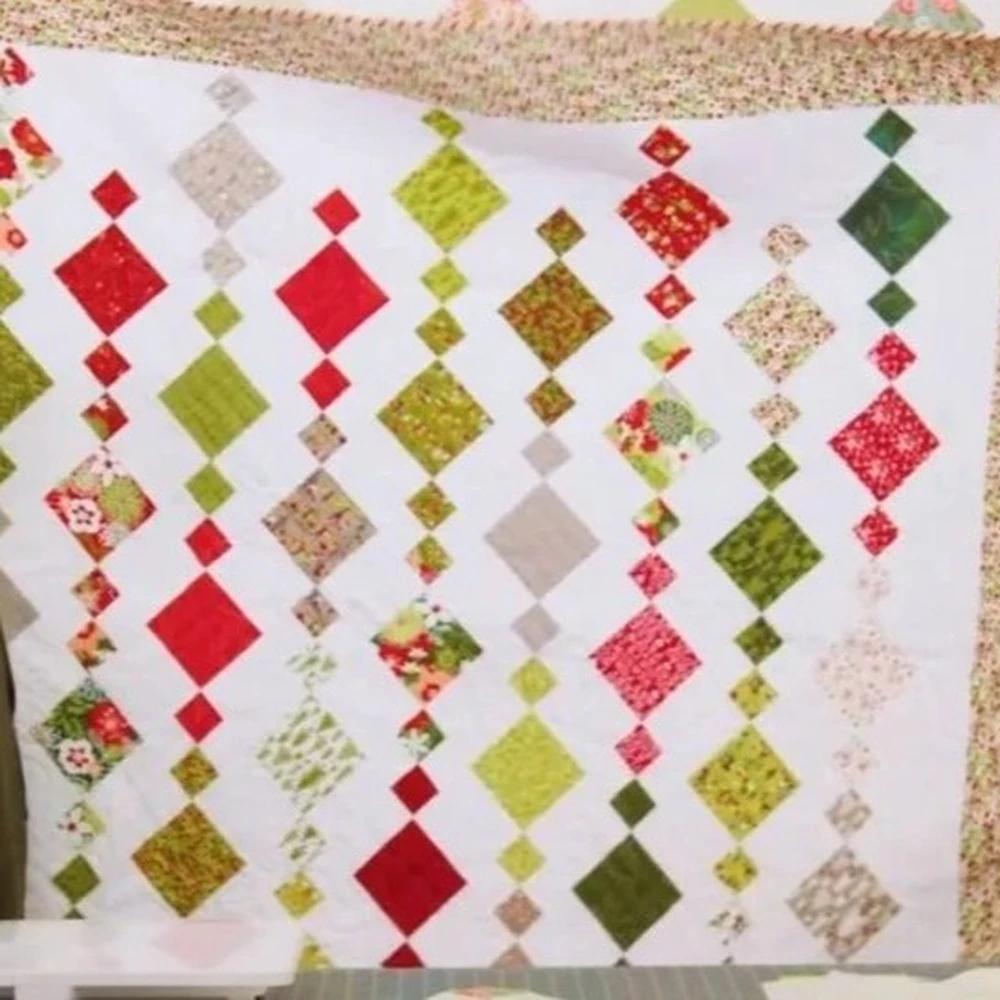
9. Easy Chandelier Quilt Tutorial
Skill Level: Beginner
Time to Make: About 4 to 6 hours
This version keeps the construction approachable with 5-inch print squares, background fabric, borders, backing, and binding. The finished quilt measures about 60 by 60 inches, with 8 1/2 inch finished blocks. You can make the blocks one at a time and build the diagonal rows once you have enough completed units.
Press each seam before adding the next piece so your block stays flat and easy to measure. A pack of Organ quilting needles is useful to have ready for the quilting stage, especially if you are moving between piecing and quilting on the same machine.
Tips for Piecing Chandelier Quilts
Start with your fabric values before worrying about exact colors. You want enough difference between the prints and background for the diamond shapes to remain visible. If everything sits in the same value range, the pattern loses some of its definition. You can also use a black-and-white phone photo to check your layout before sewing. These easy flower quilting ideas are useful if you want to think more about color placement and quilting together.
Keep your cutting area organized before you start chain piecing. Sorting pieces by size and fabric group prevents the common problem of reaching for the wrong triangle halfway through a block. A desktop sewing organizer can keep your ruler, marking tools, seam ripper, and other small supplies close without taking over your work surface.
You can also change the mood of the quilt dramatically with the quilting itself. Straight line quilting keeps the geometric structure crisp, crosshatching gives the blocks more texture, and a decorative scallop stitch creates a softer contrast against the angular piecing. These Sashiko quilt patterns are worth a look if you want more ideas for combining strong quilting lines with patchwork.
Common Mistakes You Should Avoid
Skipping the squaring up step is another common source of trouble. Chandelier blocks depend on repeated units fitting together, so a tiny difference becomes more noticeable as the rows grow. Trim your units to the required size before joining them, and keep your ruler aligned with the same reference points every time. A quilted laptop sleeve is another project where accurate piecing pays off in the finished shape.
Mixing too many fabrics without checking value can also flatten the design. You do not need every fabric to be a different color, but you do need enough contrast for the blocks to separate from the background. These iris quilt patterns can give you more ideas for working with repeated color families without making every block look identical.
Small scraps can work beautifully here too. Keep pieces from previous quilts sorted by color and value so you can pull together a coordinated Chandelier quilt later. These patchwork rug ideas are another good reminder that even smaller fabric pieces can become useful projects instead of being pushed aside.
If you are making a quilt for a child, consider using the same block structure with a completely different fabric theme. Animal prints can work particularly well because the geometric blocks give busy prints a little structure. These quilt puppy designs and cats in pajamas quilts can give you ideas for choosing a fun theme without changing the basic construction.
Once you have your Chandelier quilt planned, it is time to choose the fabric combination that makes the pattern feel like yours. Keep the ideas going with these free heart quilt patterns for another fun patchwork project.