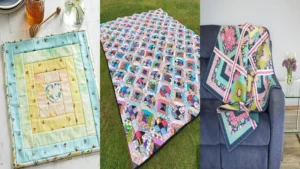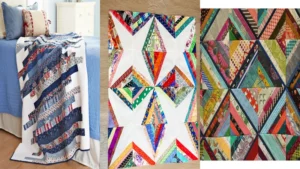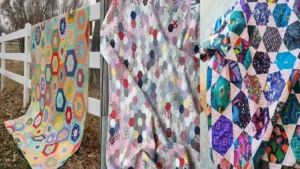
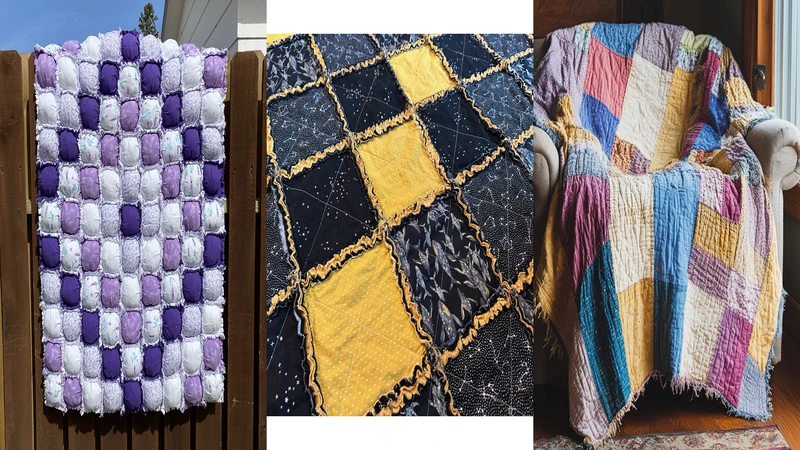
Rag quilts are a great starting point if you want to make something cozy without getting caught up in the precision that traditional patchwork can require. The exposed seams are intentionally clipped so they soften and fray after washing, giving the finished quilt its familiar textured edge. You can make a rag quilt from flannel, cotton, scraps, layer cake pieces, or a combination of fabrics depending on the project. The patterns below give you several approaches to try, from simple beginner quilts to puffed designs and more rustic layouts.
Things You’ll Need
- Acrylic quilting rulers for precise shapes
- Rotary cutter with a self-healing cutting mat
- Sewing machine with quilting foot attachment
- Soft batting for a cozy finished feel
- High-quality cotton fabric bundles
Easy Rag Quilt Patterns for Beginners
Looking for the pattern or tutorial? You’ll find the source link right below each image. Some featured projects are shared for inspiration, so not every image includes a step-by-step tutorial!
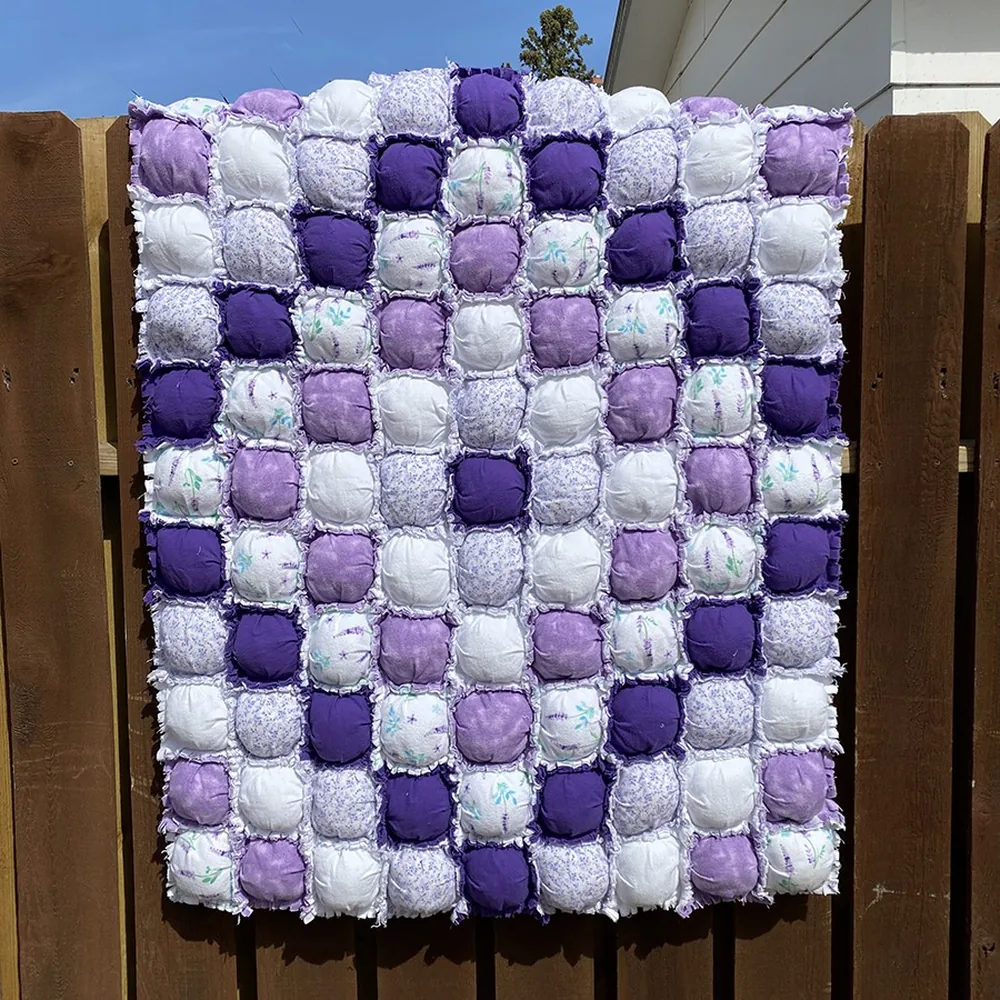
1. Easy Rag Puff Quilt
Skill level: Beginner
Time to Make: 8 to 12 hours
You can try a softer, fuller take on traditional rag quilting with this puff quilt project. The construction gives you a chance to work with individual sections and gradually build them into a cozy finished quilt, making it a nice choice if you enjoy sewing in manageable stages.
The puffed texture also gives you plenty of freedom with your fabric choices. You can keep the colors coordinated or use a collection of scraps for a more relaxed look. If you enjoy plush quilted projects, these quilted puff jacket patterns offer another way to play with padded texture.
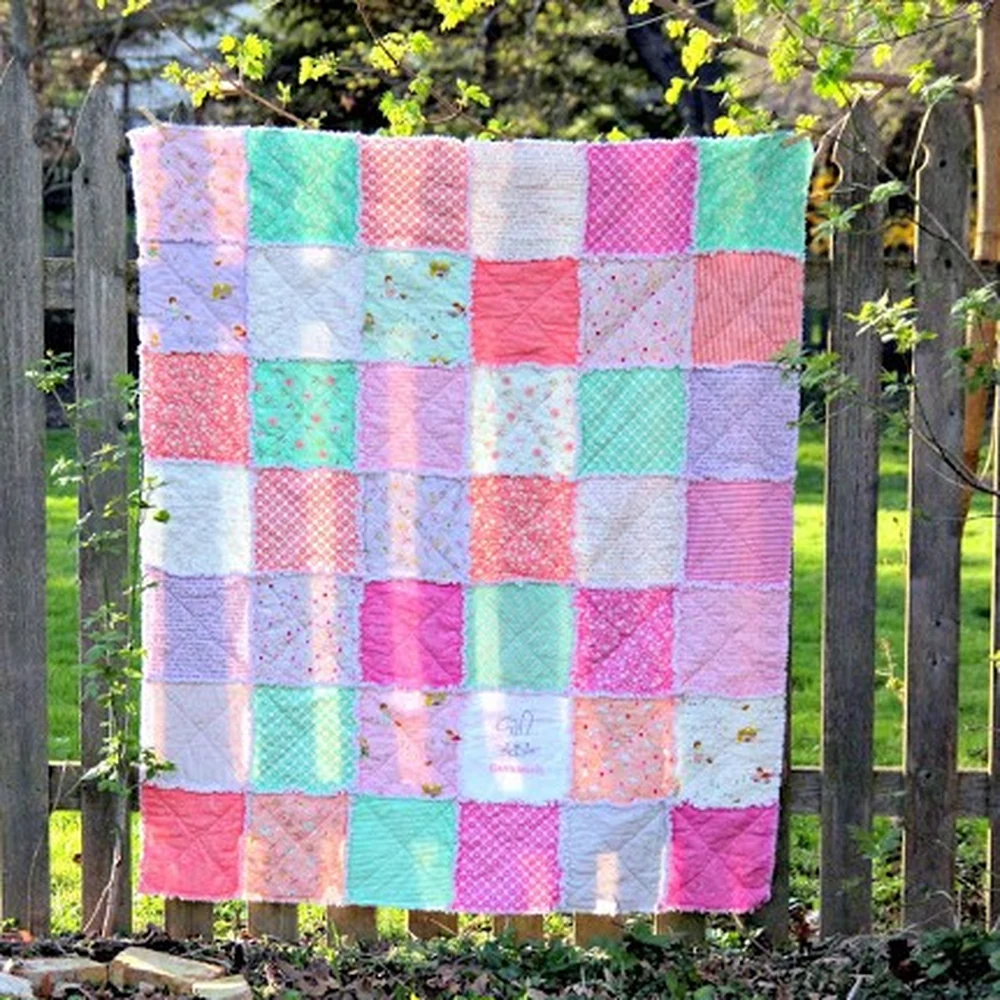
2. Free Rag Quilt Tutorial
Skill level: Beginner
Time to Make: 6 to 9 hours
This is a lovely option if you are completely new to rag quilting and want a straightforward project to learn the basic process. You can work through the construction at your own pace and get familiar with layering, sewing, clipping, and creating those characteristic frayed edges.
The simple format also makes it easy for you to adapt the fabric choices to the person or room you are making it for. If you are putting together a quilt for a new baby, you may also want to browse these easy baby shower quilt patterns for more beginner-friendly ideas.
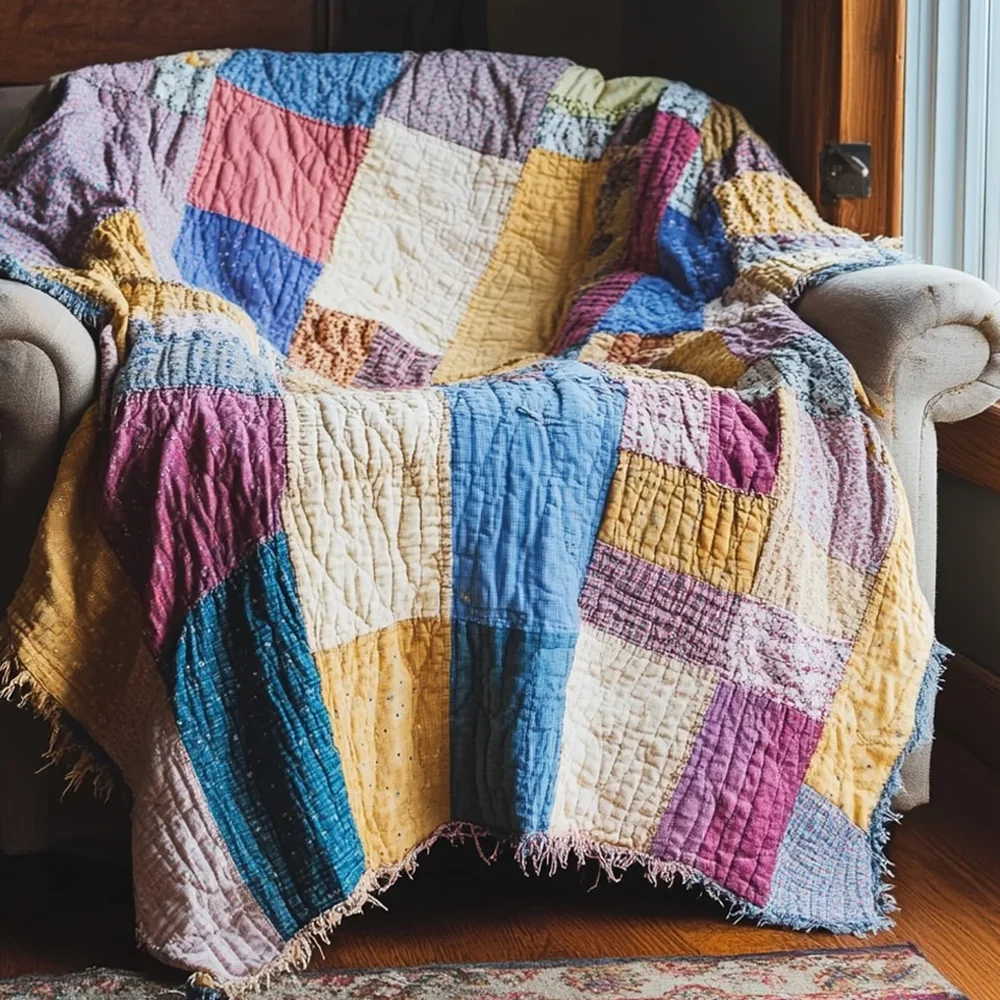
3. How to Make a Rag Quilt
Skill level: Beginner
Time to Make: 6 to 8 hours
You can use this tutorial as a practical introduction to the basic rag quilt method. It gives you a simple framework for working with layered fabric pieces and building them into a quilt without needing an elaborate block design.
This approach is especially useful if you want to learn the process before experimenting with more complicated arrangements. A Creative Grids Quilting Ruler can also help you keep your cutting consistent when preparing a large number of fabric pieces.
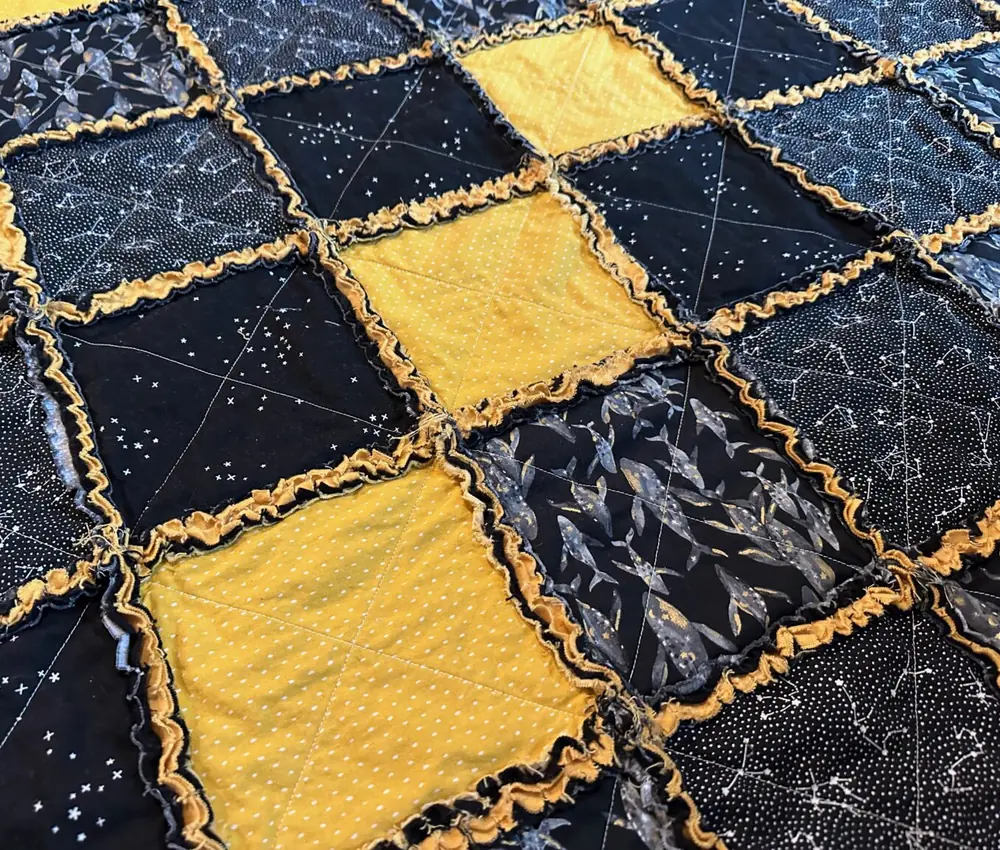
4. Rag Quilt Tutorial for Beginner Quilters
Skill level: Beginner
Time to Make: 6 to 9 hours
If you are looking for a beginner-friendly introduction with a seasonal twist, this rag quilt tutorial is worth adding to your sewing list. The basic construction keeps the project approachable, while the finished ragged seams give you the soft, casual texture that makes this style so recognizable.
You can use the same general idea for other themes by changing your fabric selection. If you enjoy making seasonal quilts, these quilted Halloween table runner ideas can help you plan a coordinated autumn sewing project.
5. Flannel Rag Quilt Easy Beginner Tutorial
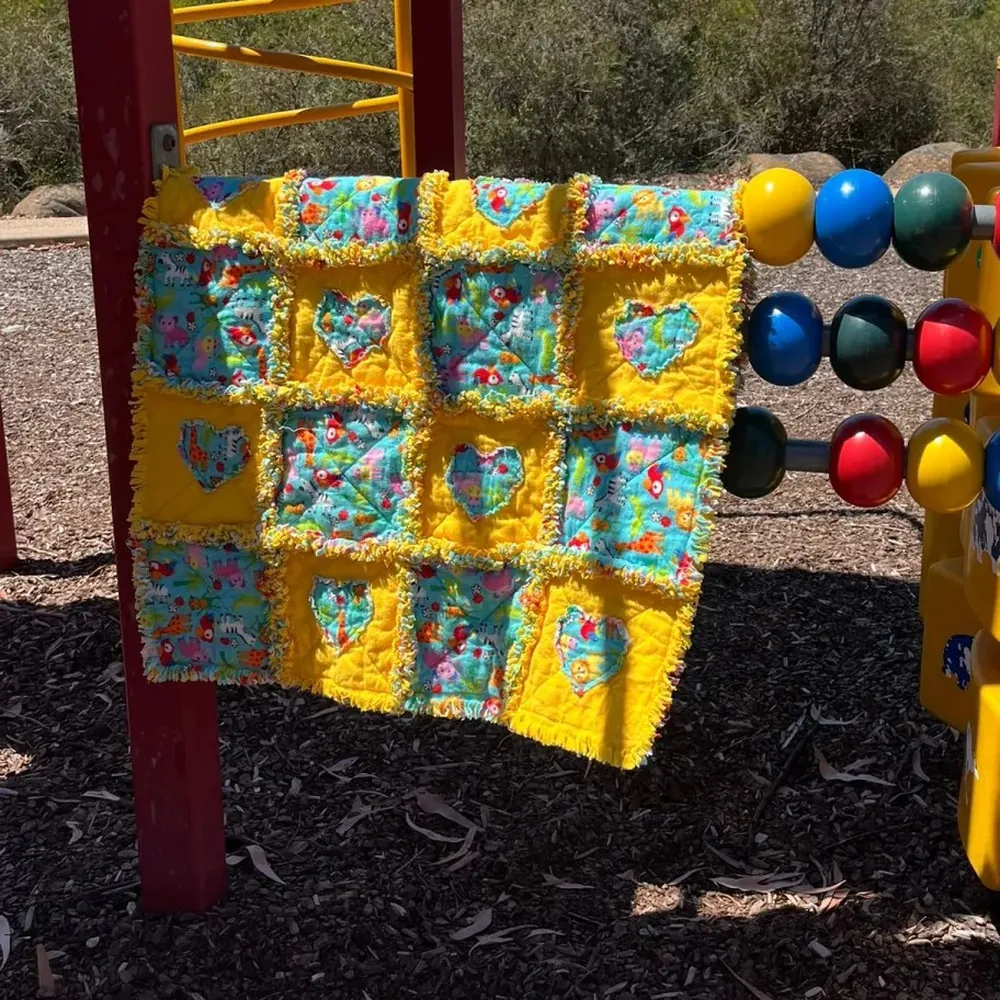
Skill level: Beginner
Time to Make: 6 to 9 hours
Flannel is a natural choice when you want a soft rag quilt with comfortable frayed edges. You can keep the project simple with a few coordinating fabrics or make it more scrappy by mixing prints from your stash.
The fabric choice also gives you plenty of room to change the personality of the finished quilt. Before you start cutting, think about how the prints will look next to one another after the seams are clipped and washed. A wool pressing mat can be useful for keeping your pressing station convenient during repeated piecing.
6. How to Make a Rag Quilt Easy Way
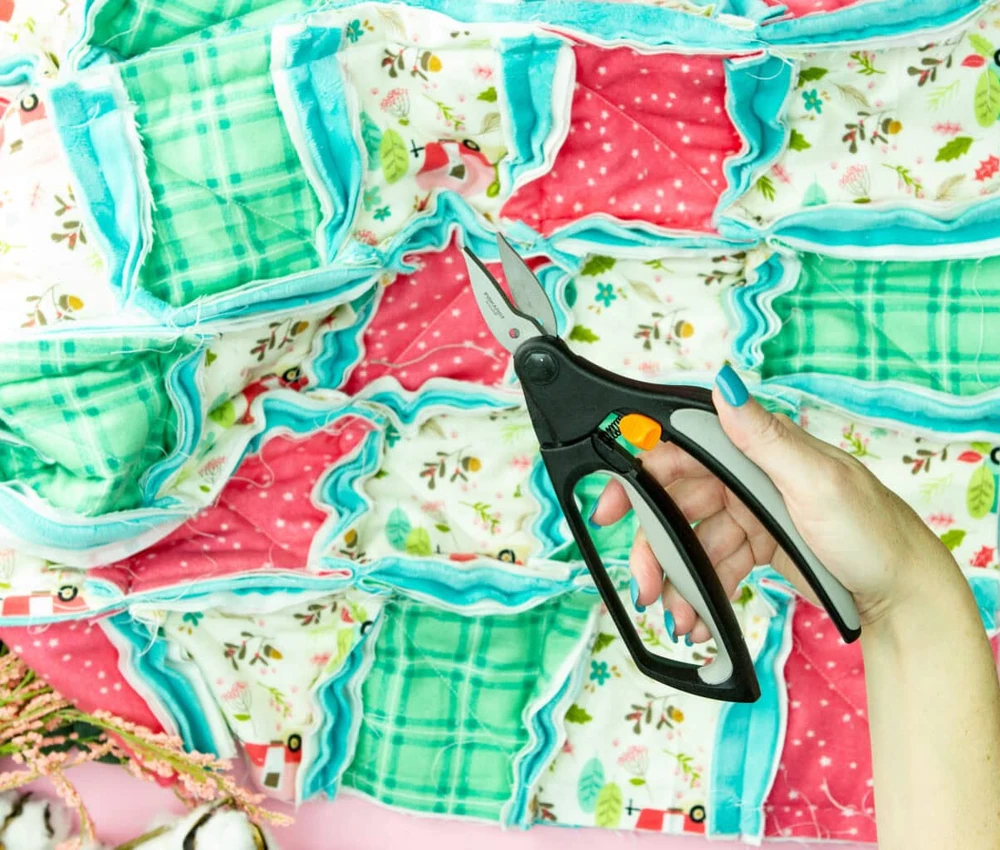
Skill level: Beginner
Time to Make: 6 to 8 hours
You can follow this beginner-focused tutorial when you want a simple route into rag quilting. The project covers the basic decisions that come before sewing, including fabric selection, block preparation, layering, and the finishing process that creates the frayed effect.
Rag quilts are also forgiving enough for you to learn as you go. If your seams are not perfectly identical at first, the finished texture can make small variations much less noticeable. For more projects designed with beginner quilters in mind, these scrappy quilts beginners can actually finish are worth a look.
7. Free Rag Quilt Pattern and Tutorial
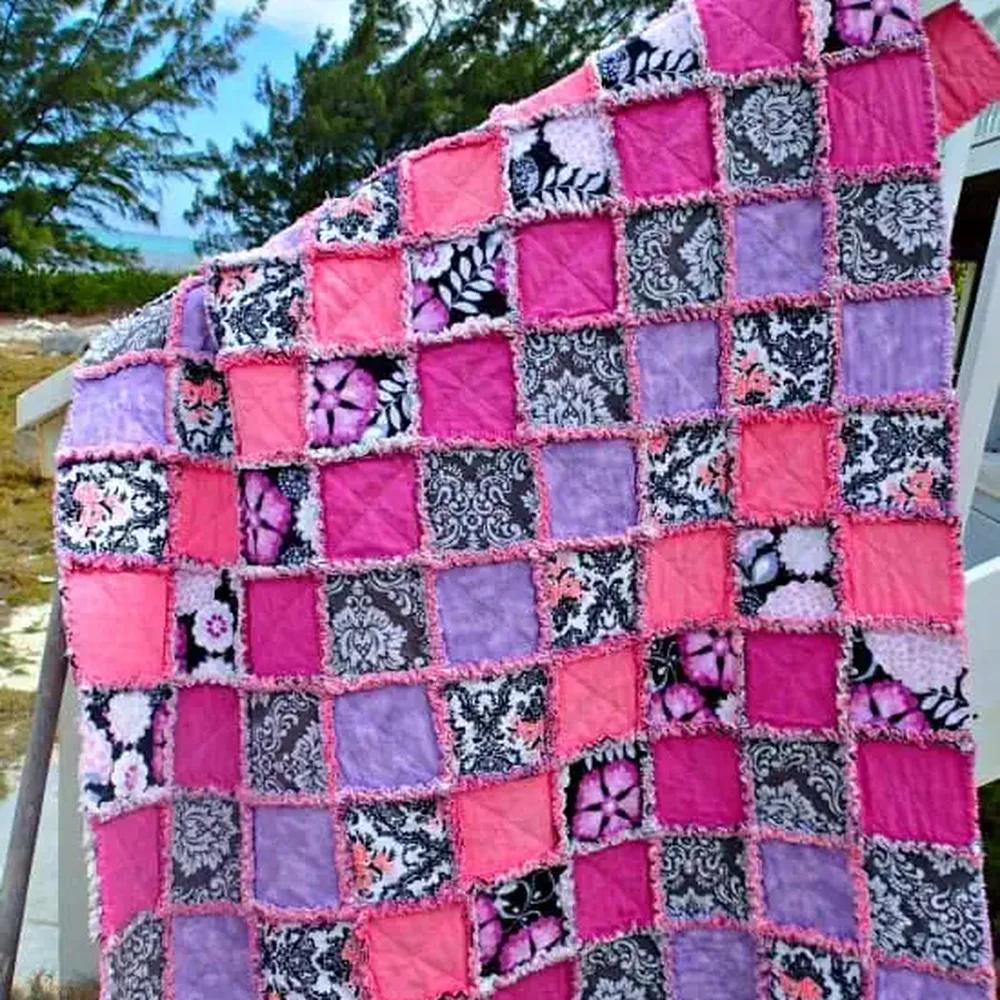
Skill level: Beginner
Time to Make: 6 to 9 hours
You can keep this project simple and let your fabric collection provide most of the personality. A rag quilt is particularly useful when you have several fabrics that coordinate reasonably well but do not necessarily belong to the same collection.
Try laying all your pieces out before you start sewing so you can move similar prints apart and create a balanced arrangement. If you are working with smaller leftover pieces, these miniature quilt patterns for scrap fabric can help you use what remains after the main quilt is finished.
8. Easy Layer Cake Rag Quilt Pattern
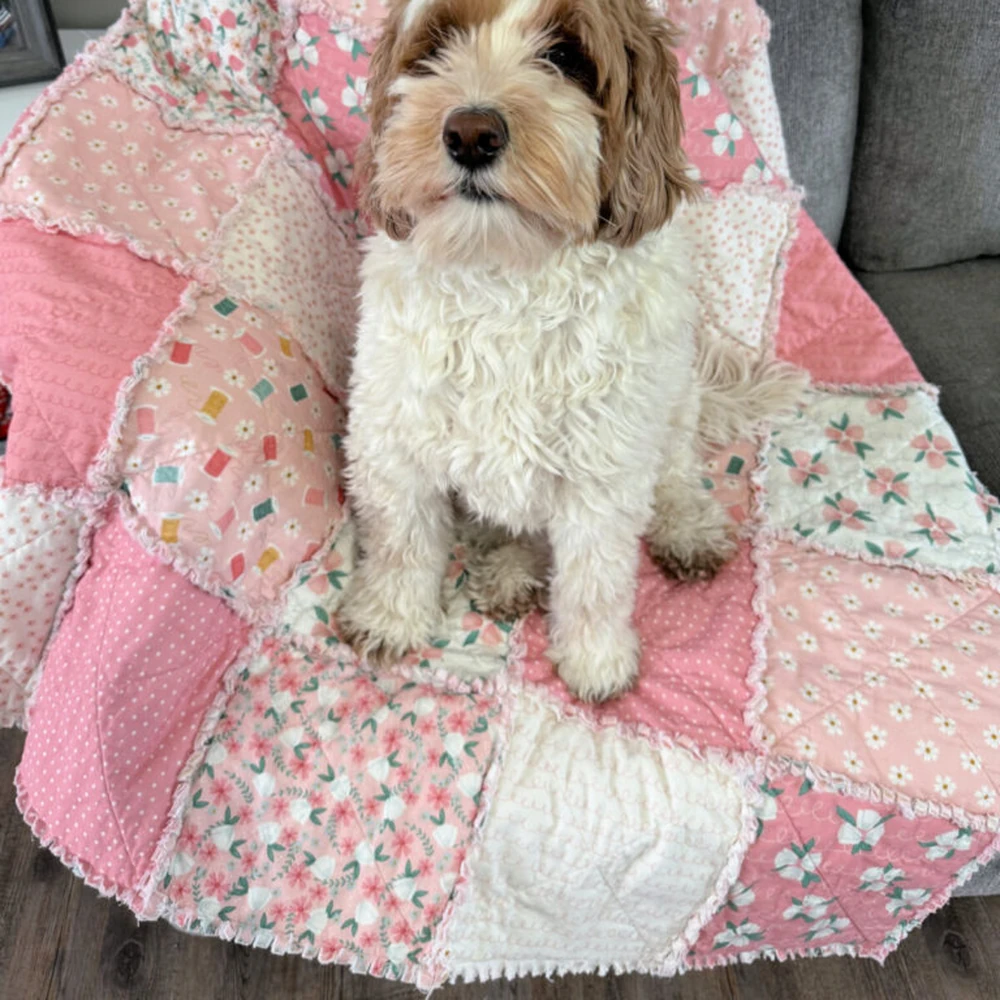
Skill level: Beginner
Time to Make: 6 to 9 hours
If you already have a Layer Cake in your stash, this is a convenient way to turn those precut pieces into a cozy rag quilt. Starting with precut fabric removes much of the measuring and cutting work, leaving you more time to focus on assembling and finishing the quilt.
You can also use the same idea with a coordinated collection of your own squares if you do not have a Layer Cake available. A pair of Organ Quilting Needles can be a useful addition to your sewing supplies when you are working through multiple layers.
9. Quick and Easy Rag Quilt DIY Project
Skill level: Beginner
Time to Make: 5 to 8 hours
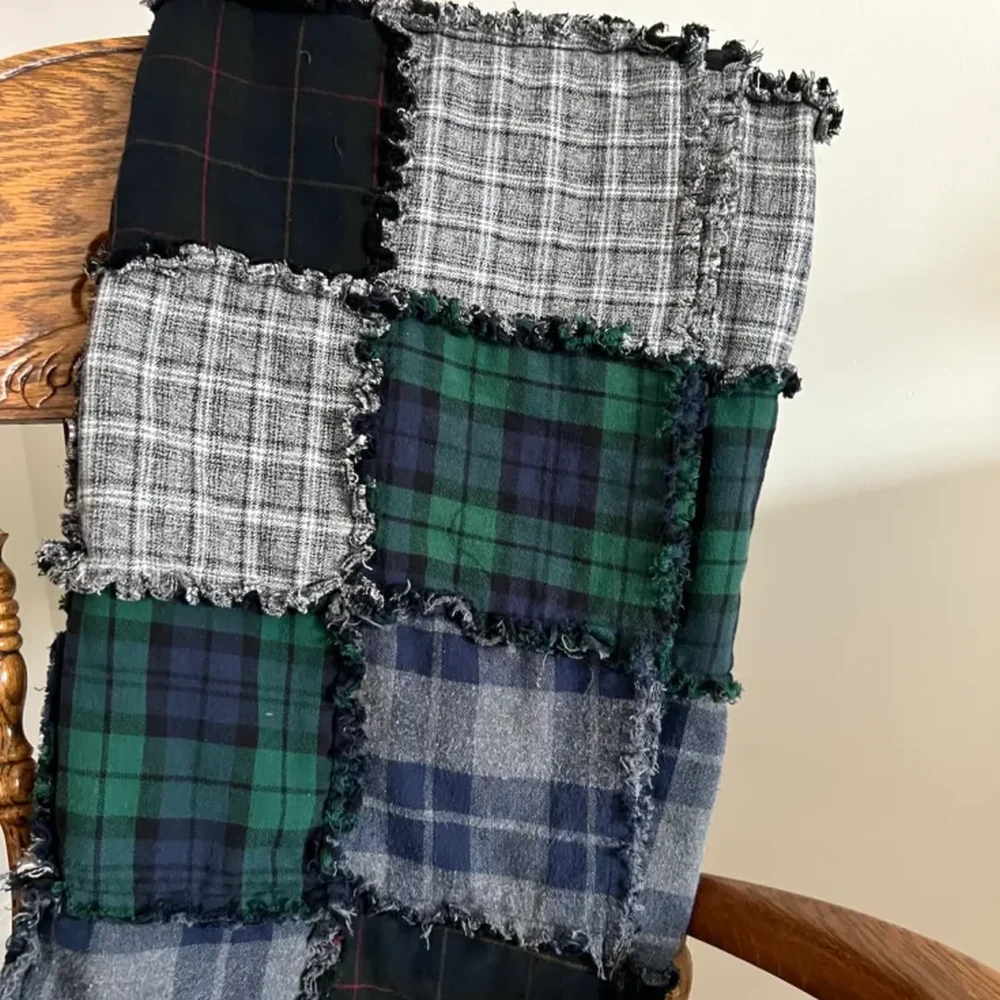
You can reach for this tutorial when you want a no fuss quilting project that gets you sewing quickly. The basic construction makes it approachable for someone who is still learning quilting fundamentals, while the ragged seams add plenty of texture without requiring complicated quilting motifs.
This is also the kind of project you can break into smaller sessions if you do not have an entire day available. Prepare the pieces first, sew the blocks next, and leave clipping and washing for the final stage. For another quick fabric project, these quilted sunglasses case patterns can make a useful companion project.
10. Rustic Rag Quilt Tutorial
Skill level: Beginner
Time to Make: 7 to 10 hours
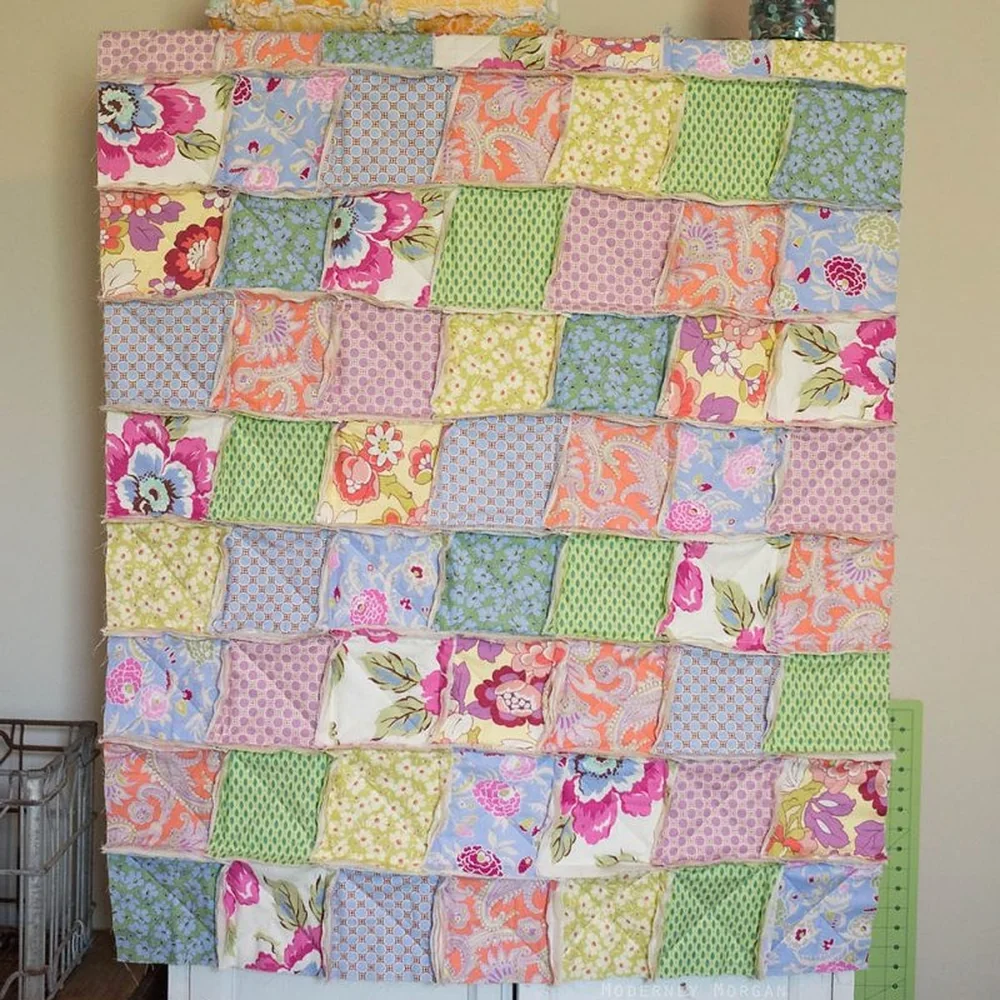
You can lean into the relaxed character of rag quilting with this rustic approach. The style is intentionally casual, so you do not need to worry about making every tiny detail look perfectly uniform. That makes it particularly welcoming when you are still building confidence with quilting.
Choose fabrics that work together without worrying about creating a perfectly matched collection. A mixture of solids, small prints, and soft neutrals can give the finished quilt a comfortable handmade feel. When you are preparing lots of pieces, rotary cutter replacement blades can help keep your cuts clean and consistent.
11. Double Four Patch Rag Quilt Pattern
Skill level: Beginner to Intermediate
Time to Make: 8 to 12 hours
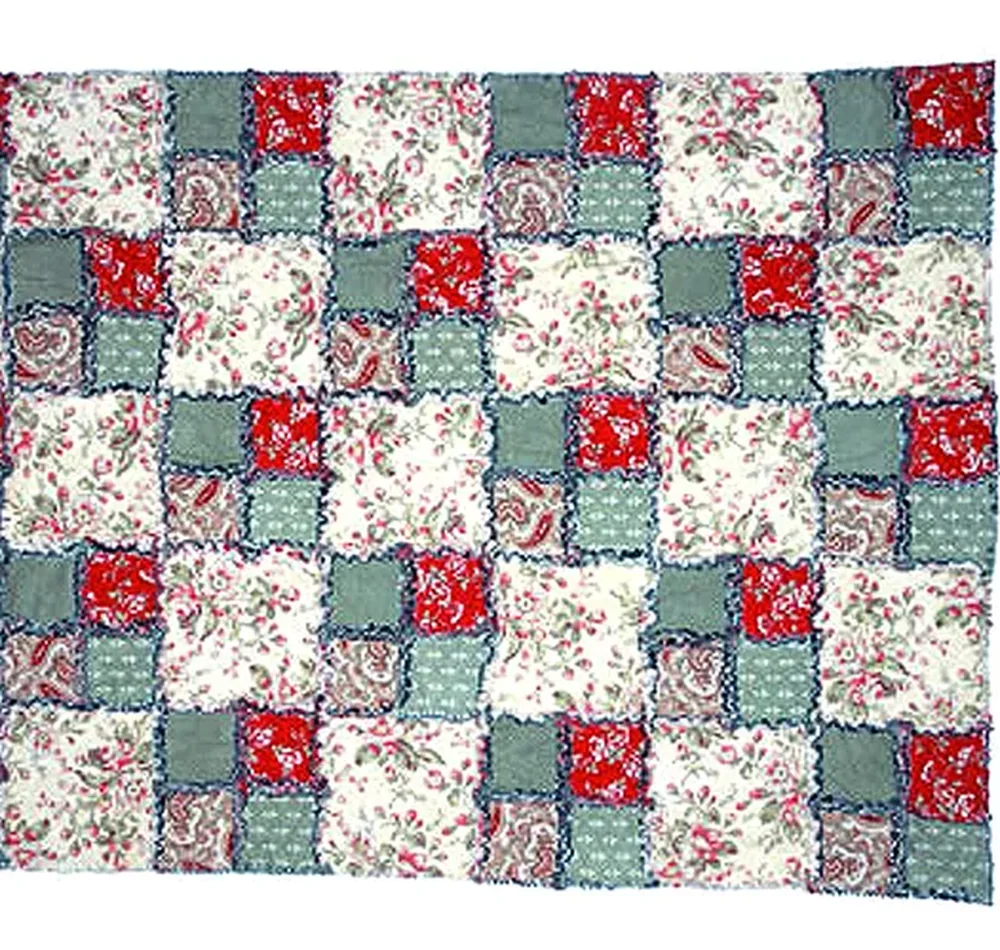
You can add a little more traditional patchwork structure to your rag quilt with a Double Four Patch arrangement. The repeated blocks give you a clear pattern to work with, but the ragged seams keep the finished quilt relaxed and casual.
This is a good project if you already feel comfortable with basic squares and want to see how they can create a larger repeating design. You can use a coordinated fabric collection or work from scraps for a more varied result. If you enjoy traditional blocks with a playful twist, these Ribbon Dance quilt patterns are another direction to consider.
Tips for Making a Softer Rag Quilt
Give yourself enough room to work when you start clipping the seams. There can be a surprising amount of repetitive snipping, and good scissors make the job considerably more comfortable. Take short breaks instead of trying to finish all the clipping in one sitting.
Think about fabric behavior before you start cutting. Flannel tends to create a soft, fuzzy fringe, but different fabrics can fray at different rates. Mixing fabrics with very different weights can also affect how the seams sit, so test a small layered sample if you are unsure.
Keep the backing and batting choices in mind from the beginning rather than treating them as an afterthought. The number of layers affects both warmth and how easily the quilt moves under your machine. If you need a layer for structure in another quilted project, Pellon Fusible Interfacing is another useful material to keep in your sewing supplies.
Common Rag Quilt Mistakes to Avoid
Do not clip through the stitching when creating the ragged edges. It is tempting to work quickly once you have hundreds of little cuts to make, but one snip in the wrong place can open a seam. Slow down around corners and bulky intersections.
Avoid assuming that every fabric will fray in the same way. A fabric that looks suitable beside your flannel may produce a completely different edge after washing. Make a small sample if you are combining unfamiliar materials. And if you have a growing pile of leftovers in your sewing room, these easy scrap quilting projects can give you even more ways to put them to use.
Do not ignore the bulk of the quilt when sewing the rows together. Several layers can become heavy and awkward under the machine, so support the quilt with your sewing table or another flat surface rather than letting the weight pull against the needle.
Rag quilts are wonderfully approachable because you can focus on the parts of quilting that matter most to you without needing every seam to look perfectly formal. You can make one from flannel, scraps, precuts, or coordinated yardage and create anything from a small baby quilt to a substantial throw.
Start with the simplest pattern that matches your experience, especially if this is your first rag quilt. Once you understand how the layers, seams, clipping, and washing work together, you can experiment with different fabrics and block arrangements to make the style your own.