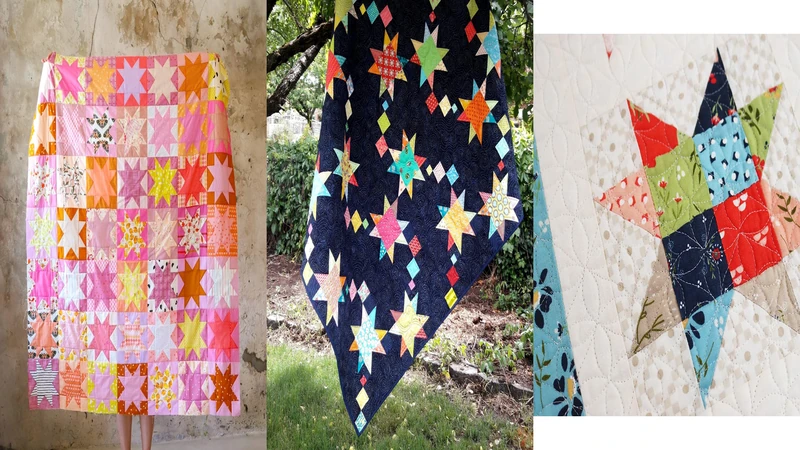
Draw a star on a napkin, and you will probably sketch five quick points and call it done. Quilters take the long way around, and honestly, the long way is worth it. A sawtooth star is built from humble squares and triangles, yet it ends up looking like something that took real skill. We gathered nine sawtooth star quilt patterns below, from a first block you can finish tonight to quilt alongs that stretch across several weeks, so let’s find the one that suits you.
Sawtooth Star Quilt Patterns Worth Sewing Today
Looking for the pattern or tutorial? You’ll find the source link right below each image. Some featured projects are shared for inspiration, so not every image includes a step-by-step tutorial!
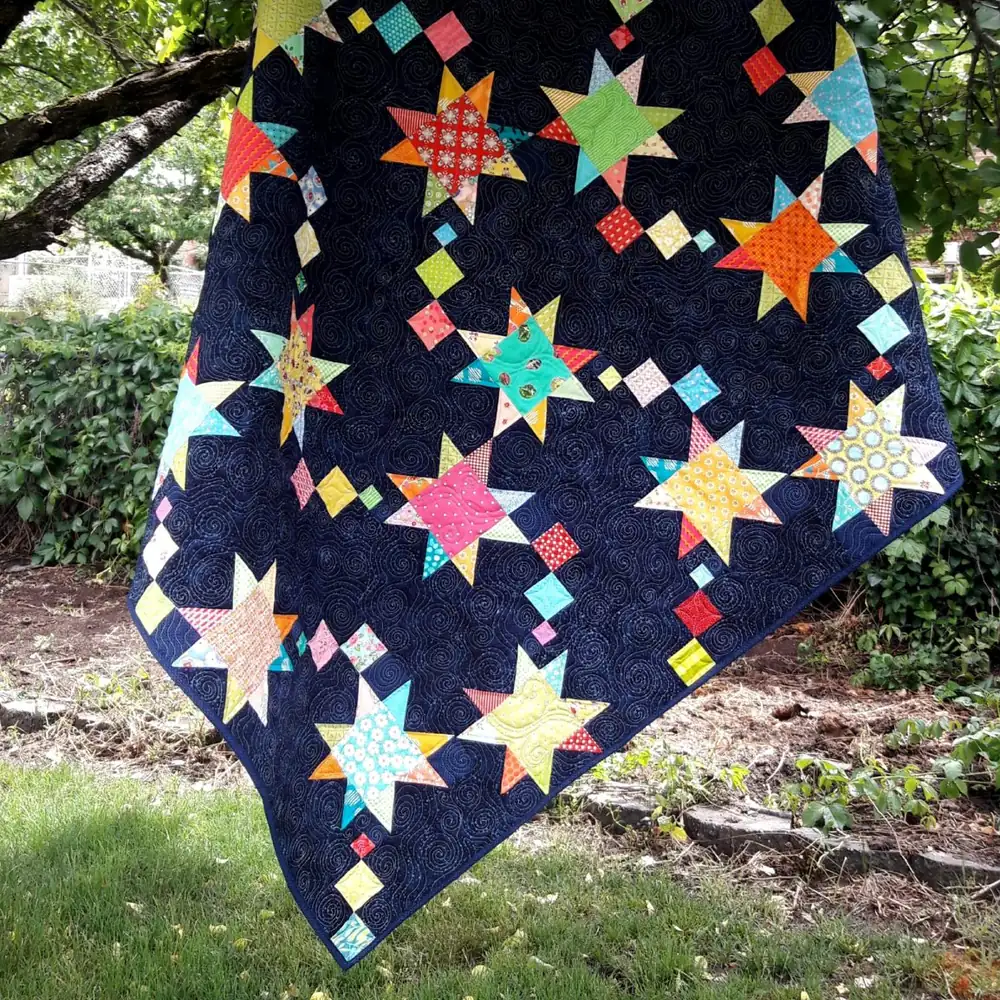
1. Sawtooth Star Quilt Tutorial
Skill Level: Beginner
Time to Make: One afternoon
Every sawtooth star is built from the same simple parts: a center square, four corner squares, and four little triangle units called flying geese. Learn those pieces once and every variation after this one feels familiar. Here’s what we recommend doing before you cut for a whole quilt.
Make a single test block first, because it shows right away whether your seam allowance is on target. It is the friendliest way to meet the star, and you can finish it in an evening.
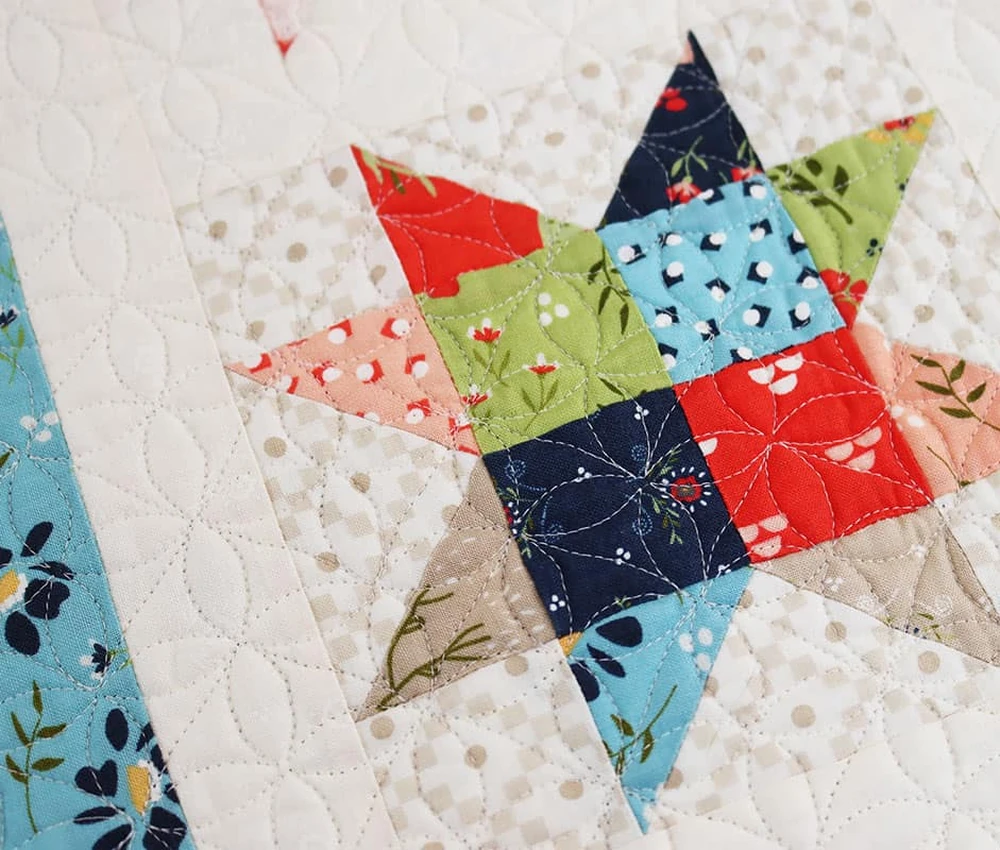
2. Scrappy Sawtooth Star Quilt Block
Skill Level: Beginner
Time to Make: A weekend
Scrappy means letting go of matching everything, and stars make a wonderful excuse to do that. Pull your star fabrics from leftovers, then choose one background fabric that stays the same in every block. That quiet constant is what makes all the mixing look intentional instead of chaotic.
Cut a few extra pieces of each fabric too, so you can swap one out if a combination does not feel right once it is sewn.
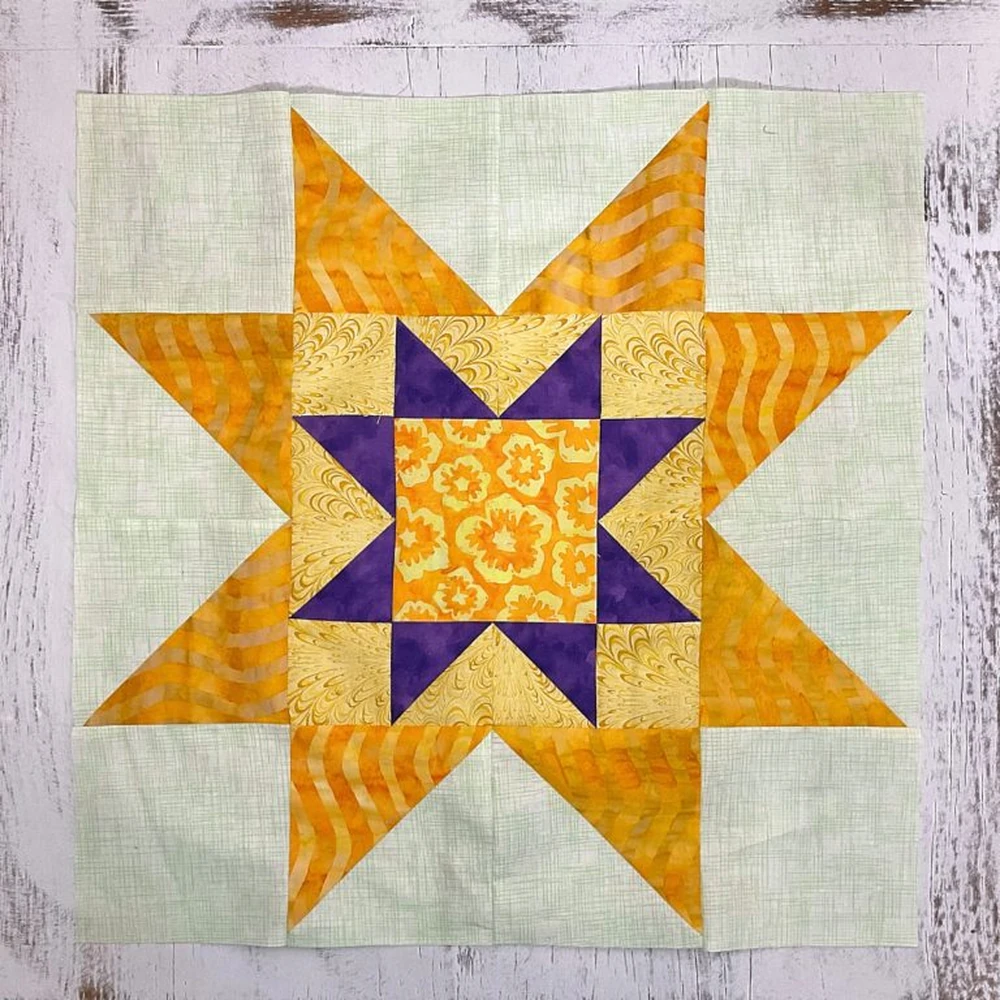
3. How to Make a Large Sawtooth Star Quilt
Skill Level: Confident beginner
Time to Make: A weekend
Going bigger changes the whole feel, because one large star can carry a quilt top with just a few blocks. Larger pieces are easier to handle, though the math shifts, so double-check your cutting measurements before slicing into good fabric.
If you want to see how other sizes behave, the collection of twelve inch quilt blocks is a handy reference for planning dimensions. Big stars also leave open space that gives your quilting stitches room to shine.
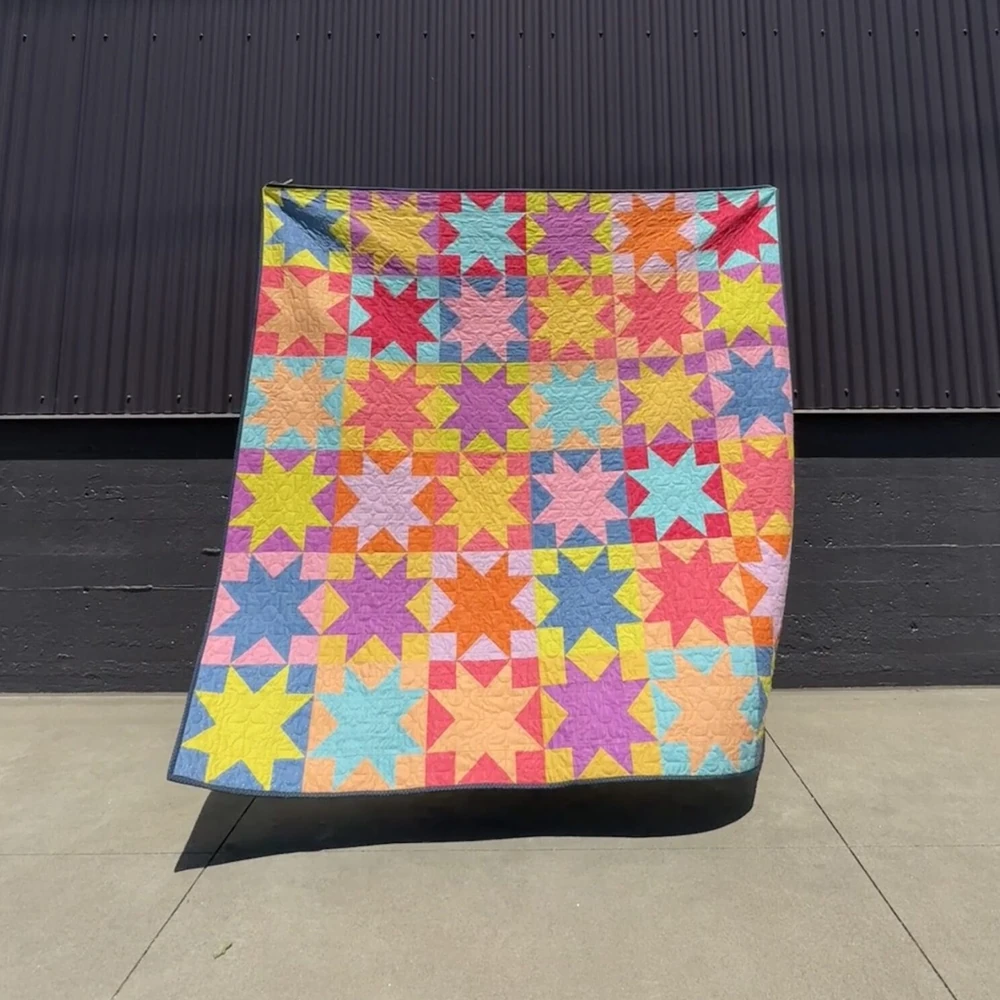
4. Essence Sawtooth Stars Quilt Pattern
Skill Level: Confident beginner
Time to Make: A weekend
Patterns that repeat the same star across a whole quilt reward you for getting one block right, so take your time with the first few. Chain piecing, which means feeding units through the machine one after another without snipping the thread, saves hours once you start making stars in batches.
All those points are triangles at heart, and if you enjoy them, triangle quilt patterns are a great place to explore more. Trim each unit to size before assembling, and your stars will line up neatly.
5. Sawtooth Star Quilt FREE Block Pattern
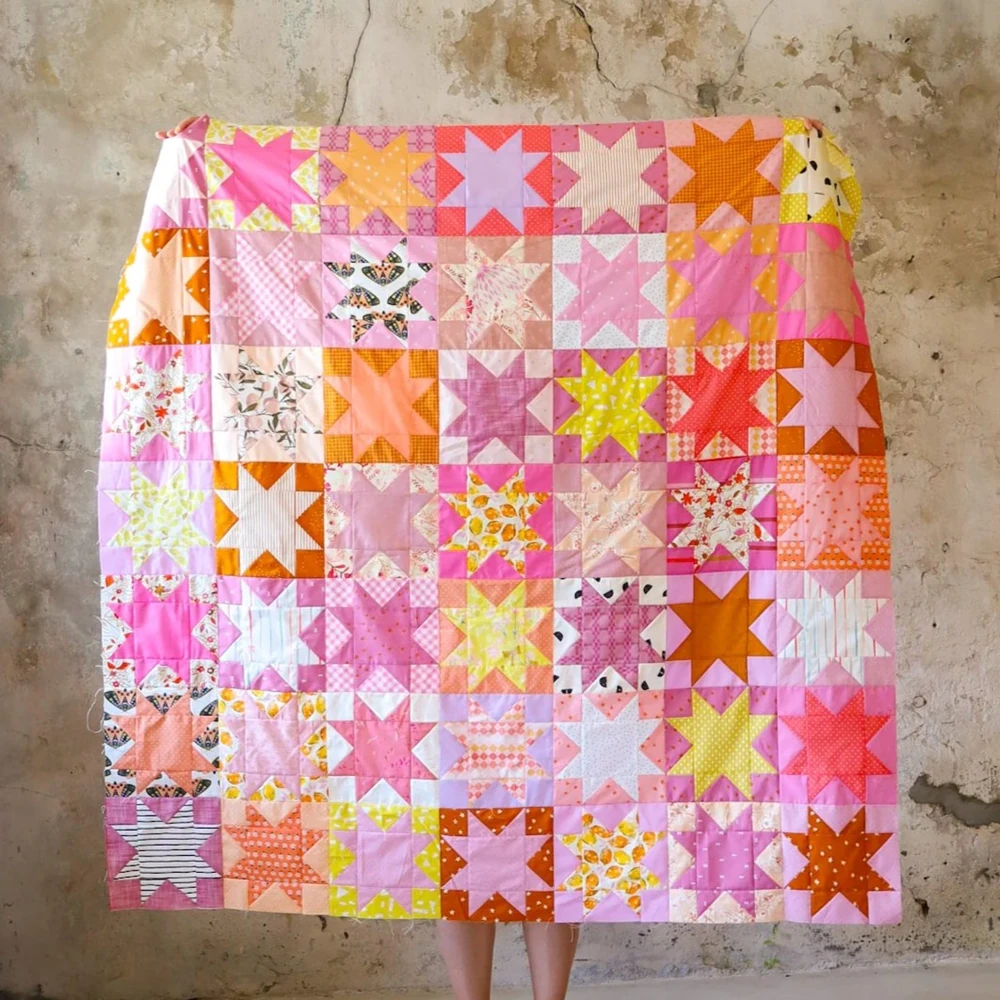
Skill Level: Beginner
Time to Make: A few hours
Free block patterns are a lovely way to try the star without committing to a full quilt. Think of the block as a little grid, with the small units sitting in a ring around the center, and that picture makes the order of sewing easy to remember.
The same grid thinking shows up in four patch quilt patterns, where simple two-by-two arrangements teach you how seams nest together. Press consistently, and let your seams nest where they meet.
6. Sawtooth Star Quilt Block Tutorial
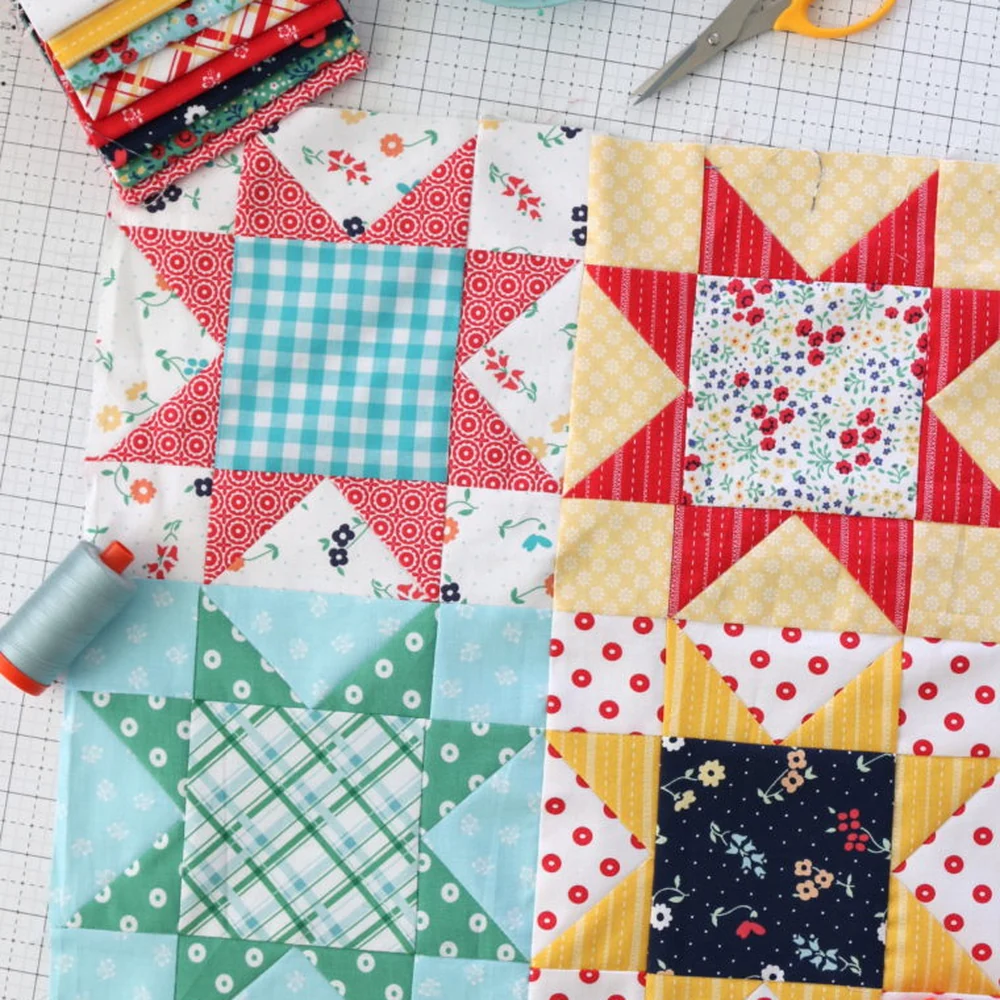
Skill Level: Beginner
Time to Make: One afternoon
Step-by-step tutorials are worth reading all the way through before you touch your fabric, because small details like which way to press love to hide in the middle. Points are where quilters hold their breath, and you can do this with a simple habit.
Sew a scant quarter inch, just a thread shy of a full quarter inch, and your points will not get swallowed by the seam allowance. If trimming triangle units feels new, half square triangle patterns build the same skill with simpler pieces.
7. Sawtooth Star Quilt Block Classic DIY
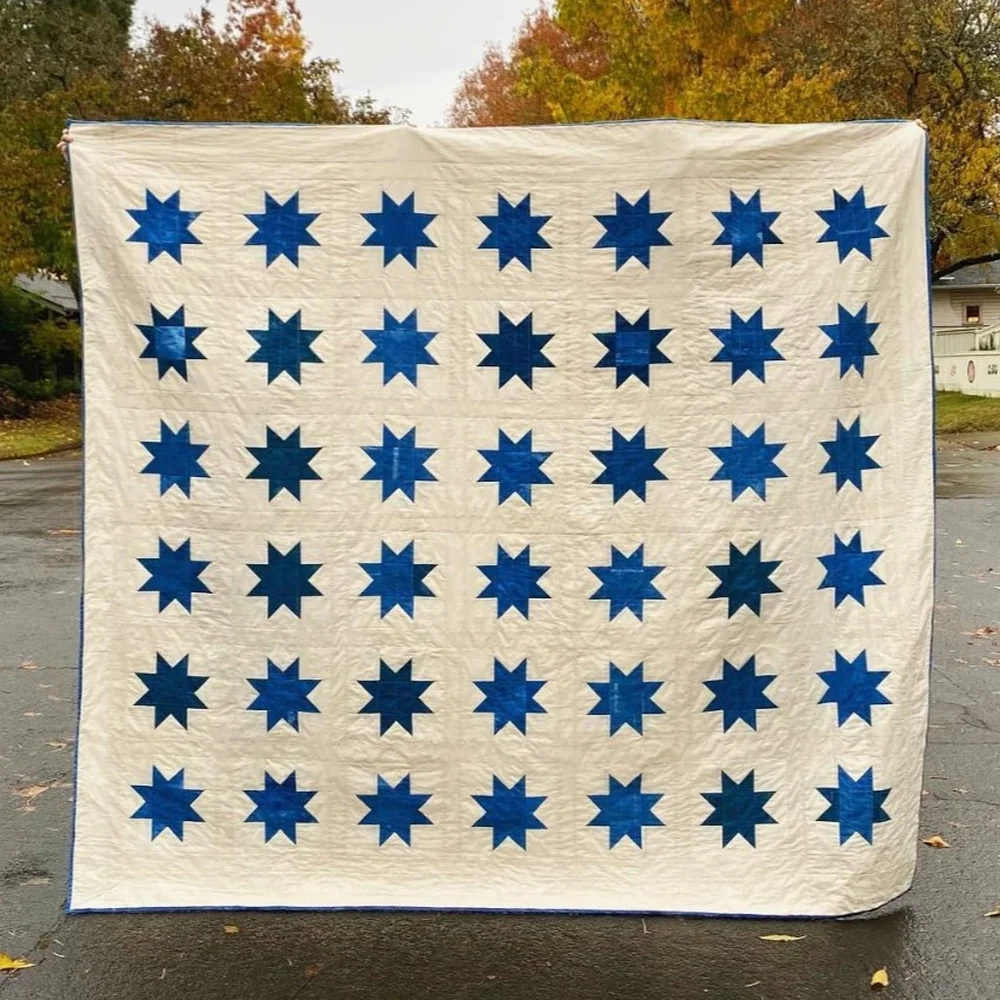
Skill Level: Beginner
Time to Make: A weekend
Classic blocks have lasted for generations because they sit on a plain grid, and the sawtooth star is really a nine patch in disguise, three rows of three pieces each.
That makes it a natural next step once you are comfortable with nine patch quilt patterns. Lay out all nine pieces on a table before sewing so every unit faces the right way, since one flipped triangle is the most common surprise. Sew the rows first, then join them.
8. Quilt Along for Sawtooth Star Quilt
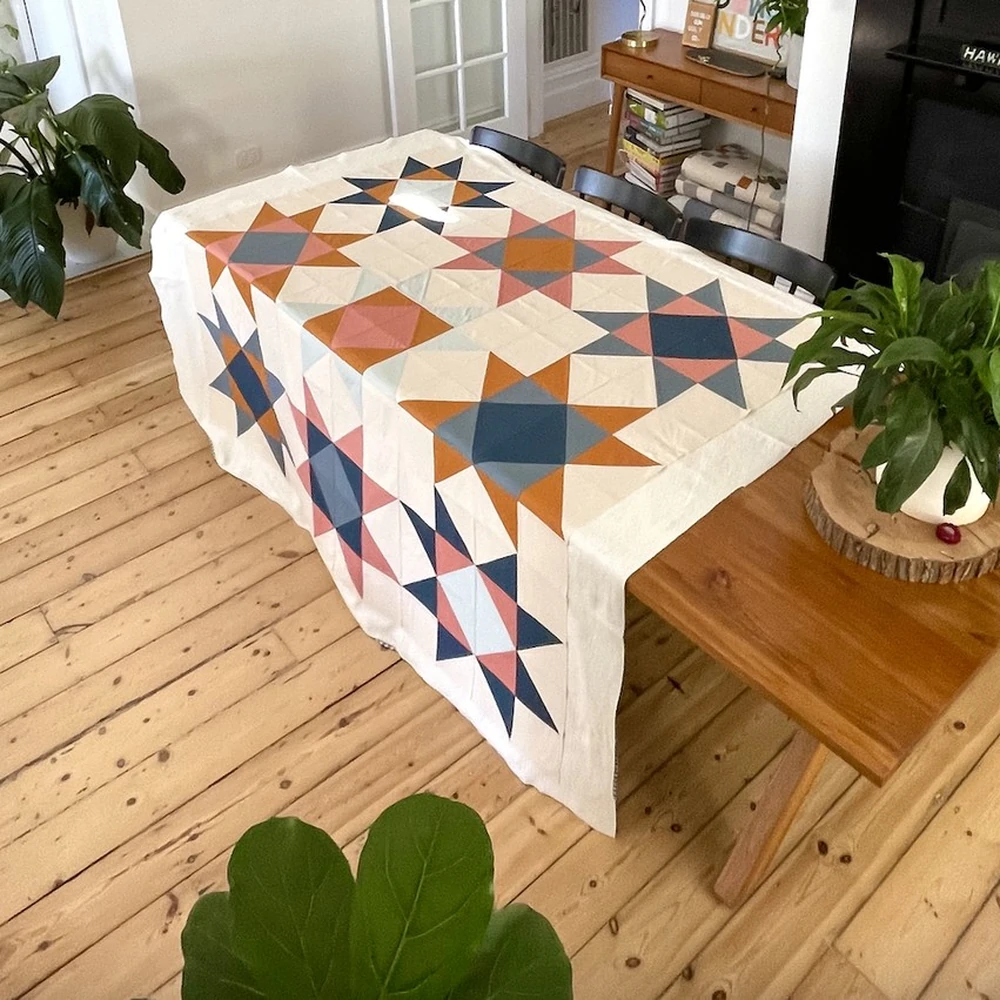
Skill Level: Beginner
Time to Make: Several weeks
Quilt alongs give you the gentle structure of a weekly deadline without real pressure, a lovely way to finish a bigger project. You make a block at a time while the quilt quietly grows in the background of your life.
Finishing each block as you go is a smart move too, and quilt as you go methods show how to keep your layers flat and manageable. Keep finished blocks in a labeled pile so none wander off between weeks.
9. Simple Sawtooth Star Quilt Pattern
Skill Level: Beginner
Time to Make: A weekend
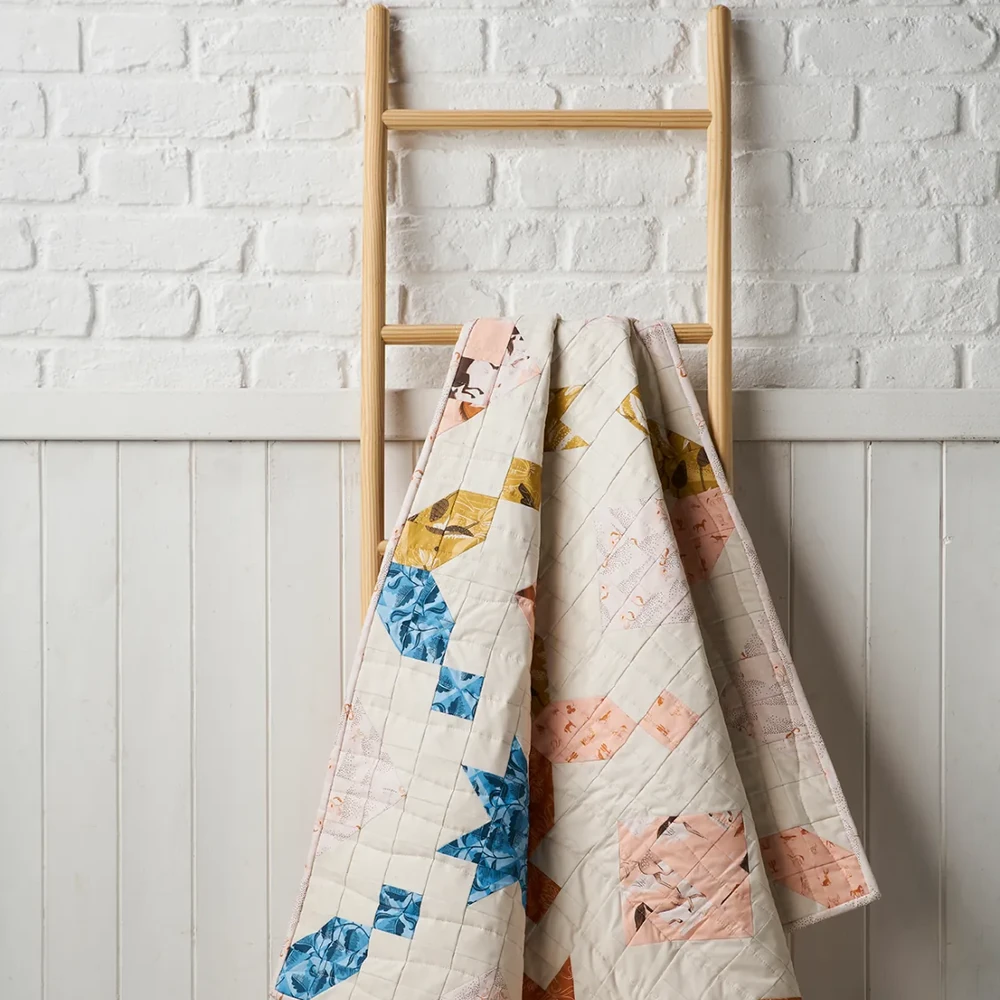
Simple does not have to mean plain, and a repeated star feels wonderfully cozy once it is quilted. Soft, brushed fabrics make a star quilt especially inviting, and flannel quilt patterns explain how to handle a fabric that stretches more than regular cotton.
Prewash it first, press instead of dragging your iron, and lengthen your stitch just a little. Quilt straight lines along the star edges to finish the whole thing beautifully.
Little Habits That Make Stars Sparkle
Contrast is everything with a sawtooth star. If the star and its background are close in lightness, the points melt away, so squint at your fabrics from across the room before you cut.
Measure the width of each strip before slicing it into squares or rectangles, because a strip that drifted in width gives you units that refuse to match. If your scrap basket is overflowing, scrap strip quilt patterns are a happy home for the pieces too small for stars.
Here is a small trick that helps beginners. Cut a few extra pieces when you start, which covers you if one stretches or gets sewn wrong, and nothing is worse than running out of a favorite fabric halfway through. Cutting strips first and then subcutting is often faster, and beginner strip quilt patterns explain how to do it accurately.
Finally, press as you sew. It takes a few seconds and makes every intersection easier to match.
Where Sawtooth Stars Go Sideways
Starting a seasonal star quilt too late is the classic trap. Pieced quilts take longer than they look, and the same thing happens every autumn to people planning Halloween quilt ideas in October. Give yourself a few extra weeks, and you will actually enjoy the sewing.
Lopped off points are the mistake nearly every star quilter makes at least once. It happens when the seam lands right on top of the point instead of a hair beyond it. Check the back of your unit, find the spot where the stitching lines cross, and sew just outside it. If you love shapes with that kind of point, Christmas tree quilt patterns are another triangle-heavy design that rewards the same careful seams.
Another easy slip is skipping the test block. One trial star takes an hour and can save a whole quilt. And rushing the trim is the last one. Trimming units to their exact size is the step that makes everything else fit.
Now that your stars are lining up, you might wander over to these triangle quilt patterns next, because every point you just learned to sew has a few more cousins waiting there.