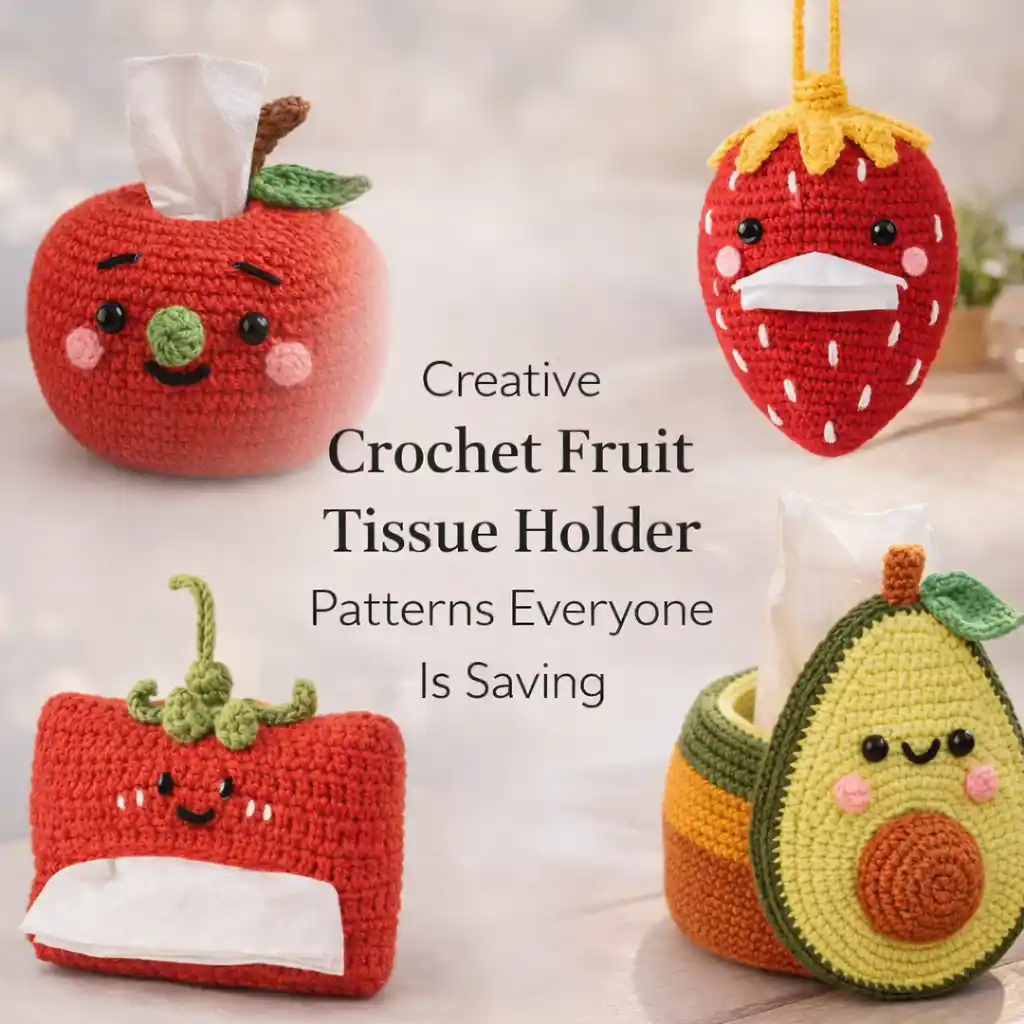
Crochet fruit tissue holder patterns are already practical, but turning them into such playful designs makes them even more fun to use and display. These projects combine functionality with decorative crochet in a way that feels creative without becoming overly complicated. Most fruit tissue holders rely on simple shaping and color placement rather than advanced stitches, which is exactly why they work so well for beginners looking to make something useful and eye catching at the same time.
Things You’ll Need
- Soft cotton yarn or lightweight acrylic yarn
- Small crochet hooks around 2 mm to 3.5 mm
- Yarn needle and sharp scissors
- A few basic beads or charms for extra detail
Crochet Fruit Tissue Holder Patterns
1. Apple Crochet Fruit Tissue Holder DIY
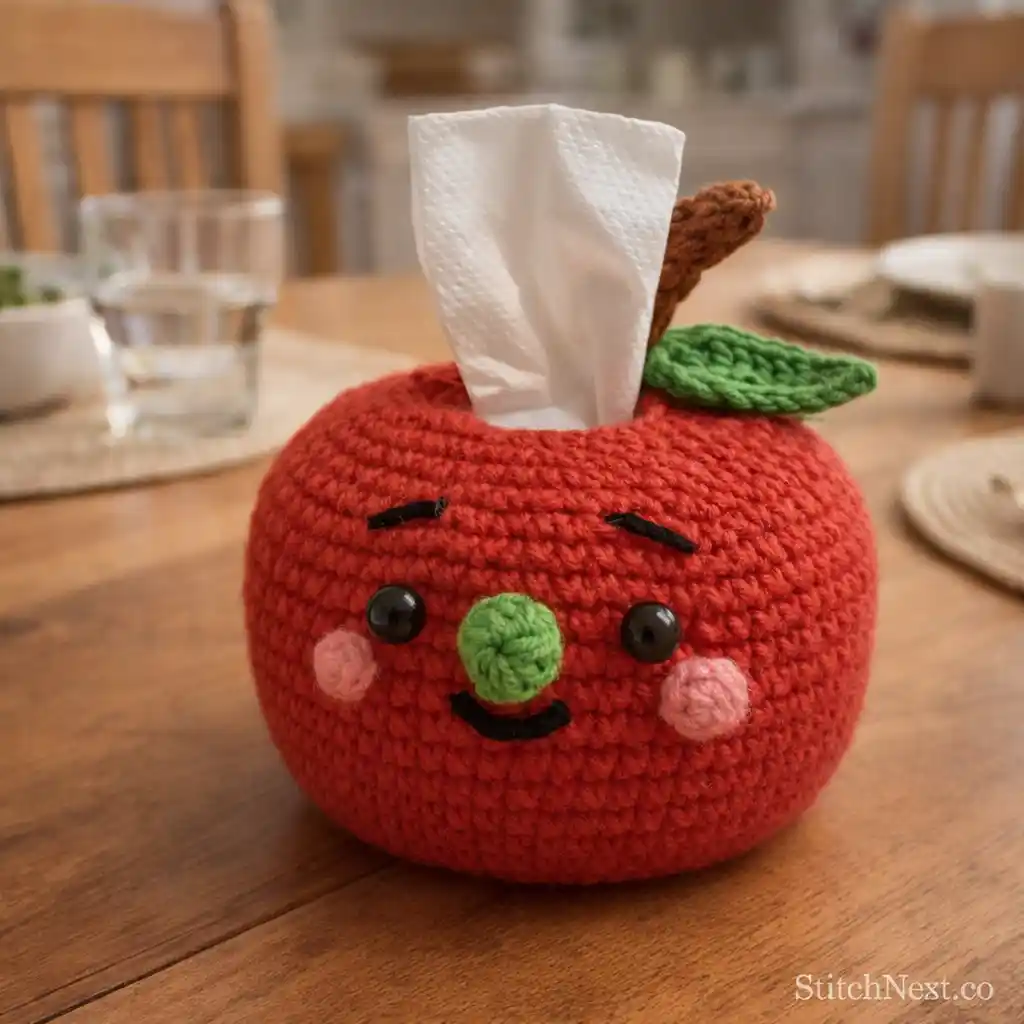
Skill level: Beginner to Intermediate
Time required: 1 to 2 hours
This apple tissue holder has a rounded shape that instantly feels playful without requiring difficult construction techniques. The curved body works best when the tension stays even throughout the project because loose sections can make the apple lose its shape once tissues are inserted.
Instead of stuffing the holder tightly while checking size, sliding an actual tissue pack inside during assembly gives a much more accurate fit. The YouTube tutorial linked here explains the shaping process clearly and keeps the design beginner friendly from start to finish.
2. Hanging Strawberry Crochet Fruit Tissue Pouch
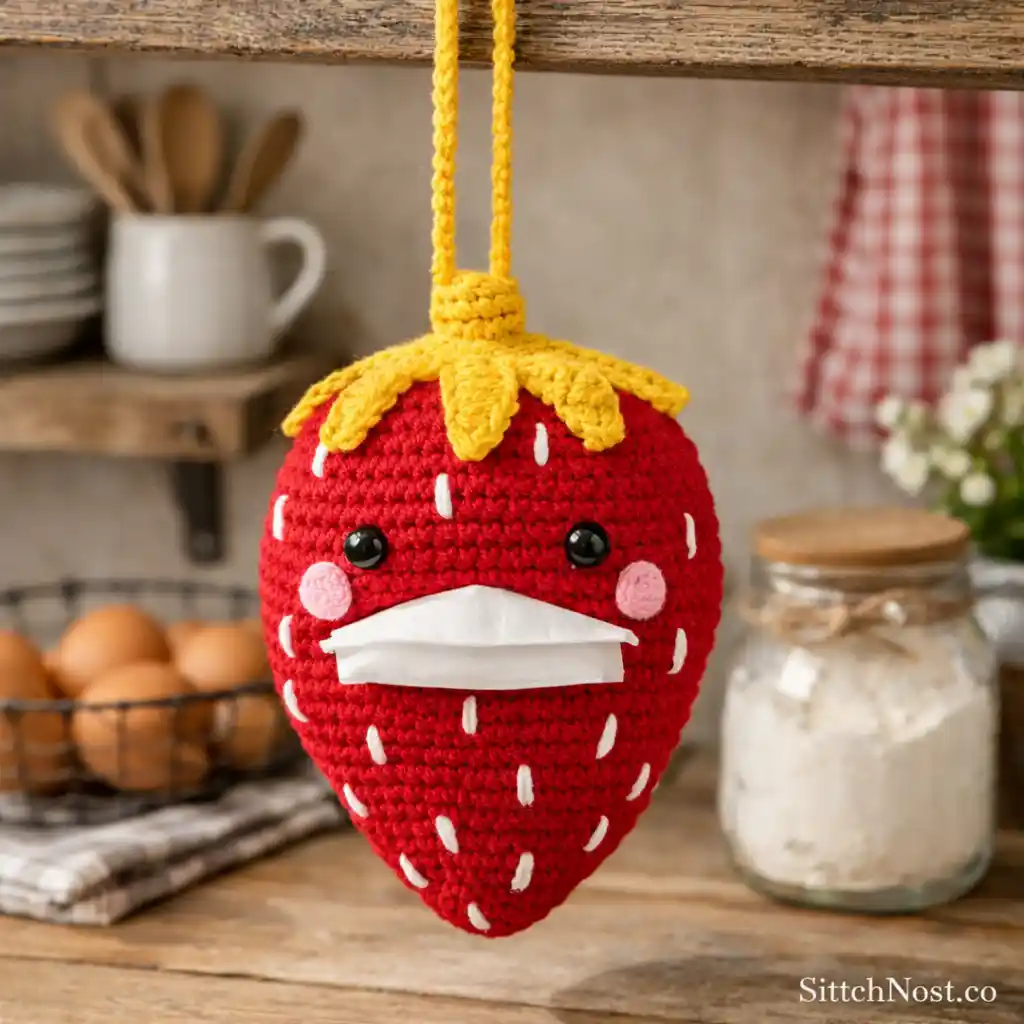
Skill level: Beginner
Time required: 45 minutes to 1 hour
A strawberry tissue pouch naturally works well as a hanging accessory because the tapered shape already resembles a small drawstring pouch once assembled. Tiny seed details and leaf sections give the finished project much more personality without adding too much extra work.
One thing that helps with strawberry projects is keeping the green top slightly firmer so the pouch opening holds its structure better over time. The Etsy pattern inspiration shared here is especially useful for understanding how the hanging loop and shaping come together cleanly.
3. Chiffon Cake with Crochet Fruit Topping Tissue Holder
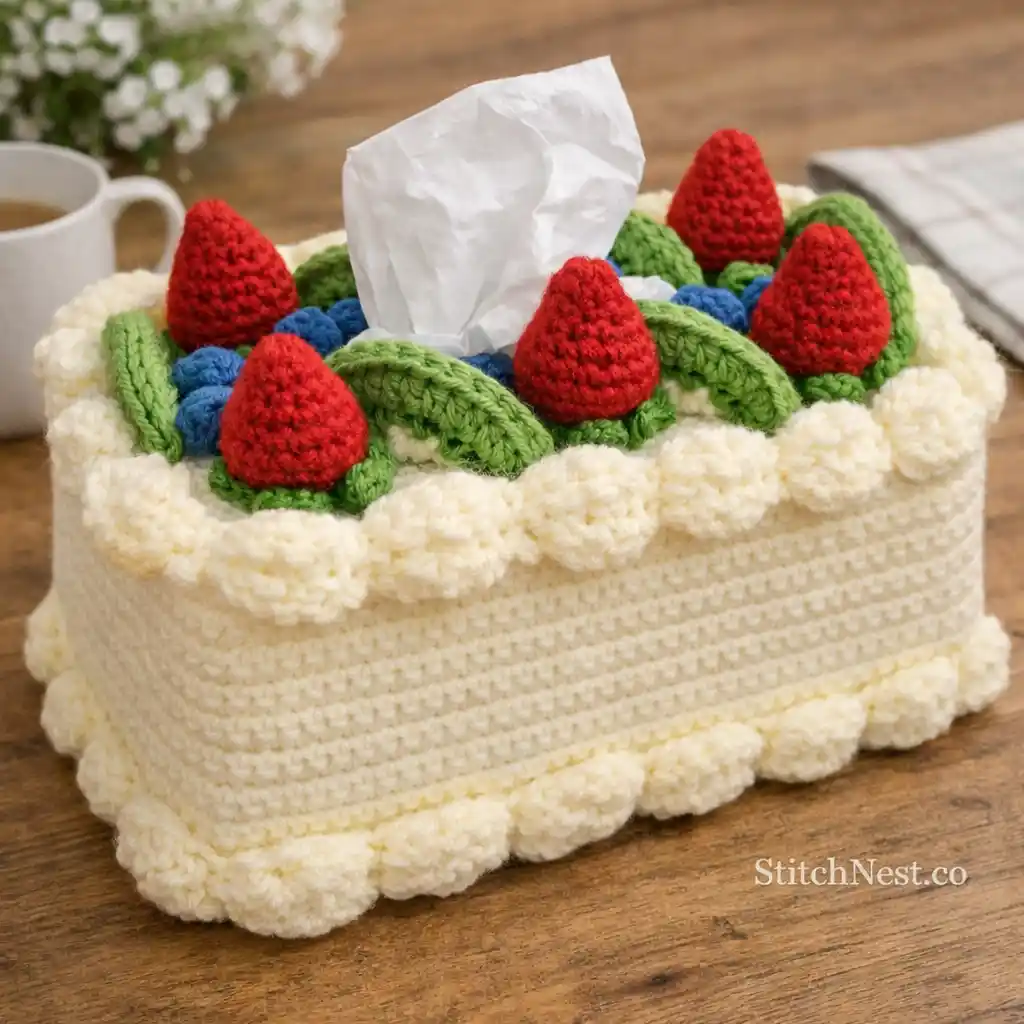
Skill level: Intermediate
Time required: 2 to 4 hours
This design blends dessert and fruit themes together in a way that immediately stands out once displayed in a room or workspace. Layered textures create most of the visual detail, so balanced color placement matters much more than complicated stitches here.
Before attaching decorative fruit toppings, arranging them loosely on top first usually helps the overall composition feel less crowded. Twinkie Chan explains the pattern thoughtfully and keeps the project playful without making it feel overwhelming.
4. Mini Tomato Tissue Pack
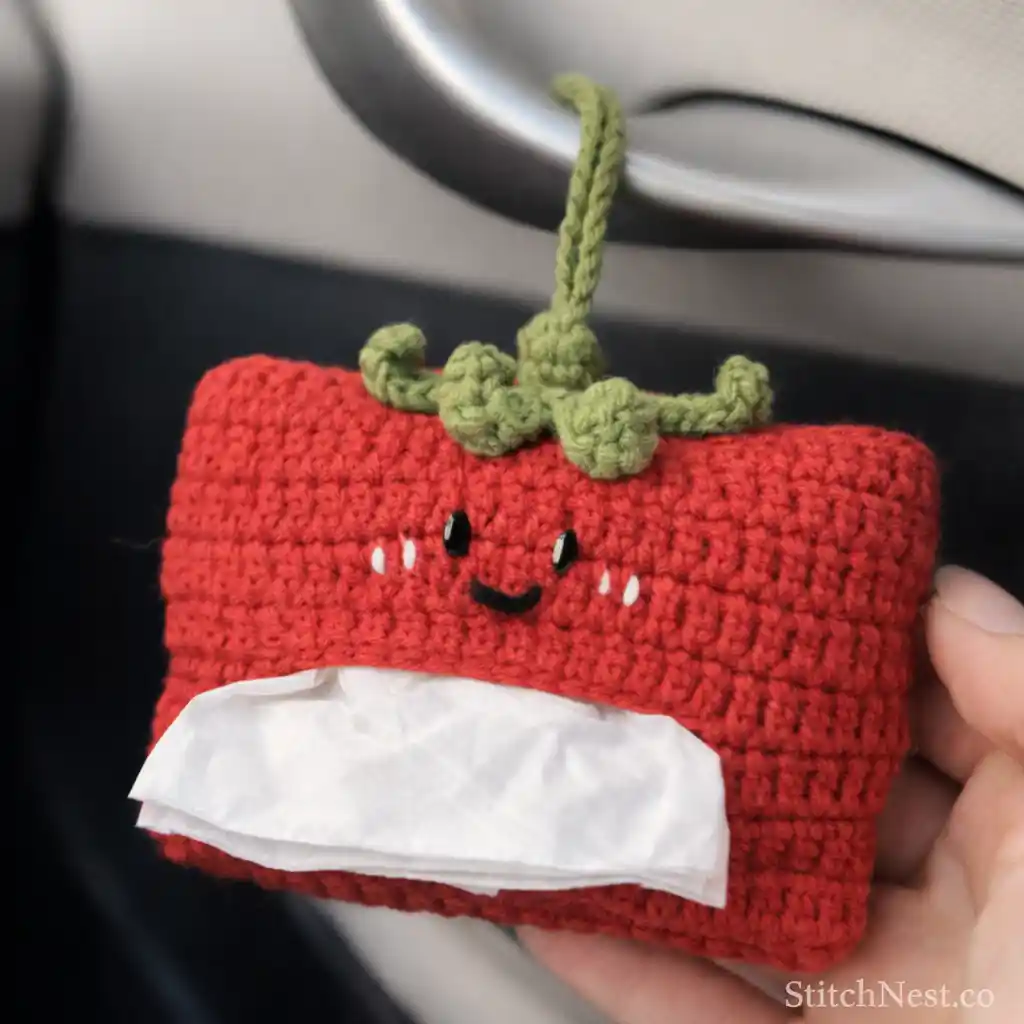
Skill level: Beginner
Time required: 30 to 45 minutes
Small tomato tissue packs have a compact and slightly quirky look that works especially well for bags, car storage, or desk accessories. Since the design stays minimal, clean shaping and neat finishing become much more important than adding extra decorative details.
Softer yarn can sometimes make rounded fruit shapes collapse slightly, so medium tension usually gives the holder better structure overall. The Instagram tutorial here is a good visual reference for seeing how a simple tomato design can still look polished and fun once completed.
5. Crochet Avocado Tissue Holder Pattern
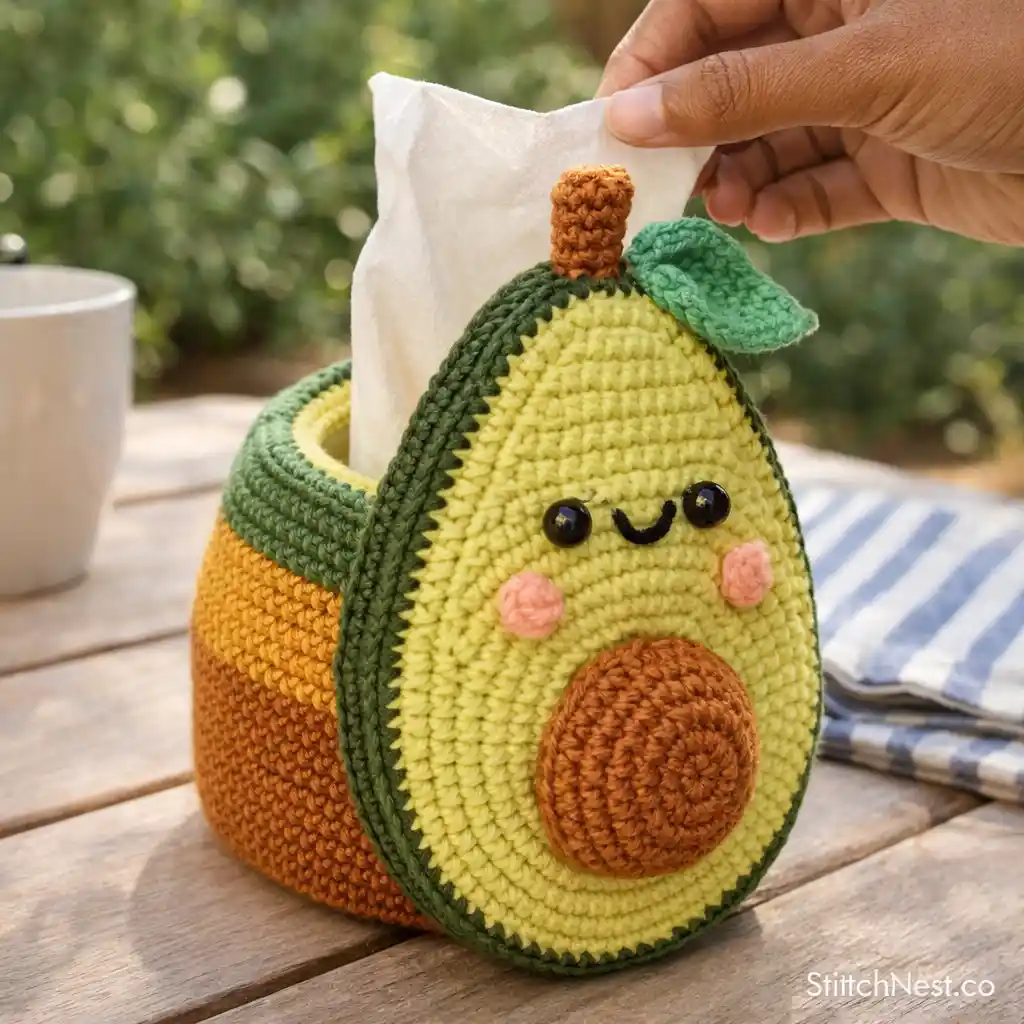
Skill level: Beginner to Intermediate
Time required: 1 to 2 hours
An avocado tissue holder creates a softer and more modern style compared to brighter fruit patterns because the shape itself already feels bold and recognizable. The contrast between the outer section and center “pit” becomes the main visual feature, which means cleaner color transitions make a noticeable difference in the finished result.
A useful habit is checking the tissue opening placement carefully before fastening off since uneven positioning becomes very visible once the holder is filled. The YouTube tutorial keeps the construction manageable and still makes the finished piece look detailed and gift worthy.
Common Mistakes When Making Crochet Tissue Holders
- Pulling stitches too tightly around curved sections, making the pouch lose flexibility
- Forgetting to size check with an actual tissue pack during assembly
- Overdecorating smaller holders with too many embellishments or layered details
- Skipping edge reinforcement around the tissue opening, which can stretch out quickly with use
Practical Tips to Make Crochet Fruit Tissue Holders Look Cleaner
Fruit tissue holders usually look more polished when the shaping stays simple and the colors remain balanced instead of overly saturated. Cotton yarn tends to hold structure especially well for projects that need to keep their shape after repeated use.
If rounded fruit sections begin looking uneven, gently shaping them by hand while the tissue pack is inside often improves the final appearance immediately. Many experienced crocheters also keep decorative details slightly smaller than expected because oversized leaves, seeds, or toppings can make the holder feel bulky rather than neat and functional. Don’t forget to try these kawaii hibiscus crochet as well to go with your fruits! And here are more crochet projects you should definitely try!
Crochet fruit tissue holders are one of those projects that feel both practical and playful at the same time. Just start with a shape that feels fun to make, focus on keeping the structure clean and balanced, and you will end up with a tissue holder that looks creative, functional, and beautifully handmade. While you’re at it, do check out these crochet car tissue paper holder patterns as well!