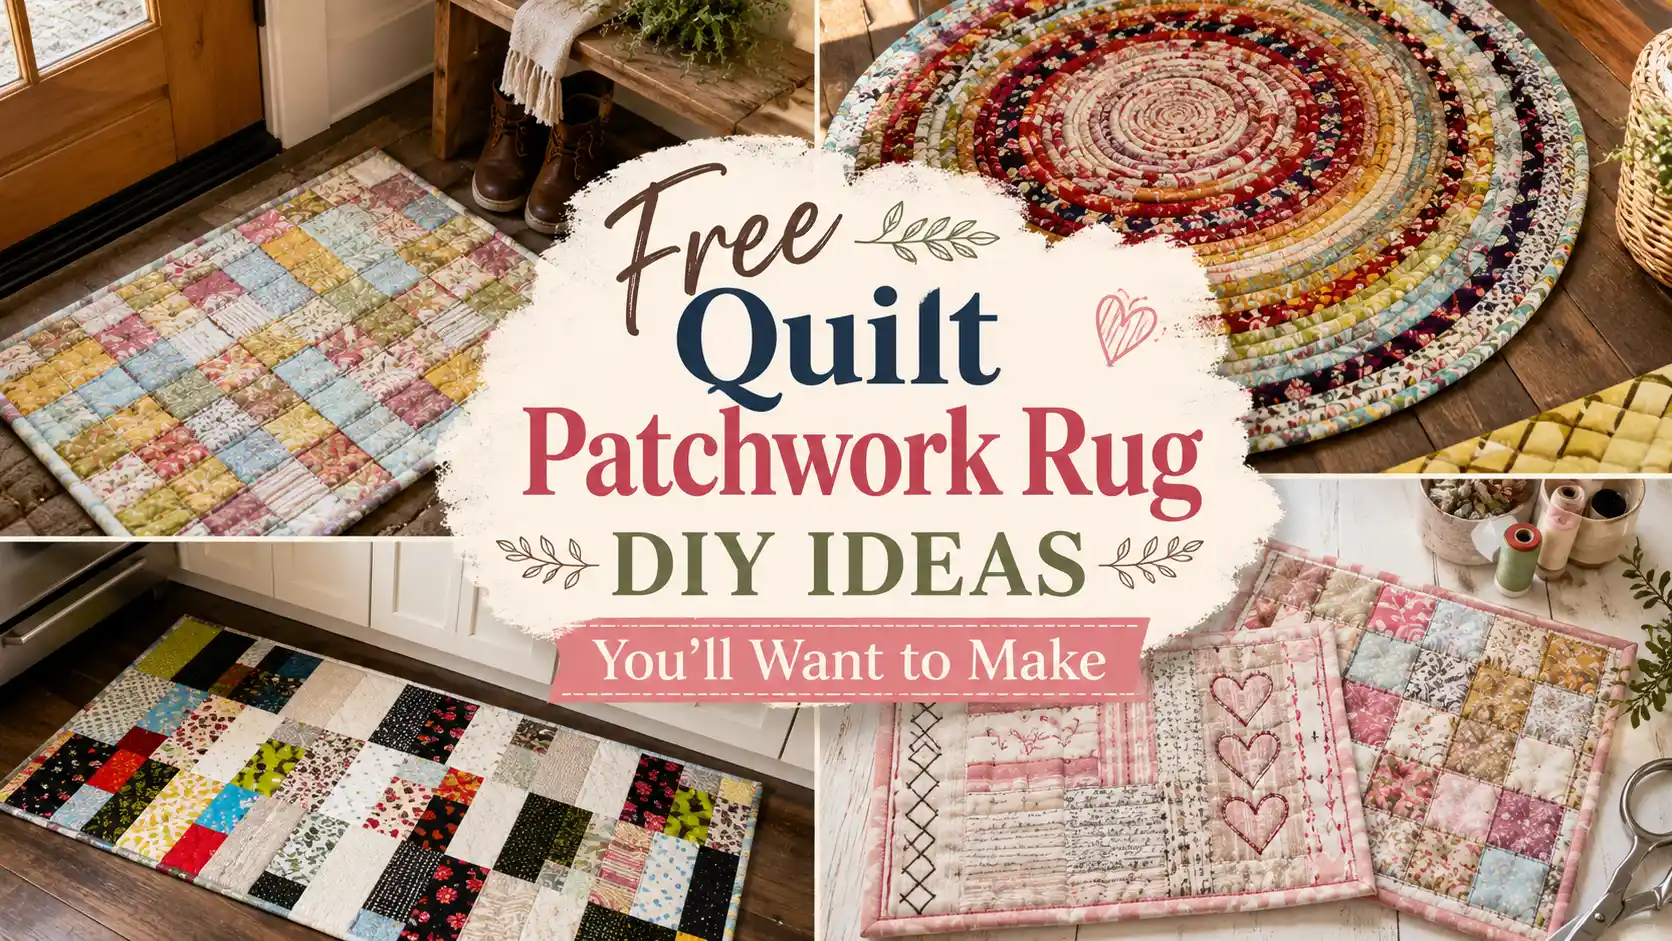
Quilting doesn’t always have to end with a bed quilt or wall hanging. Sometimes the most satisfying projects are the ones you use every single day, and a patchwork rug is a perfect example. It’s a great way to give leftover fabric strips a second life, practice your piecing skills, and create something that’s both beautiful and practical. If you’ve been looking for a weekend make that comes together a little faster than a full quilt, these quilt patchwork rug DIY ideas are well worth adding to your sewing list.
Things You’ll Need
- High-quality cotton fabric bundles
- Acrylic quilting rulers for precise shapes
- Sewing machine with quilting foot attachment
- Soft batting for a cozy finished feel
If you enjoy sewing organizers like these, a Creative Grids quilting ruler makes measuring and cutting pocket pieces much easier. The non-slip surface helps keep every cut accurate, especially when you’re working with multiple rectangles.
Free Quilt Patchwork Rug DIY Ideas
1. How to Make a Jelly Roll Rug Free DIY
Skill Level: Beginner to Intermediate
Time to Make: 5–8 Hours
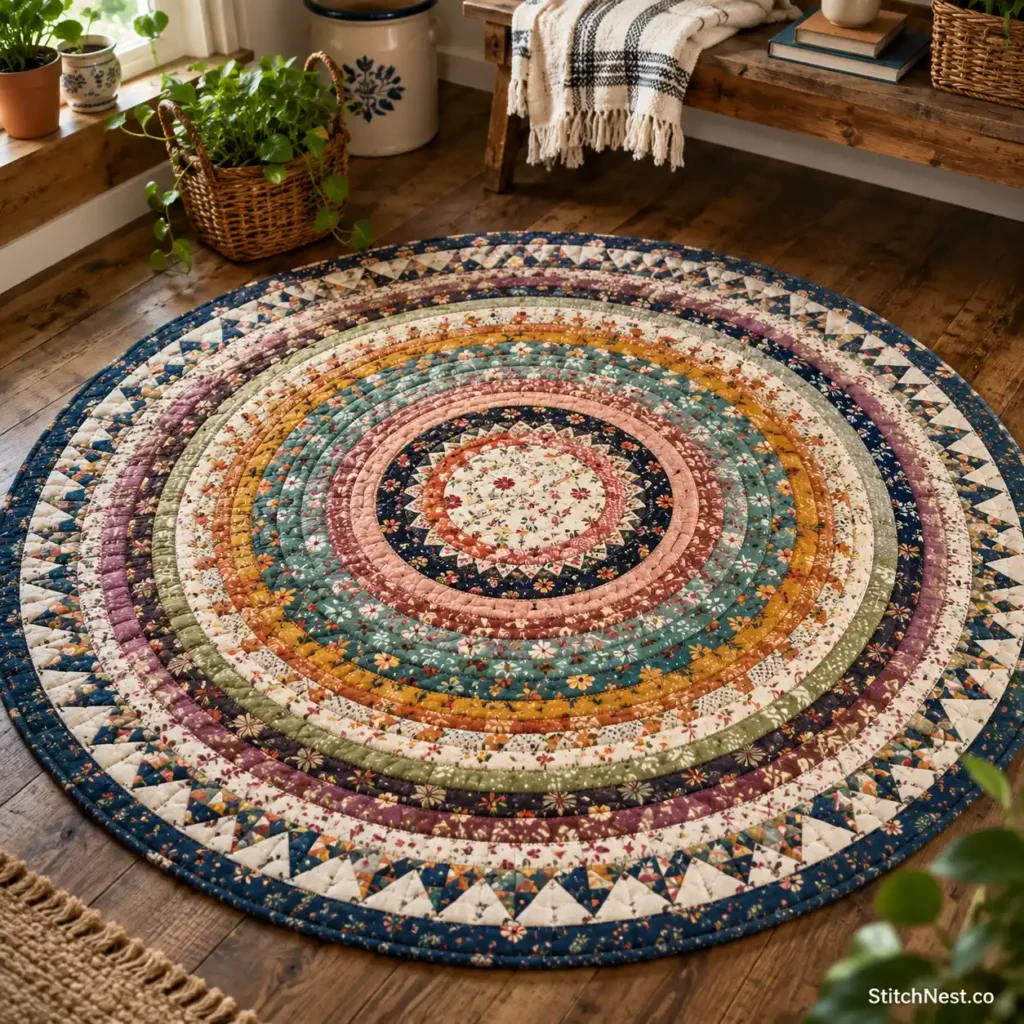
If you’ve been saving a jelly roll for the perfect project, this might be it. Watching those fabric strips slowly turn into a sturdy rug is surprisingly satisfying, and the repeating colors give the finished piece plenty of movement without requiring complicated piecing.
One thing you’ll notice as the rug grows is that it becomes heavier to guide through your sewing machine, so don’t let the weight pull on your stitches. Supporting the rug with a small table beside your machine makes the last few rounds much easier. Follow the complete tutorial on Create Whimsy.
2. Free and Easy Quilted Mug Rug Tutorial
Skill Level: Beginner
Time to Make: 30–60 Minutes
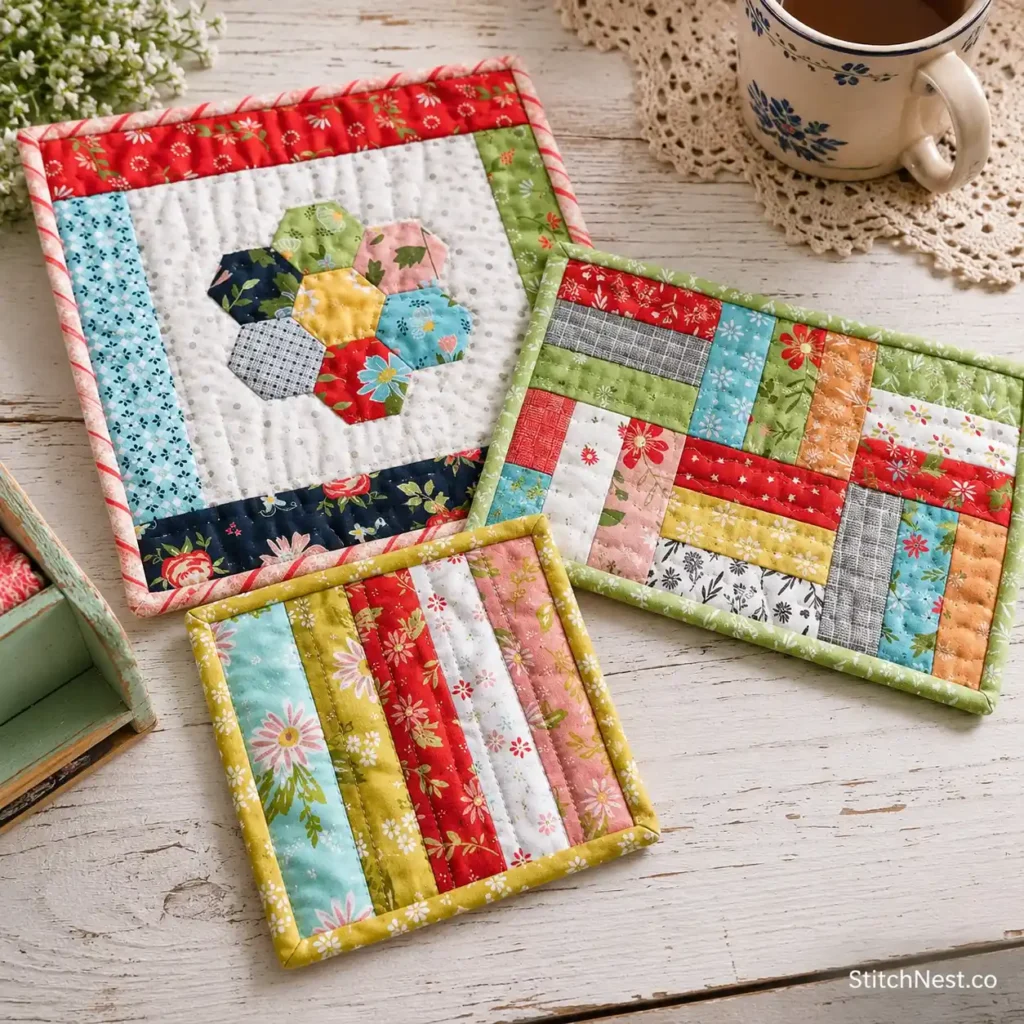
A mug rug is one of those little projects that’s easy to overlook until you’ve made one. It’s perfect for protecting your table from hot mugs, catching the odd coffee drip, or giving your favorite mug and snack a cozy place to sit. Since it’s a smaller project, it’s also a great opportunity to try a new quilting design without committing to a full quilt.
If your points don’t line up perfectly, don’t worry too much. Once it’s quilted and bound, those tiny differences are much harder to spot than you might think. You can find the full tutorial on A Quilting Life.
3. How to Make a Quilt Patchwork Rug DIY
Skill Level: Intermediate
Time to Make: 6–10 Hours
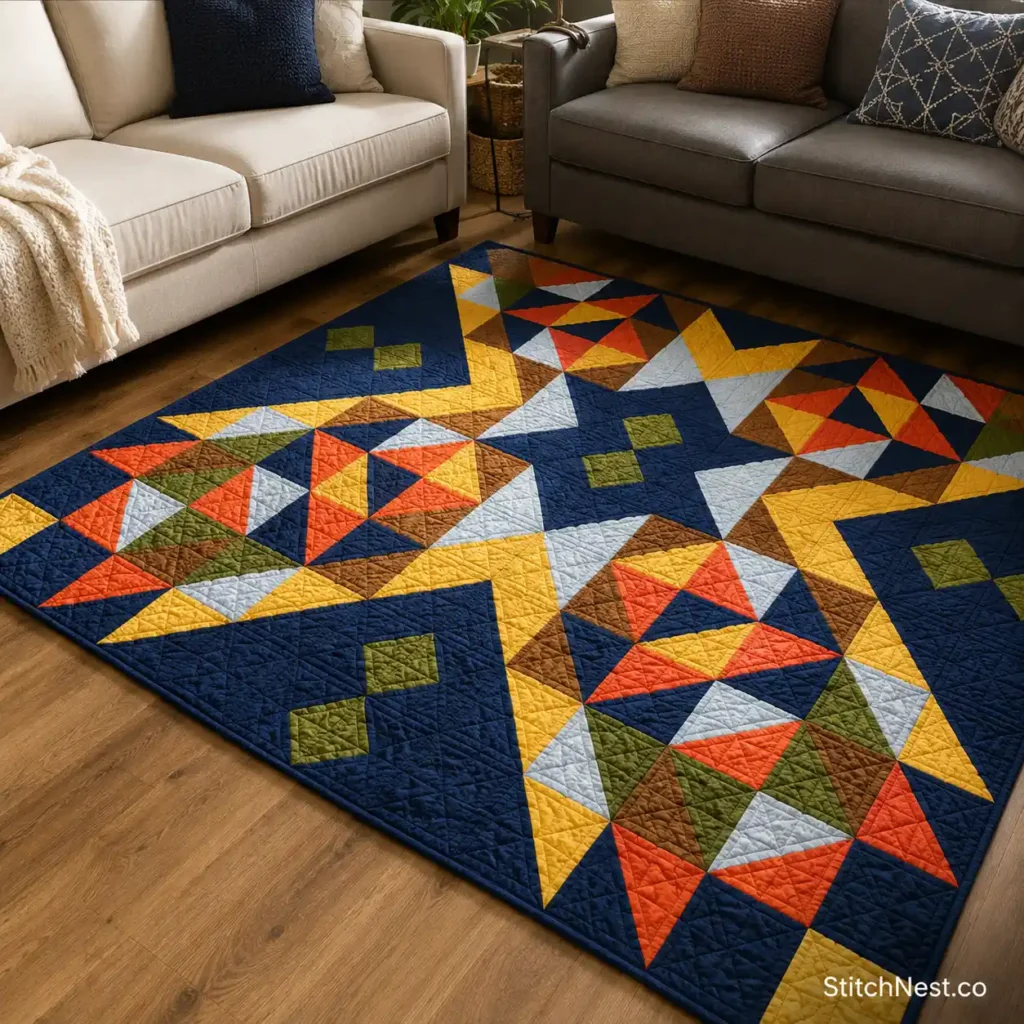
This project has a wonderful handmade feel because every fabric choice changes the finished rug. It’s also a smart way to use prints that have been sitting in your stash waiting for the right project. Before you settle on a layout, spread your fabrics across the floor and step back for a minute.
You’ll often notice one print that’s drawing a little too much attention or another that deserves a better spot. Those small adjustments can make the finished rug feel much more balanced. See the complete tutorial on String & Story.
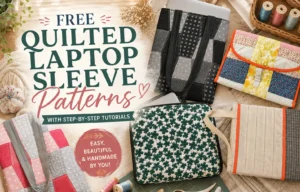
Your favorite fabrics don’t have to stay on quilts. These free quilted laptop sleeve patterns with step-by-step tutorials are another fun way to put them to good use.
4. Woven Jelly Roll Rug Tutorial
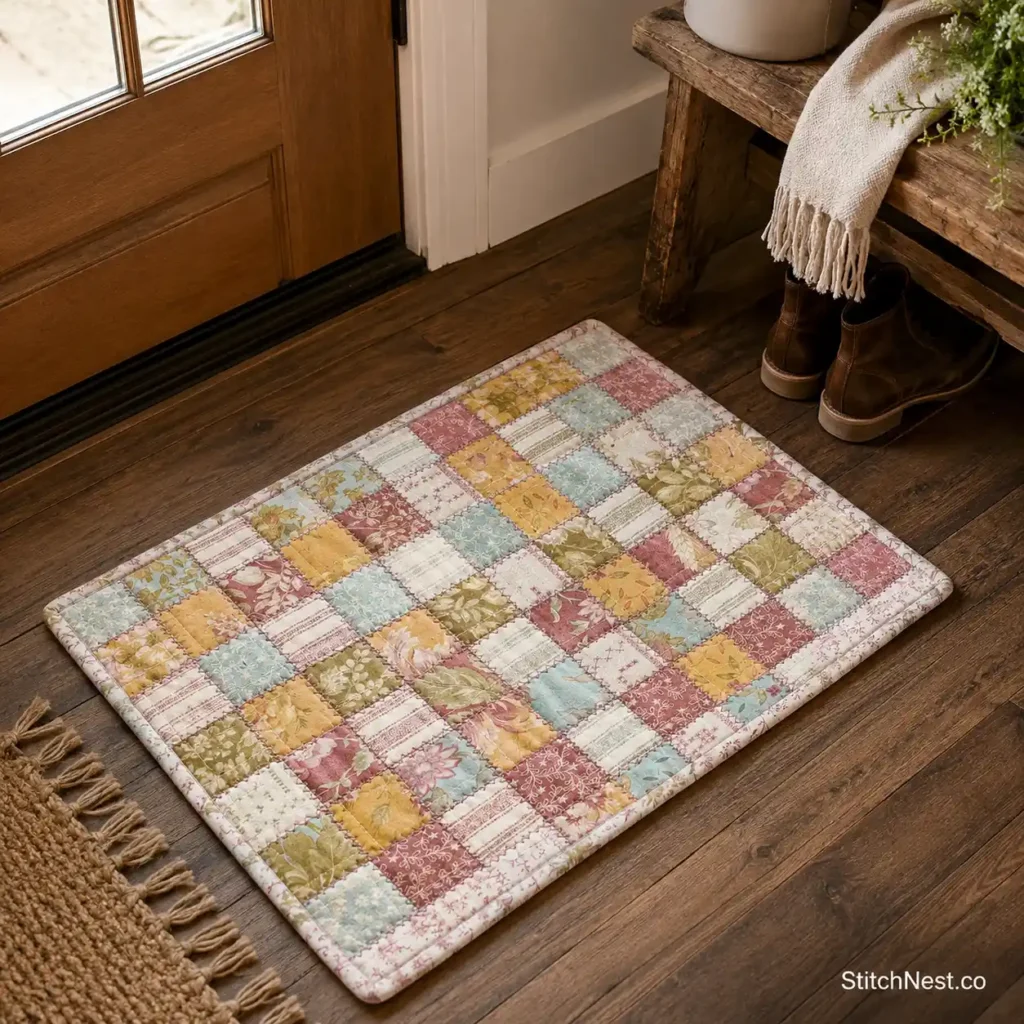
Skill Level: Intermediate
Time to Make: 6–8 Hours
If you’re looking for something a little different from traditional patchwork, this woven design is a fun challenge without becoming frustrating. The woven effect adds plenty of texture, and it’s one of those projects that makes people stop and ask how you made it.
Keep your fabric strips clipped together as you work because it’s surprisingly easy for them to twist once the weaving begins. Taking a few extra seconds to straighten everything as you go saves a lot of effort later. Follow the tutorial on Quilting in the Rain.
Clover Wonder Clips are perfect for projects with lots of patches. They hold several fabric layers together without shifting and don’t leave pinholes like traditional pins.
5. How to Make a Large Scale (Patchwork) DIY Rug
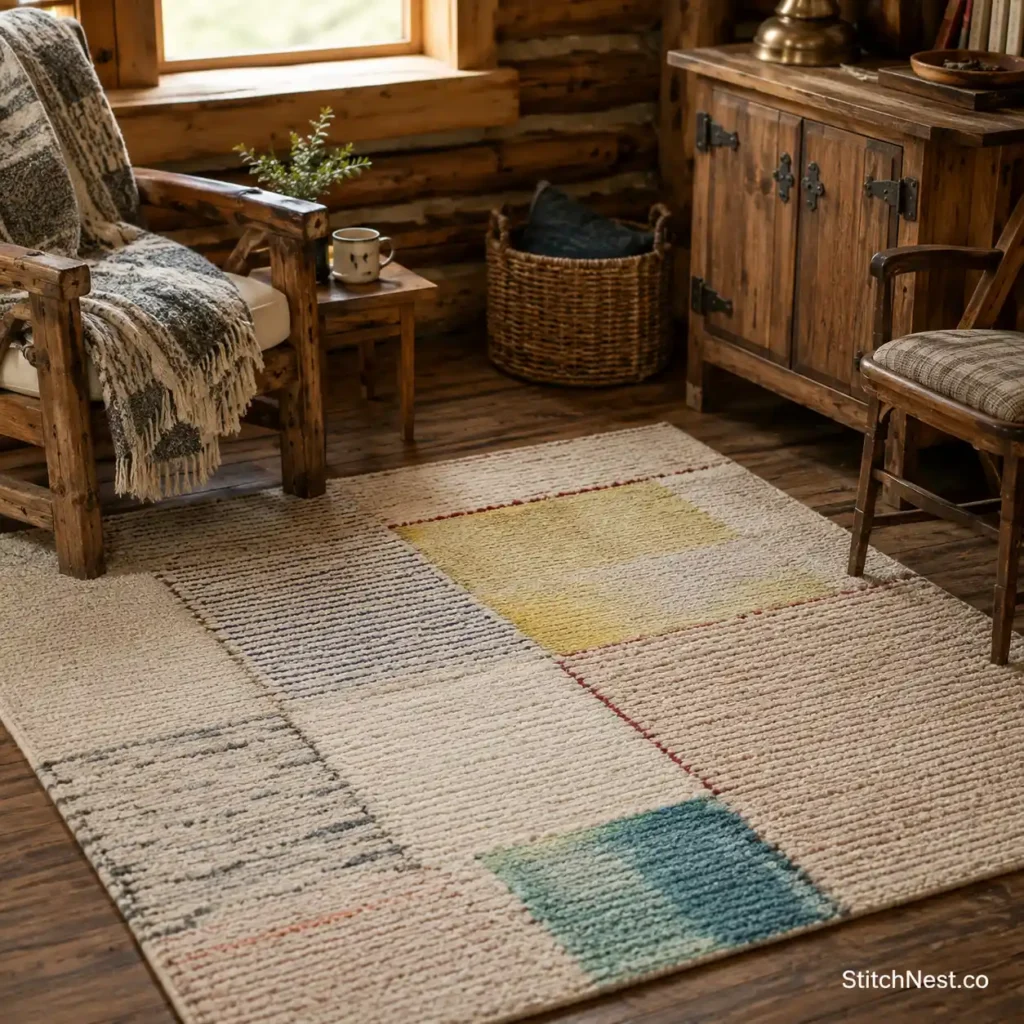
Skill Level: Beginner to Intermediate
Time to Make: 5–7 Hours
If you love bold patchwork but want something that feels a little more modern, this large-scale rug is well worth a look. Using bigger fabric pieces means you’ll spend less time sewing tiny seams and more time watching the design come together. It’s also a smart choice for showcasing larger prints that might get lost in traditional quilt blocks.
Before you stitch everything together, lay the pieces out on the floor and walk around them from different angles. It’s amazing how often you’ll spot a print that looks better after a quick swap. Follow the complete DIY on Paper & Stitch.
Sometimes the most impressive quilt blocks start with the simplest ideas. These Hidden Wells quilt blocks that are surprisingly easy to make are proof of that.
6. Free Scrappy Quilt Patchwork Rug DIY for the Kitchen
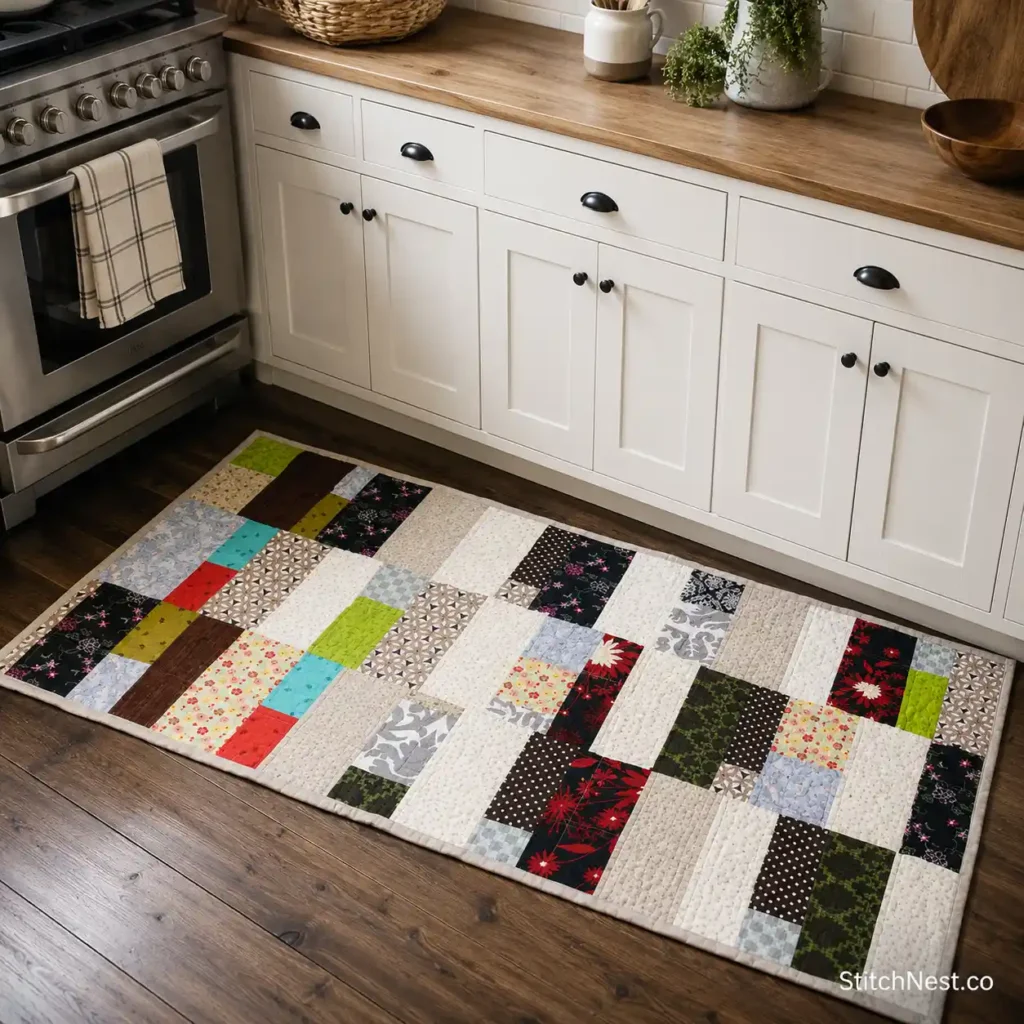
Skill Level: Beginner
Time to Make: 3–5 Hours
If your scrap bin is starting to overflow, this kitchen rug is a fantastic way to put those leftover pieces to work. Mixing different prints gives the rug plenty of character, and because it’s designed for everyday use, you don’t have to overthink matching every fabric perfectly.
One trick that helps is to scatter similar colors throughout the rug instead of grouping them together. It creates a more balanced look and keeps one area from feeling too heavy. Take a look at the full tutorial on Angie’s Art Studio. You should also check out these walkabout quilt patterns!
7. Patchwork Rug DIY – Quilt As You Go
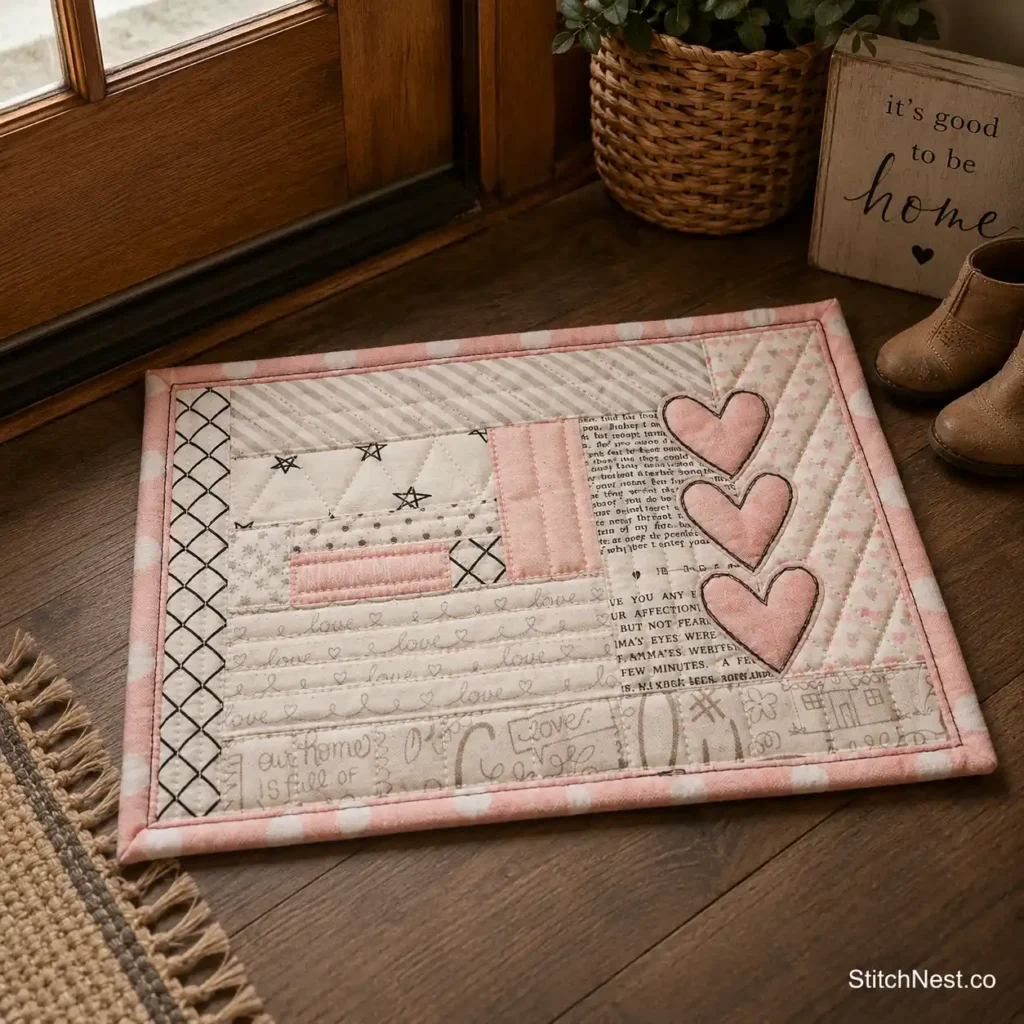
Skill Level: Beginner to Intermediate
Time to Make: 2–4 Hours
Quilt As You Go is one of those techniques that many quilters wish they’d tried sooner. Instead of wrestling with one large quilt sandwich, you work in smaller sections that are much easier to handle under the sewing machine. It’s especially nice if you’re short on sewing space or simply prefer working a little at a time.
Press each section before joining the next one so the seams stay flat and the finished rug lies nicely on the floor. You’ll find the complete tutorial on Polka Dot Chair.
A wool pressing mat is one of the best upgrades for quilting projects like this. It helps you press crisp seams, making the finished look much more polished.
8. Mini Trip Around The World Mug Rug Tutorial
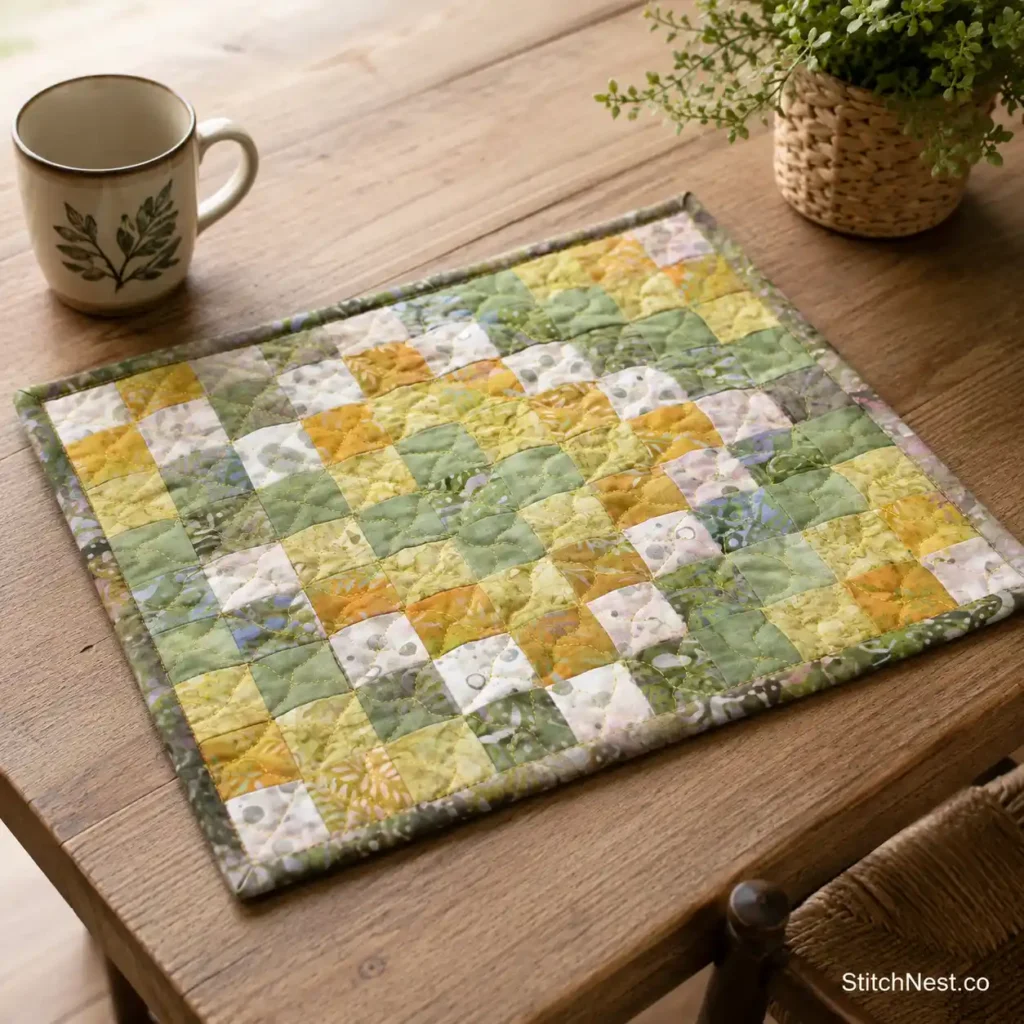
Skill Level: Intermediate
Time to Make: 1–2 Hours
Don’t let the size fool you. This little mug rug packs in plenty of patchwork and is a fun way to practice matching seams without committing to a full-size quilt. The repeating blocks create a classic design that’s just as enjoyable to sew as it is to admire.
If you’re using tiny pieces, shorten your stitch length just a bit to help strengthen the seams and reduce bulk. Follow the step-by-step tutorial on Connie Kresin Campbell’s Freemotion by the River. Got a basket of fabric scraps waiting to be used? Take a look at these easy quilt scrap placemat tutorials.
Helpful Tips Before You Start
- Don’t be afraid to mix fabrics from different collections. Patchwork rugs often look their best when they have a relaxed, scrappy feel instead of looking perfectly coordinated. Lay everything out before sewing and move fabrics around until your eye naturally travels across the project.
- Use a fresh rotary blade if you’re cutting several layers or thicker materials. Clean cuts make piecing much easier, and you’ll spend less time trimming uneven edges later.
- If your sewing machine starts struggling with thicker sections, slow your stitching speed instead of forcing the fabric through. Let the feed dogs do the work, and support the weight of the rug with your hands or a nearby table so the stitches stay even from beginning to end. And if you’re looking for more storage, here are quilted bedside caddy storage patterns to sew!
Common Mistakes to Avoid
A mistake many beginners make is choosing fabrics based only on color. Think about durability too. Lightweight fabrics can wear out much faster in rugs that see daily foot traffic, so quilting cottons with a tighter weave are usually a better choice.
Another is skipping the pressing. It might feel like you’re saving time, but pressing every section as you go helps the rug stay flatter and makes the next step much easier. If you’re sewing a jelly roll rug, don’t rush the final rounds either. The larger the rug becomes, the more important it is to support its weight so the stitches don’t stretch or become uneven. Also, don’t worry if your first patchwork rug isn’t perfectly square or every seam doesn’t match exactly.
Once it’s on the floor and being used, those tiny imperfections fade into the design, and they’ll simply remind you that it was made by hand.
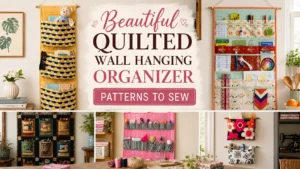
Patchwork rugs prove that some of the most rewarding sewing projects are the ones you use every single day. Once you’ve finished one for your home, don’t stop there. These beautiful quilted wall pocket organizer patterns to sew are another fun way to combine quilting with everyday function.