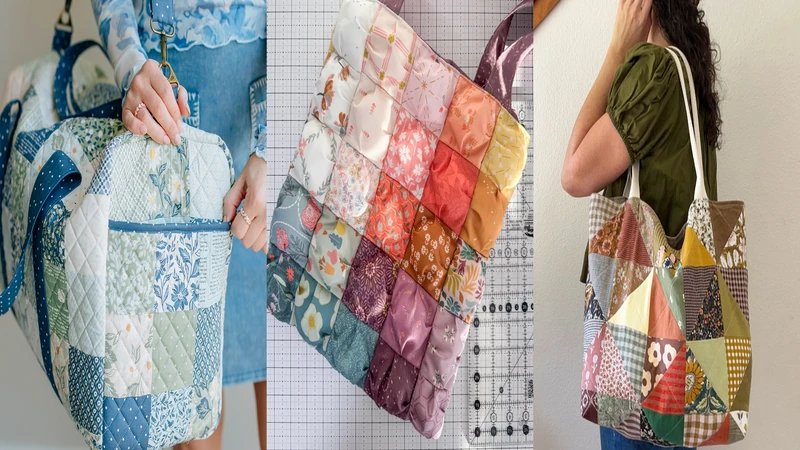
Patchwork quilted bags are a great way to turn leftover fabric, charm squares, unfinished quilt blocks, and favorite scraps into something you can actually use. You can keep the construction simple with straight piecing or add quilting, boxed bottoms, pockets, zippers, and puffed sections for more detail. These free patchwork bag patterns give you plenty of ways to make a bag that fits your fabric stash and your sewing style.
Things You’ll Need
- High-quality cotton fabric bundles
- Acrylic quilting rulers for precise shapes
- Sewing machine with quilting foot attachment
- Soft batting for a cozy finished feel
Free Patchwork Quilted Bag Patterns to Sew
Looking for the pattern or tutorial? You’ll find the source link right below each image. Some featured projects are shared for inspiration, so not every image includes a step-by-step tutorial!
1. Floral Patchwork Quilted Tote Bag
Skill Level: Beginner
Time to Make: About 3 to 4 hours
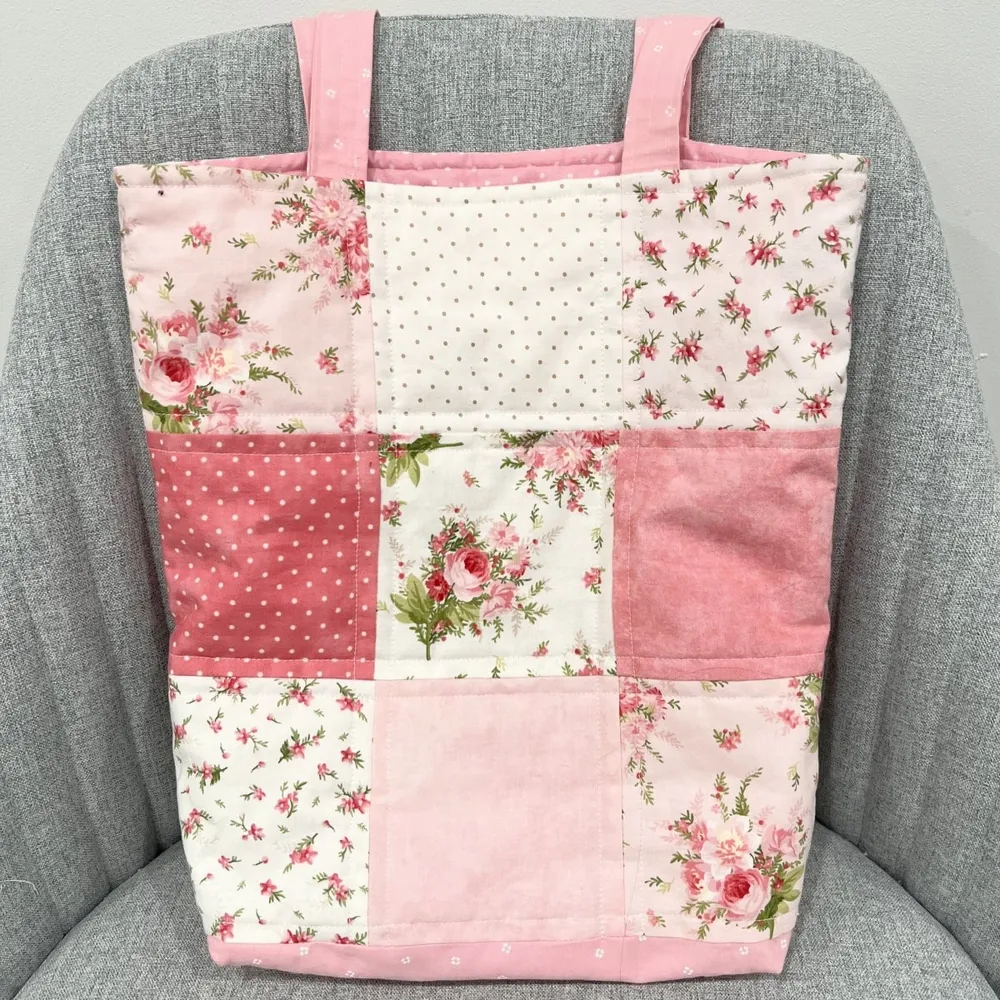
You can make this pretty tote with 18 five inch squares, which gives you plenty of room to play with coordinated prints or a favorite charm pack. Nine squares make each side, and you can also divide them into smaller two and a half inch squares if you want a finer patchwork effect.
Once your panels are pieced, you will add low loft batting and quilt them before assembling the bag. A simple cross pattern, straight lines, or free motion quilting all work here, so you can choose a finish that matches your confidence level. These flower quilt patterns can give you more ideas for choosing floral fabrics.
2. Charm Pack Quilted Tote Bag
Skill Level: Beginner
Time to Make: About 4 to 5 hours
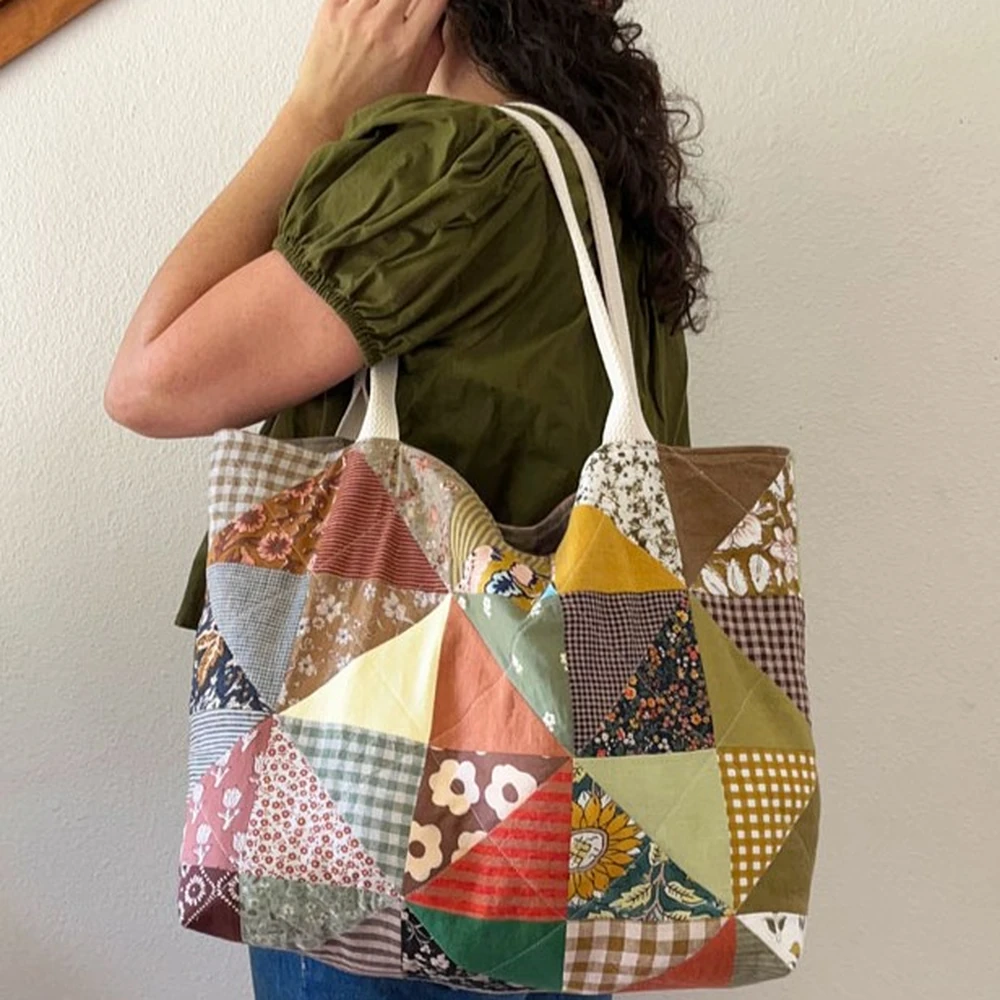
You only need one 40 piece charm pack for this medium sized tote, making it a handy project when you have a collection you love but are not sure what to make with it. You can sew the squares together as they are or turn them into half square triangles for a more directional patchwork design.
You will quilt the finished outer panels with batting before adding the lining, boxed base, and straps. A charm pack saves you the cutting time, but you can also cut your own squares from scraps. For more small scale patchwork ideas, these modern quilt patterns are worth keeping nearby.
3. Pretty Patchwork Bag From Scraps
Skill Level: Beginner
Time to Make: About 3 to 4 hours
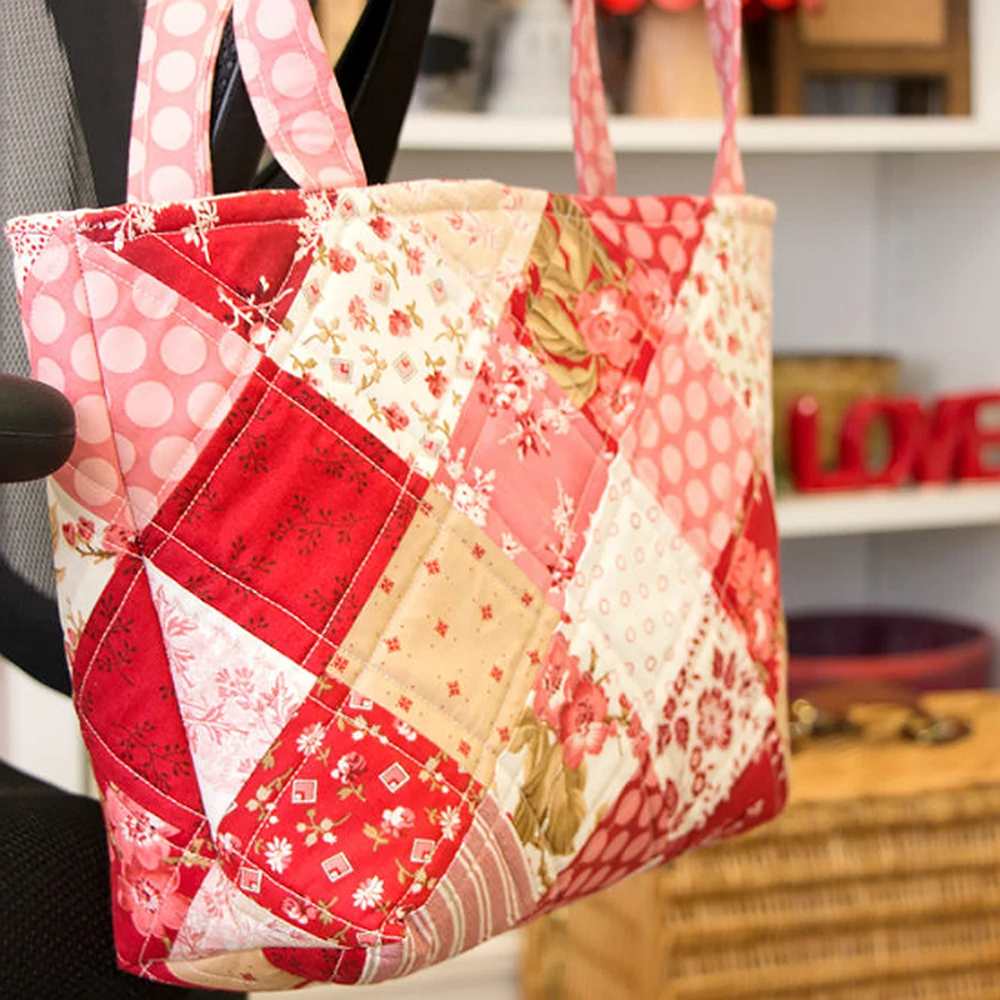
You can dig into your scrap collection for this patchwork bag and build a combination of fabrics that feels completely personal. The design uses four inch squares, and you can also adapt the construction to use an orphan quilt block or a larger pieced section you already have.
A dense fleece type batting gives the bag useful structure, and the oval base creates a softer rounded shape. You can add a sturdy cord for the drawstring and choose almost any color combination you like. These scrap quilting projects can give you more ways to use the smaller pieces left behind.
4. Patchwork Quilted Duffle Bag
Skill Level: Intermediate
Time to Make: About 8 to 10 hours
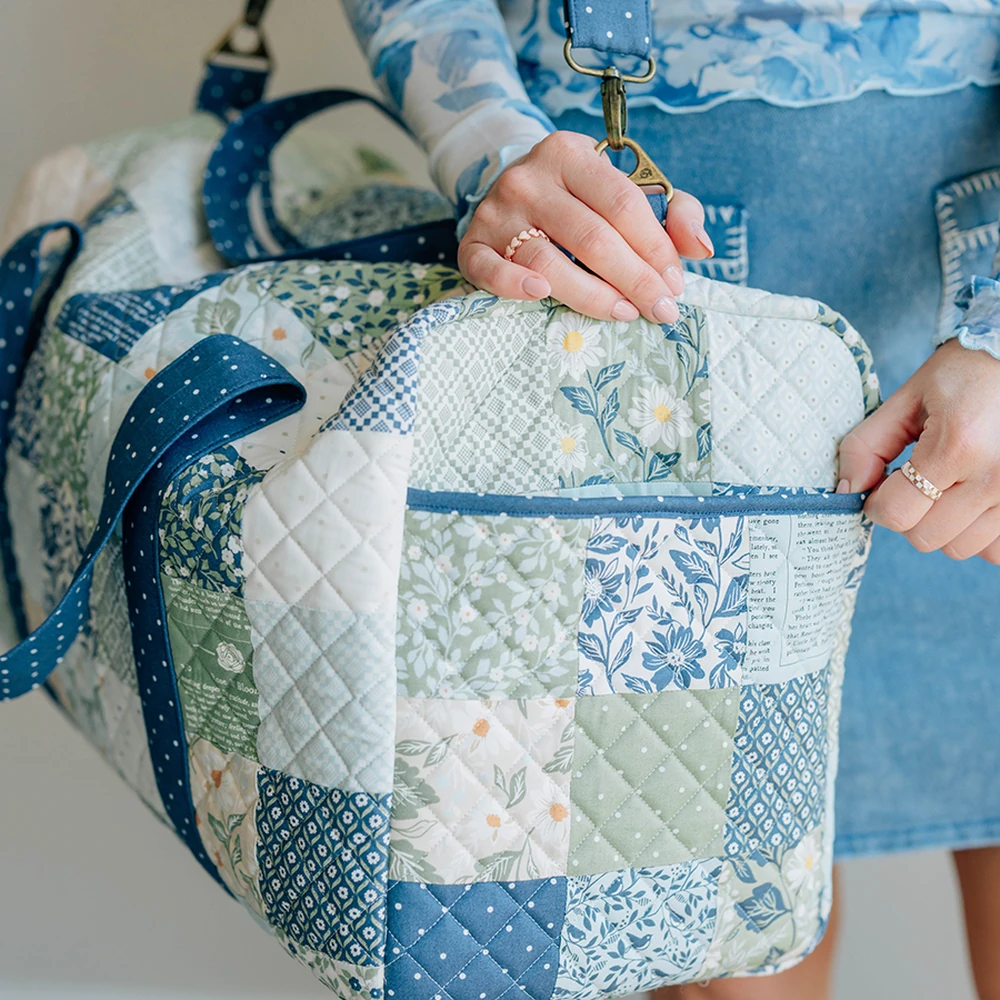
You can turn a Layer Cake into a roomy patchwork duffle with enough space for road trips, quilt retreats, or weekend packing. The construction combines patchwork with Soft and Stable, a long double slide zipper, webbing, strap hardware, and a lined interior.
You will want to take your time with the zipper and the multiple layers around the bag opening. The sturdy stabilizer gives the duffle body, so you can keep the patchwork colorful without worrying about the finished bag collapsing. A fusible fleece can also be useful for smaller quilted bag projects when you want support without excessive bulk.
5. Puff Tote Bag Using Patchwork
Skill Level: Beginner
Time to Make: About 4 to 5 hours
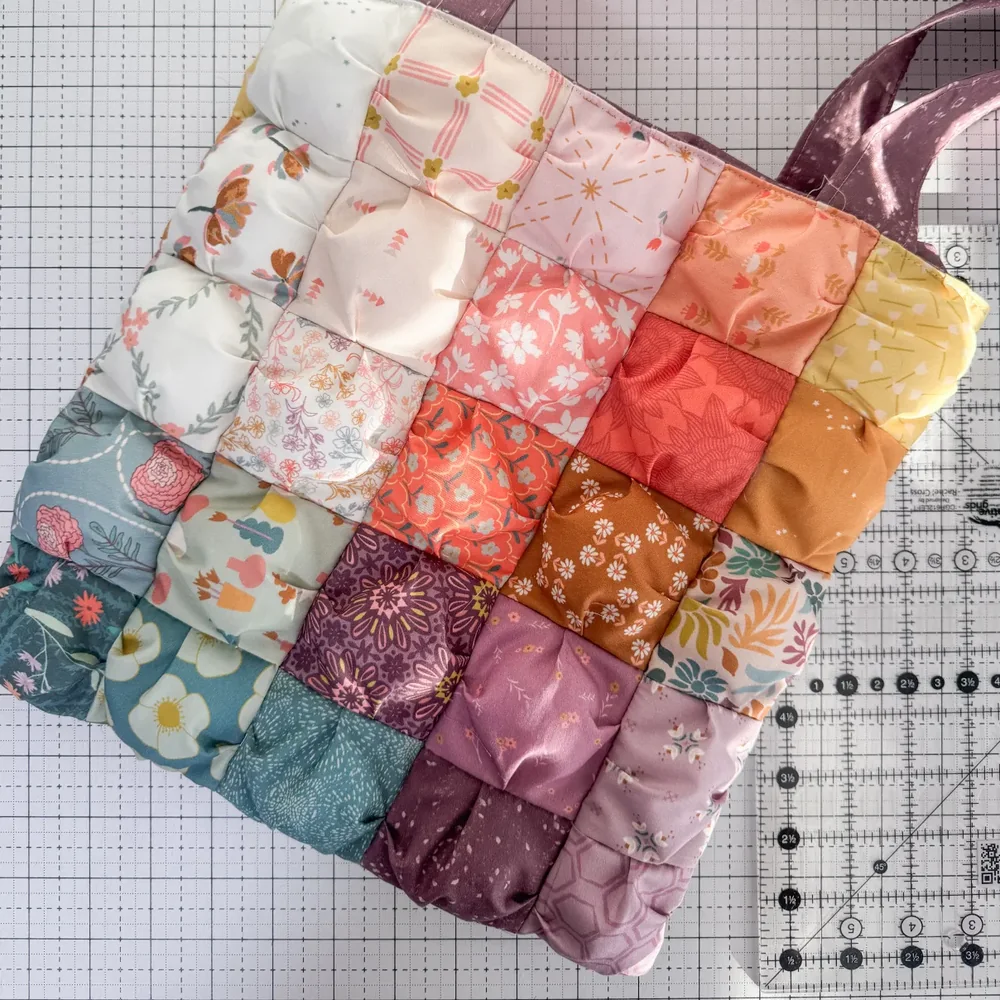
You can use 50 small fabric squares to create the puffed sections on this tote, making it a fun way to show off favorite prints or use smaller scraps. Each side contains 25 puff pockets arranged in a five by five grid, and lightweight polyfill gives the bag its soft raised texture.
Keep the stuffing light because overfilling makes the seams bulky and harder to close neatly. The handles also receive batting for extra structure, giving you a soft bag that still feels practical for everyday use. If you enjoy small decorative details, these quilted bookmark ideas offer another project for leftover fabric.
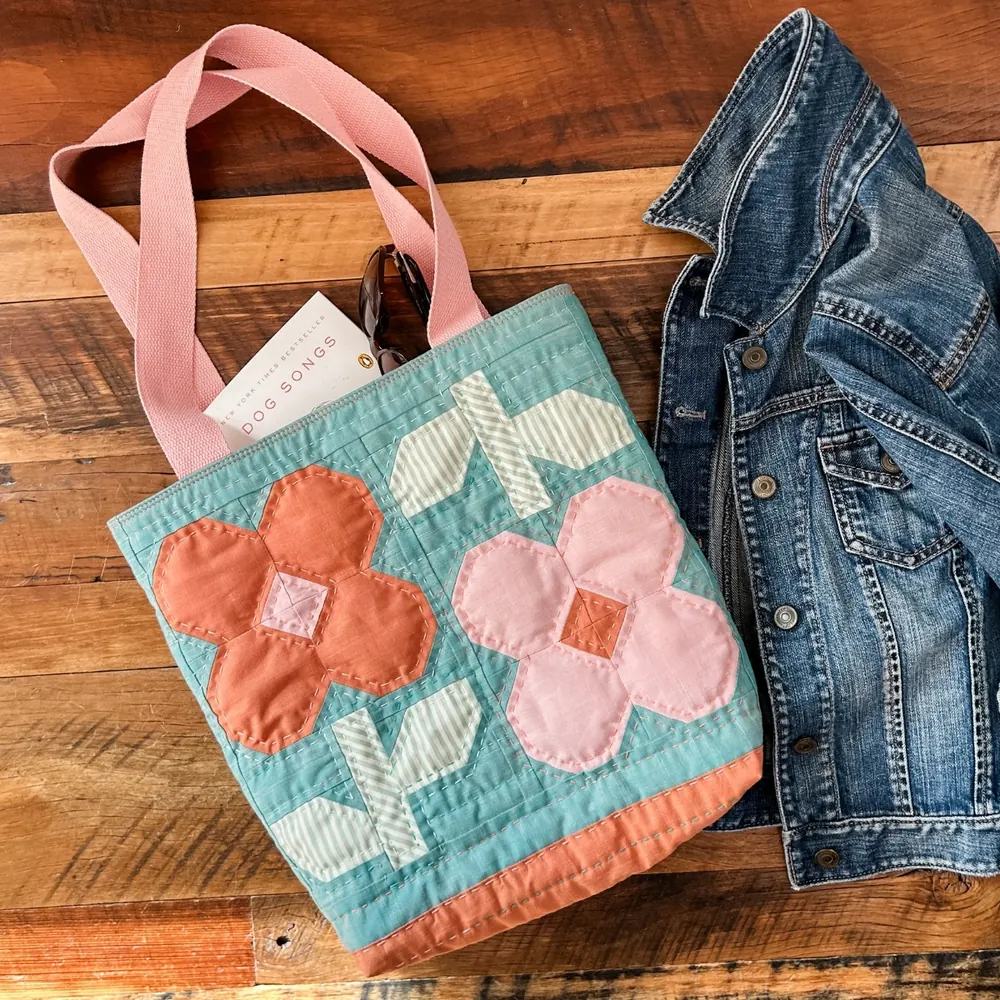
6. Quilted Tote From Any Quilt Block
Skill Level: Confident Beginner
Time to Make: About 3 to 4 hours
You can give an orphan quilt block a useful second life with this tote, which finishes at about 13 by 13 by 4 inches. The tutorial works with blocks or fabric panels at least 16 and a half inches square, but you can also enlarge a smaller block with fabric strips.
You will quilt the exterior and lining panels before trimming them to matching measurements, then create the boxed corners with two inch cutouts. Add at least three and a half inches of fabric below a smaller quilt block so important details do not disappear around the base. A seam roller can help flatten seams on patchwork sections without putting extra heat on delicate fabrics.
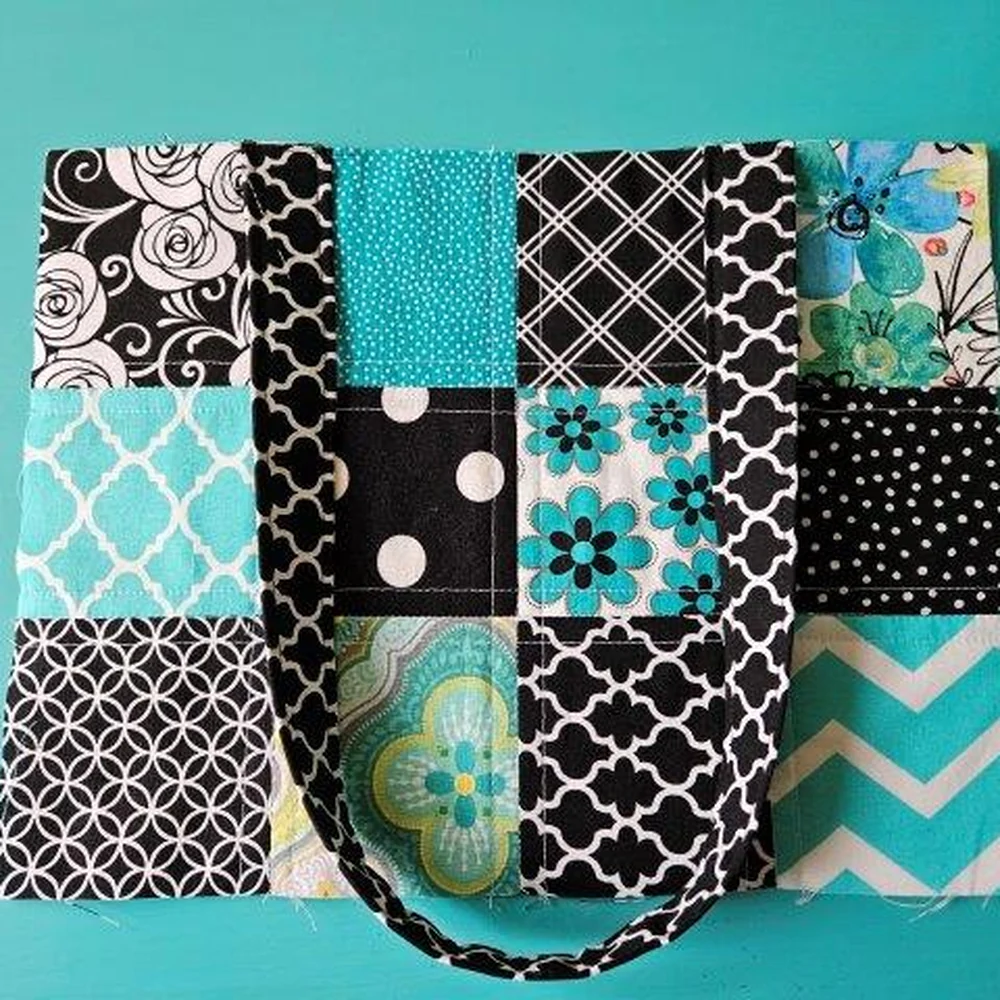
7. Quilted Patchwork Handbag
Skill Level: Beginner
Time to Make: About 4 to 5 hours
You can make this compact handbag from 24 four inch squares, with 12 squares forming each outer panel. The construction gives you plenty of flexibility because you can change the square size or number of squares and then adjust the lining to match the finished patchwork.
Batting and fusible interfacing give the bag structure, and you can add slip pockets or a zipper pocket to the lining before assembly. A magnetic snap keeps the opening simple, and the boxed bottom gives the finished handbag a three inch base. Fabric glue pens can be handy for holding small details in place before stitching. These quilted diaper and wipe bags are another useful option if you want to adapt patchwork construction for practical storage.
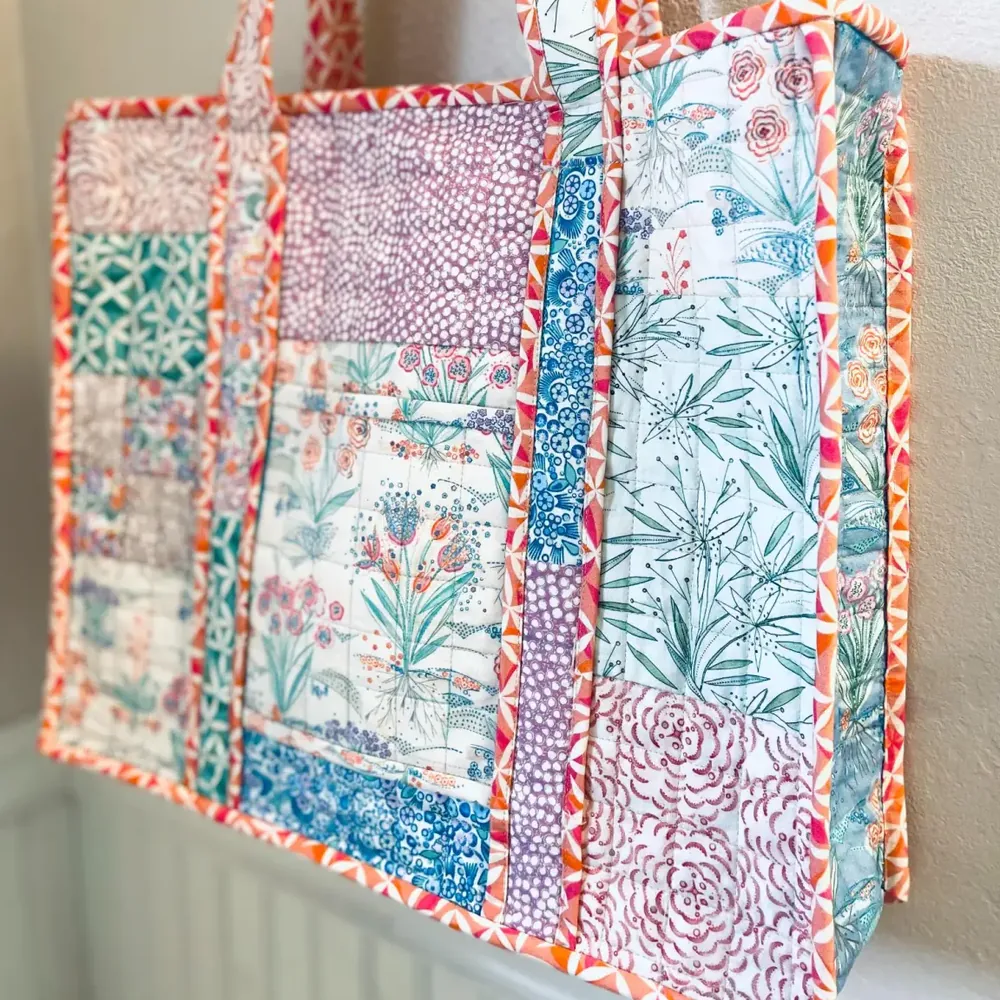
8. Reversible Patchwork Quilted Bag
Skill Level: Beginner
Time to Make: About 4 to 5 hours
You get two usable sides with this reversible patchwork tote, along with a front pocket, quilted patchwork, shoulder length handles, binding, and a finished size of 17 by 14 by 5 inches. That gives you plenty of room for everyday essentials without making the bag difficult to carry.
You will want to keep both sides organized from the beginning because the finished construction hides the raw edges inside. Quilting, handles, and binding give you useful practice with several basic bag making skills in one project. If you want another project with a practical storage focus, these quilted bedside caddies are worth a look.
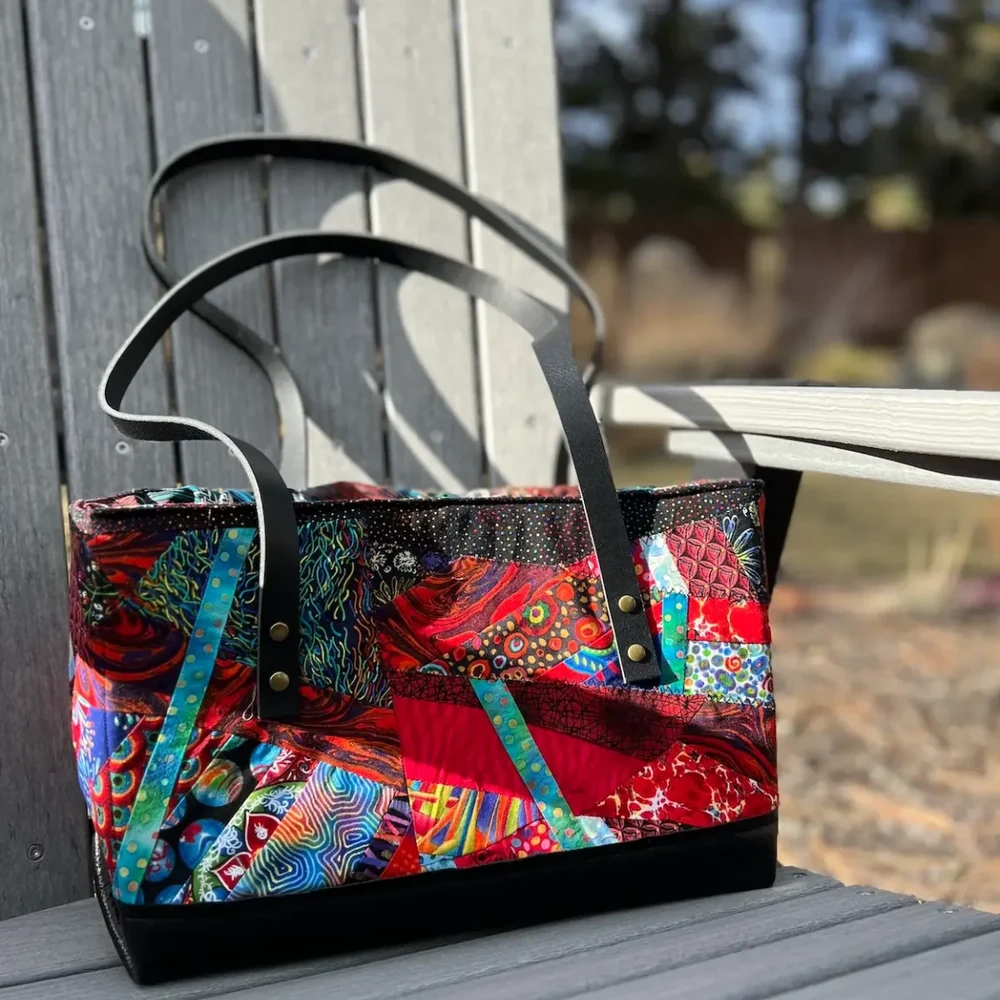
9. Patchwork Quilted Tote With Boxed Bottom
Skill Level: Confident Beginner
Time to Make: About 3 to 4 hours
You can use an unfinished quilt top, orphan blocks, a finished quilted piece, or new patchwork for this lined tote. The finished size is about 12 by 12 by 6 inches, and foam stabilizer gives the bag enough structure to hold its boxed base without making it excessively heavy.
You will also learn how to make fabric handles, add an optional interior pocket, and finish the top edge with neat topstitching. Wonder Clips are useful around the thick stabilizer layers, especially when you reach the boxed corners. If you want to turn more leftover patchwork into useful pieces, these Walkabout quilt ideas can give you another direction for your fabric stash.
Tips for Making Better Patchwork Quilted Bags
Plan the patchwork before you start sewing. Lay all your squares or blocks on a flat surface and check the color balance, print direction, and value from a distance. You can also take a quick phone photo and convert it to black and white if you are unsure whether the fabrics have enough contrast. These Hidden Wells quilt blocks are another useful example of how fabric placement can create a much stronger effect than complicated construction.
Choose your batting or stabilizer according to how you want the finished bag to behave. Soft batting gives you a flexible quilted feel, whereas foam or dense fleece creates more body for structured totes and handbags. A quality cotton batting works well for many quilted panels, especially if you want the quilting itself to remain soft.
Pay attention to the boxed bottom because those small corner measurements determine the finished depth. Mark both sides before cutting, match the seams carefully, and check that your corners are symmetrical before stitching. If you are working with smaller pieces, these star flower quilt blocks can also give you ideas for making one detailed block the focal point of a future bag.
Mistakes You Should Avoid
Do not cut your patchwork panels before checking the finished size of the pieces you are using. Quilting can shrink the panels slightly, and different square sizes can change the dimensions enough to affect the lining. Finish and press the quilted panels first, then measure and cut the lining to match.
Avoid overloading a bag with bulky layers. Batting, interfacing, foam, lining, handles, and several seam allowances can quickly create difficult spots around the top edge and boxed corners. Use clips when pins become awkward and slow your machine down through thick sections. You can also use crochet bag charms as a simple way to personalize the finished bag without adding more bulk to the construction.
Do not forget to reinforce the handles. Baste them securely before attaching the lining and stitch over the attachment points more than once so they can handle the weight of the finished bag. If you want to make a smaller companion project from the same fabric collection, these phone bag patterns can give you another useful way to coordinate your fabrics and accessories.
Patchwork bags are one of those projects where even a small collection of leftover fabric can become something genuinely useful. You can keep the construction simple with straight squares, use a special orphan block as the focal point, or add puffed sections and decorative quilting when you want more texture. If you still have scraps after finishing your bag, these French Roses quilt patterns can give you another project to add to your sewing list.
Once you have your patchwork bag finished, you may find yourself looking at every leftover square as the beginning of another project. Keep sewing with these flower quilt patterns for another fabric filled project.