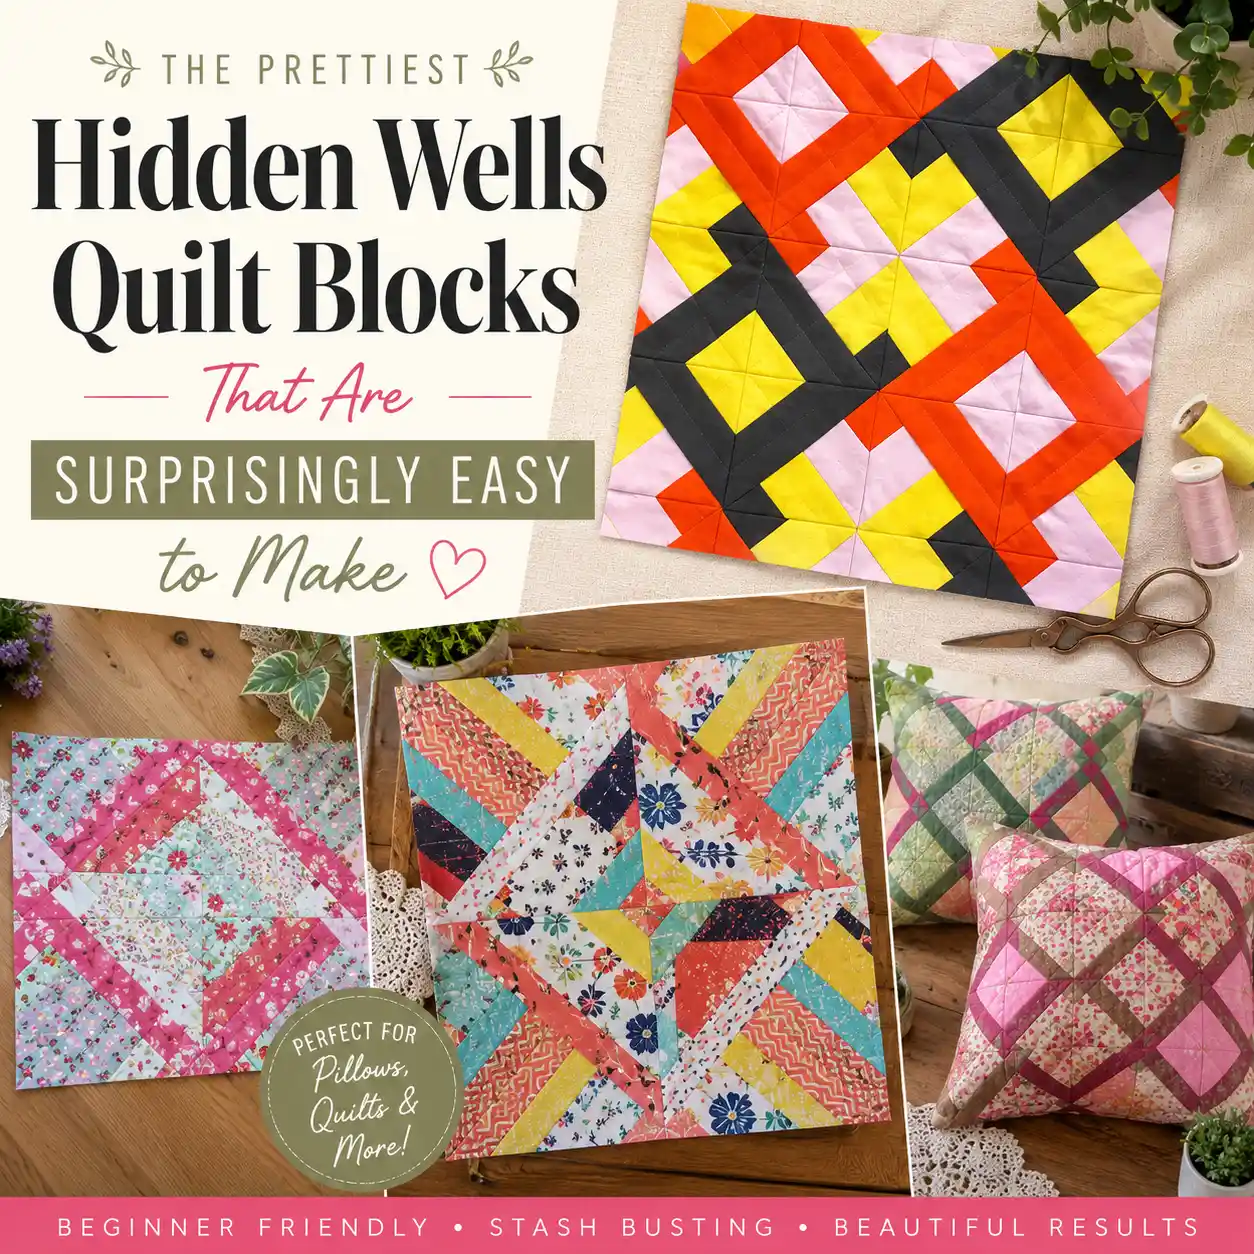
Hidden Wells quilt blocks are one of those quilting techniques that seem almost magical the first time you try them. A few simple fabric strips, a handful of cuts, and suddenly a completely new design begins to appear. It’s a satisfying process because the blocks look far more intricate than the piecing actually is, making them a favorite for beginners and experienced quilters alike.
What You’ll Need
- Rotary cutter with a self-healing cutting mat
- High-quality cotton fabric bundles
- Sewing machine with quilting foot attachment
- Soft batting for a cozy finished feel
A sharp pair of fabric scissors makes a noticeable difference. Dull blades often leave tiny jagged edges that become harder to stitch smoothly.
Hidden Wells Quilt Blocks That Are Surprisingly Easy
1. Hidden Wells Block With 5 Strips of Different Widths
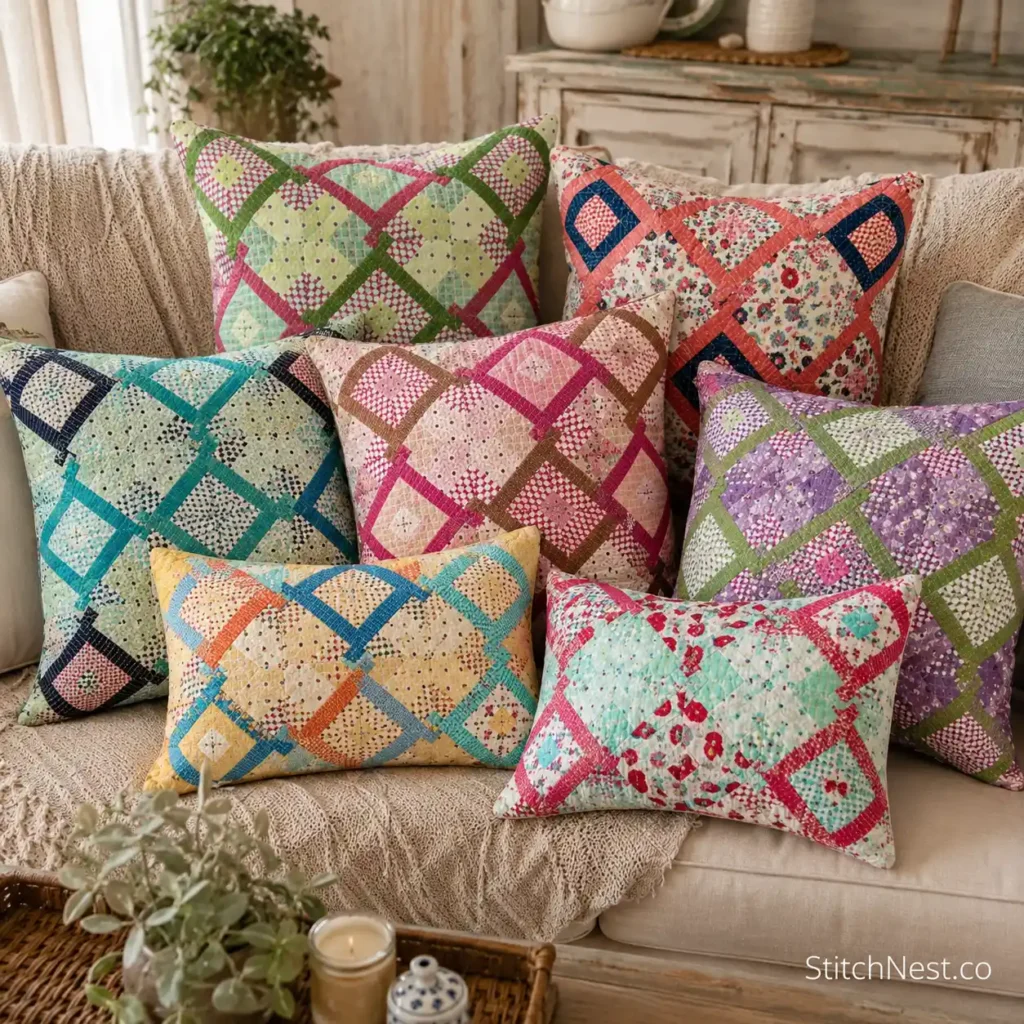
Skill Level: Intermediate
Time to Make: 2–4 Hours
Using strips of different widths gives this Hidden Wells block a fresh look that’s quite different from the traditional version. The varying strip sizes create more movement across the finished block, making the pattern feel dynamic without adding extra complexity. Before sewing your strip set together, arrange the fabrics on a design wall or table and take a quick photo.
It’s much easier to spot color combinations you’d like to adjust before stitching begins. You’ll find the complete tutorial on Teresa Down Under.
2. Hidden Wells Quilt Block Pattern and Tutorial Free
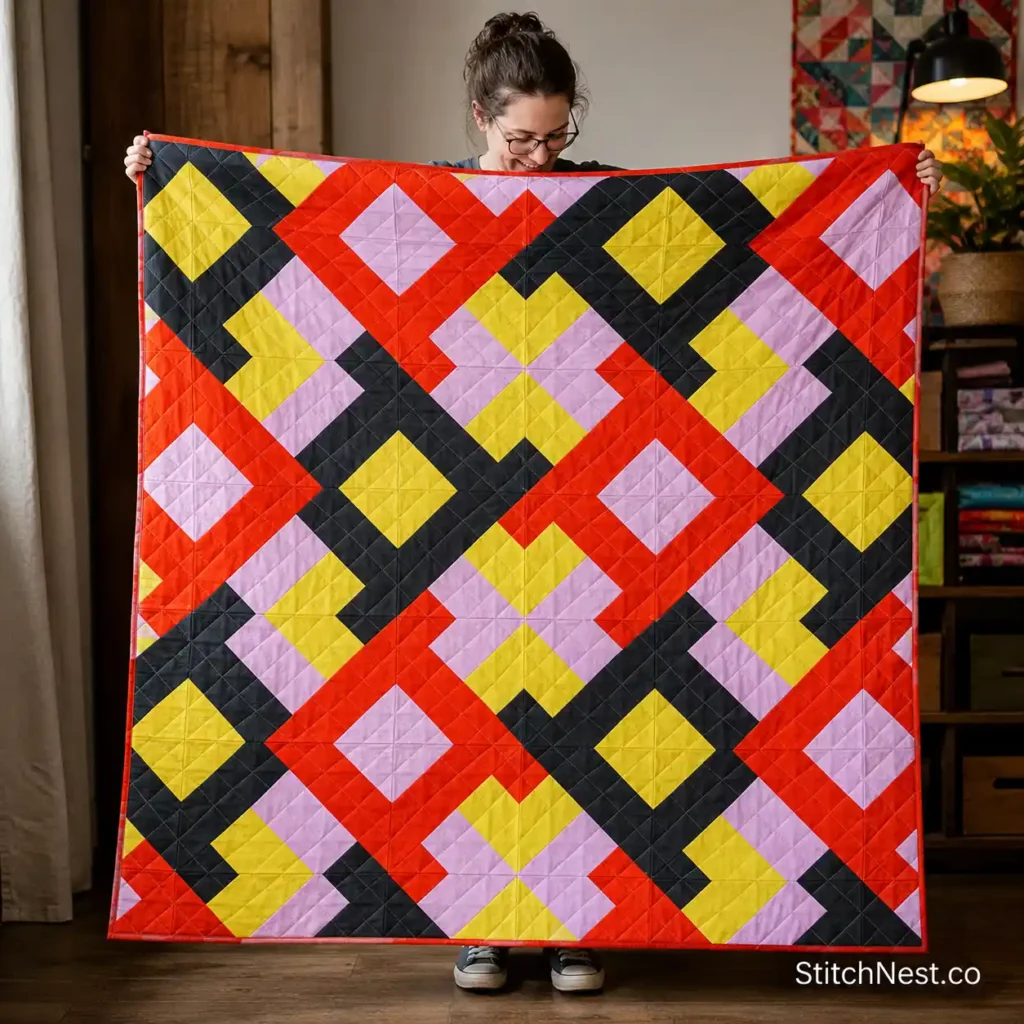
Skill Level: Beginner
Time to Make: 2–3 Hours
If you’re trying Hidden Wells for the first time, this tutorial does an excellent job of breaking the process into manageable steps. Once you’ve sewn your strip set, accurate cutting becomes the real key to success because even small differences can change how the finished block comes together. A sharp rotary cutter and careful measuring will help every section line up beautifully. Follow the complete step-by-step tutorial from Create Whimsy.
If you’re working with several fabrics in one quilt, Magic Quilting Fine Pins make it much easier to keep strip sets aligned without shifting as you sew. Check them out here and see why they’re a favorite for precision piecing.
3. Free Hidden Wells Quilt Block with 7 Strips of Fabric
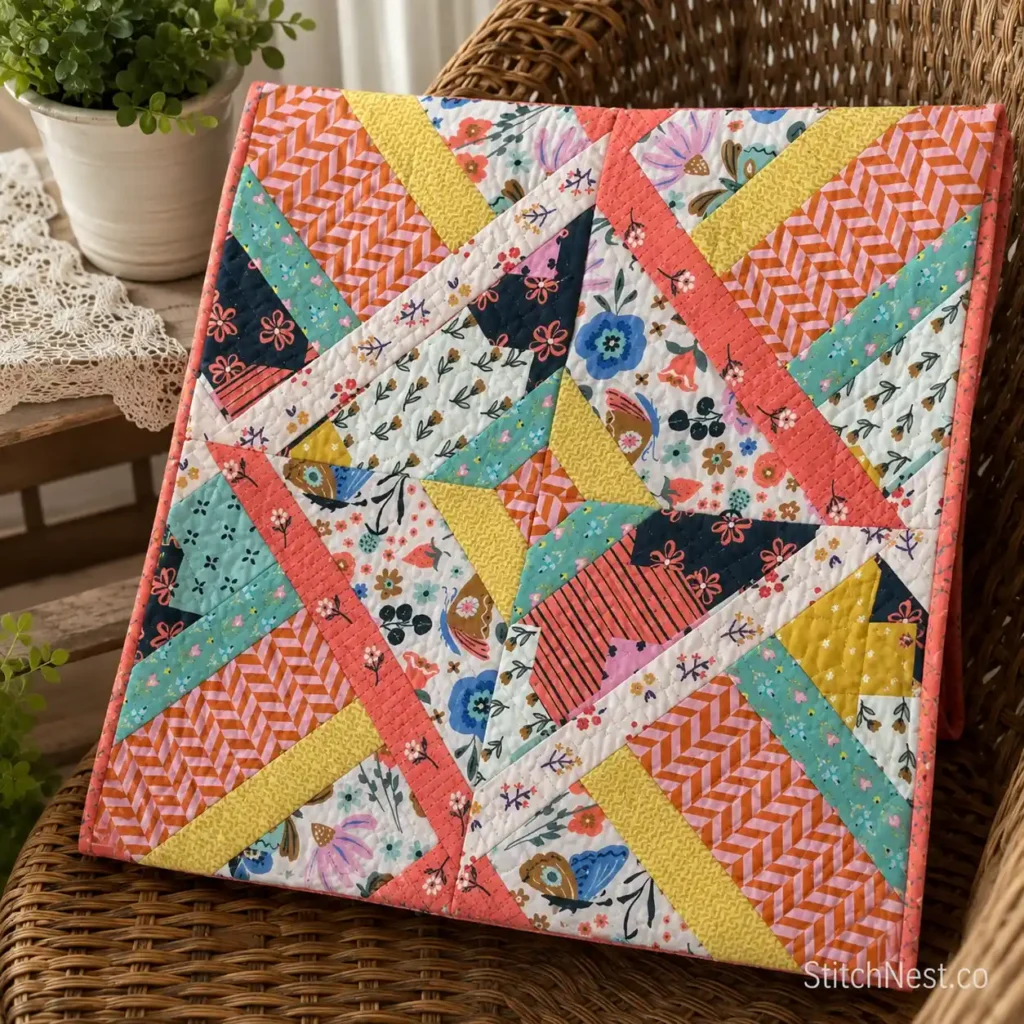
Skill Level: Intermediate
Time to Make: 3–5 Hours
Adding more strips opens the door to even more interesting color transitions. This version works especially well if you’ve been saving a coordinated fabric collection or a bundle of fat quarters that you’ve been waiting to use. Try alternating light, medium, and dark values throughout the strip set instead of grouping similar colors together.
That simple change helps the woven effect stand out once the blocks are rearranged. You can follow the free sewing tutorial on What Kimberley Makes.
Hidden Wells blocks aren’t just for quilts. Once you’ve mastered the technique, try using your favorite fabrics in one of these free quilted laptop sleeve patterns with step-by-step tutorials for a practical project you’ll use every day.
4. Hidden Wells Quilt Block 4 Strips Pattern
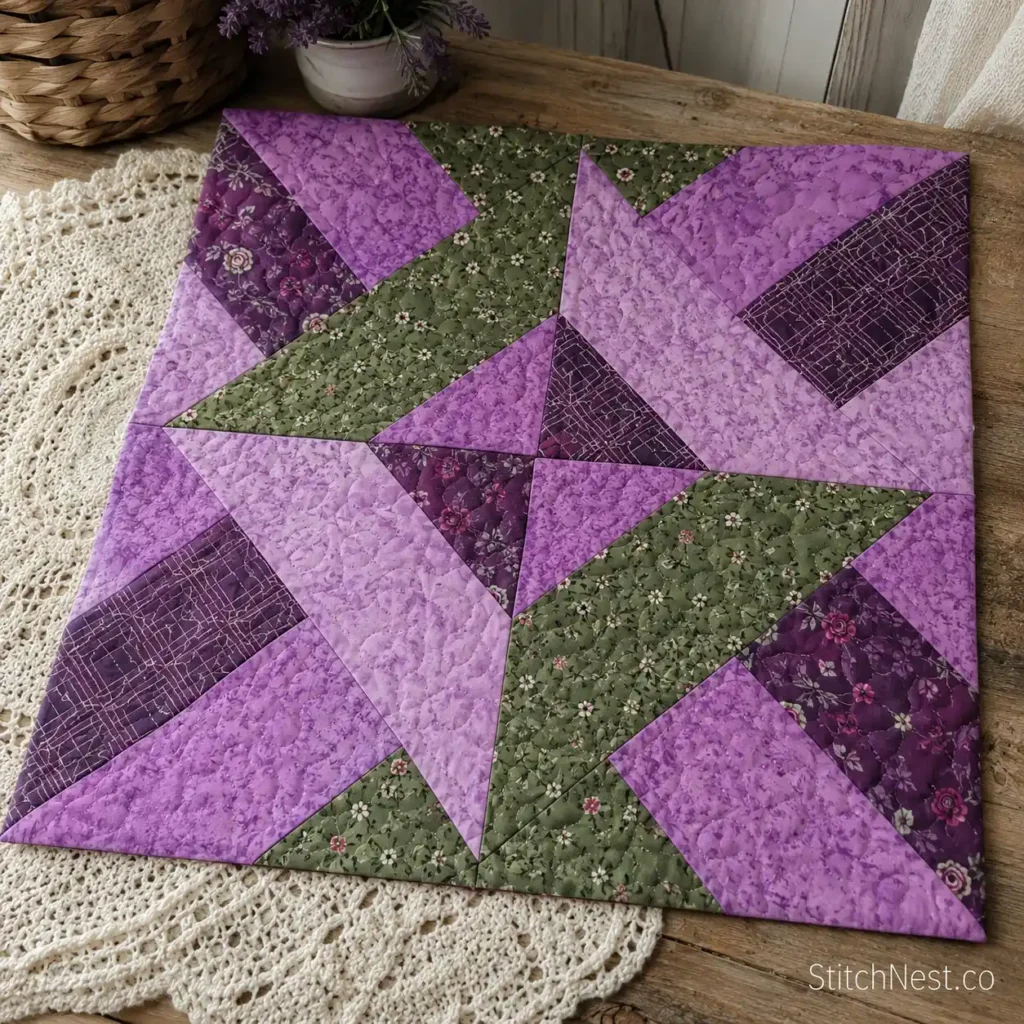
Skill Level: Beginner
Time to Make: 1–2 Hours
Sometimes keeping things simple is the best way to learn a new technique, and this four-strip version proves exactly that. With fewer fabrics to keep track of, you can focus on understanding how the cuts and rotations create the Hidden Wells effect. Once you’ve finished your first block, make another using the same fabrics in a different order.
You’ll quickly see how dramatically the final design can change with just a small adjustment. You’ll find the complete tutorial on Connie Kresin Creates.
Sometimes the projects you use the most are the best ones to make. These quilted car trash basket patterns you’ll want to sew are a perfect example.
5. Free Hidden Wells Quilt Block Tutorial
Skill Level: Beginner
Time to Make: 2–3 Hours
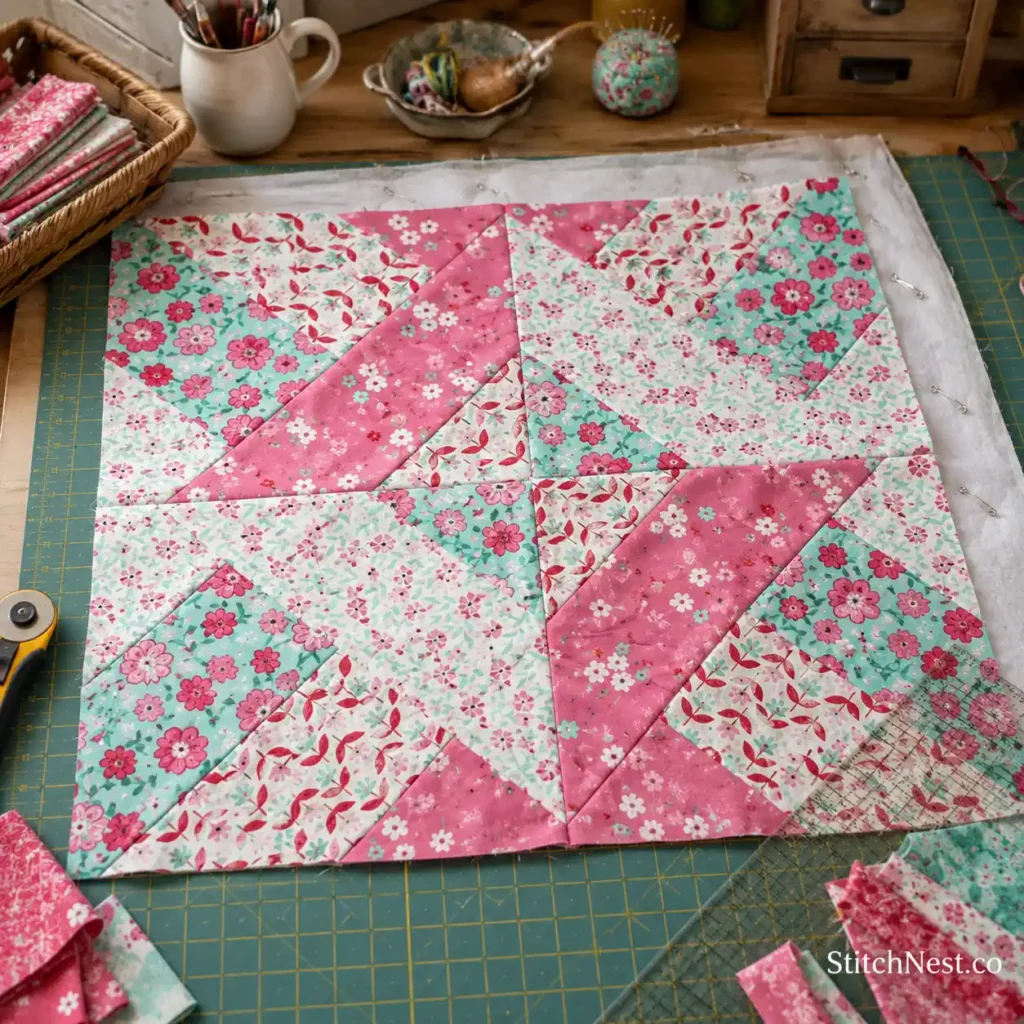
One of the best things about Hidden Wells is that you don’t need complicated blocks to create an impressive quilt. This tutorial shows how a few simple strip sets can quickly turn into a design that looks far more intricate than it really is. As you cut each section, keep the pieces in order instead of stacking them into one pile.
That small habit makes arranging the blocks much easier and helps prevent pieces from getting mixed up. You can watch the complete tutorial on DIY Joy.
6. Hidden Wells Quilt Pattern + Free Tutorial
Skill Level: Beginner to Intermediate
Time to Make: 3–5 Hours
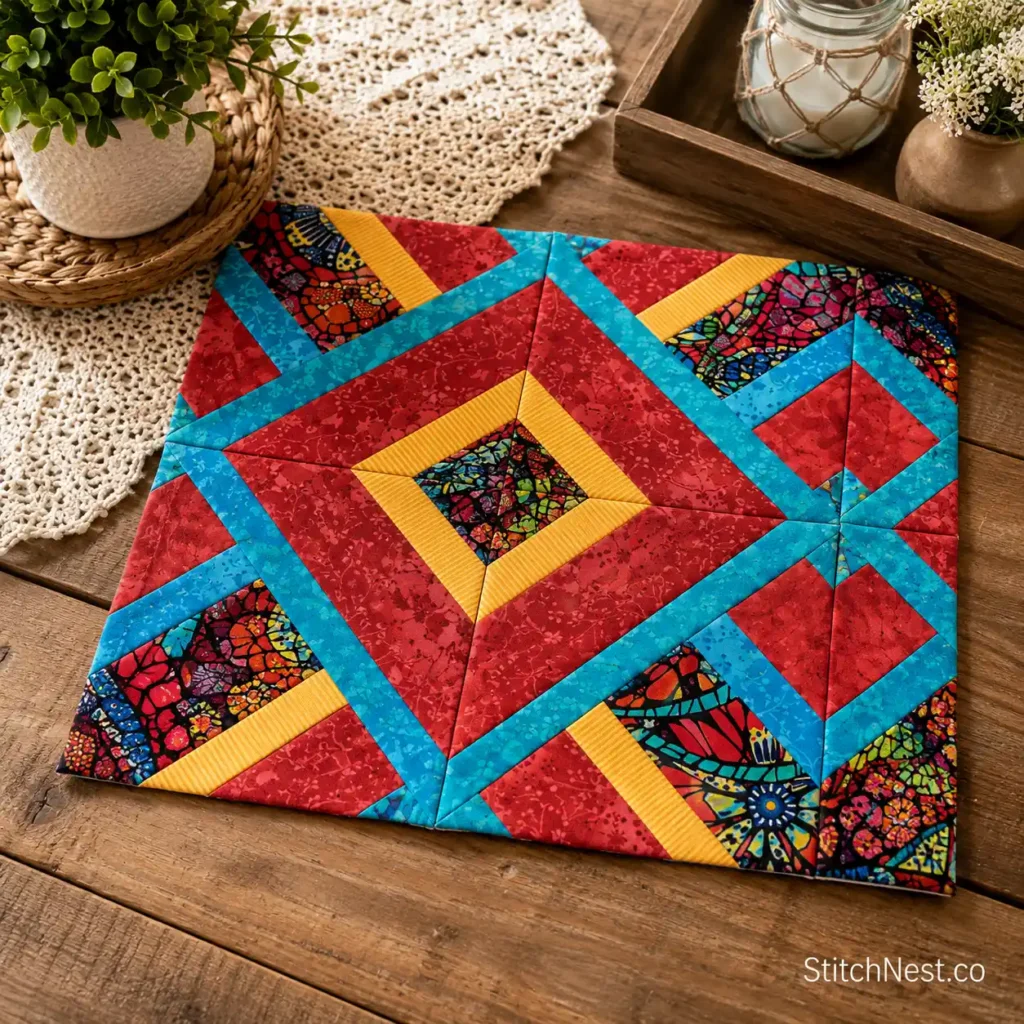
Once you’ve made a few Hidden Wells blocks, it’s easy to see why so many quilters come back to this technique. This tutorial offers another opportunity to experiment with fabric placement, proving that even small color changes can completely transform the finished quilt.
Before sewing the rows together, lay all of your blocks out and spend a few minutes rotating them. It’s often those last little adjustments that create the most pleasing layout. You’ll find the complete tutorial on Alanda Craft.
If you’ve had fun mixing fabrics for Hidden Wells, you’ll love putting those same quilting skills to work with these free quilt patchwork rug DIY ideas you’ll want to make.
Helpful Tips Before You Start
Hidden Wells quilts depend on contrast more than complicated piecing. Before you cut your strips, arrange your fabrics from light to dark. Mixing those values throughout the strip set helps the finished blocks develop the woven effect that makes this technique so recognizable.
Consistency is just as important as fabric selection. Keeping an accurate quarter-inch seam allowance throughout the project means your strip sets stay the correct size, making the cutting and assembly much smoother later on. You know how some quilt patterns feel just as fresh today as they did years ago. You’ll find plenty of inspiration in these timeless Prairie Flower quilt patterns to make this year.
Don’t stop after making one block. Hidden Wells is one of those techniques where experimenting is half the fun. Try changing the strip order, rotating blocks in different directions, or swapping just one fabric. You’ll be surprised how many completely different designs you can create from the same set of fabrics.
Large quilts involve plenty of cutting, and a Creative Grids Stripology XL Ruler can save a surprising amount of time while helping you cut strips and rectangles more accurately. See why so many quilters consider it a worthwhile addition to their sewing room.
Common Mistakes to Avoid
Even beautiful prints can blend together if there’s not enough contrast, making the Hidden Wells effect much harder to see. Mixing lights, mediums, and darks usually creates a much more defined design.
Since Hidden Wells relies on precise strip widths and accurate sub-cuts, taking an extra minute to double-check your measurements is well worth it. Small inaccuracies can become much more noticeable once the blocks are rotated and sewn together.
Clover Wonder Clips are perfect for projects with lots of patches. They hold several fabric layers together without shifting and don’t leave pinholes like traditional pins.
Also, don’t judge your quilt too early. Individual blocks may not look especially impressive on their own, but once they’re arranged into rows, the pattern begins to emerge. Laying everything out before joining the blocks together lets you appreciate how the design develops and gives you time to make small layout changes if needed.
Once you’ve mastered Hidden Wells, it’s fun to use those skills on quilts with a completely different theme. If you’re ready for another creative project, have a look at these DIY ocean animals quilt patterns you’ll keep forever, filled with playful sea creatures and coastal inspiration.