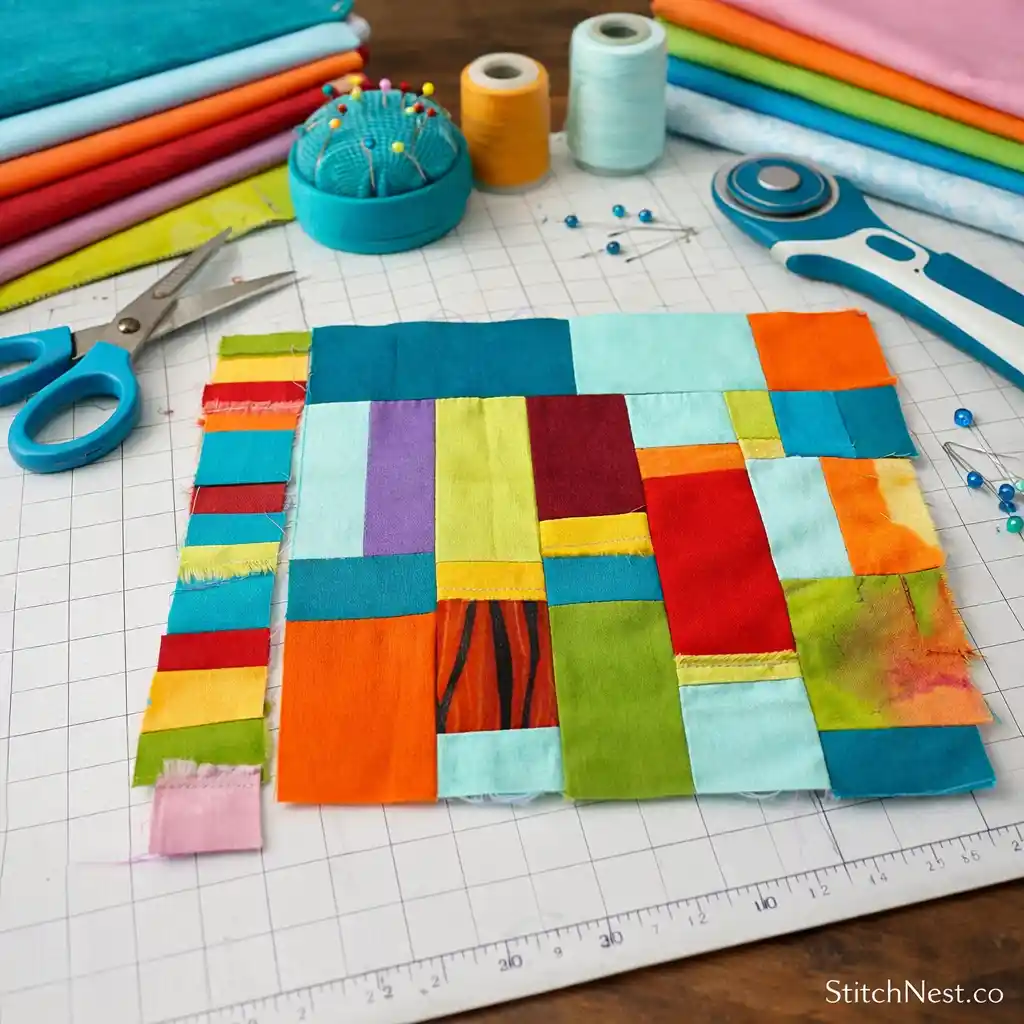
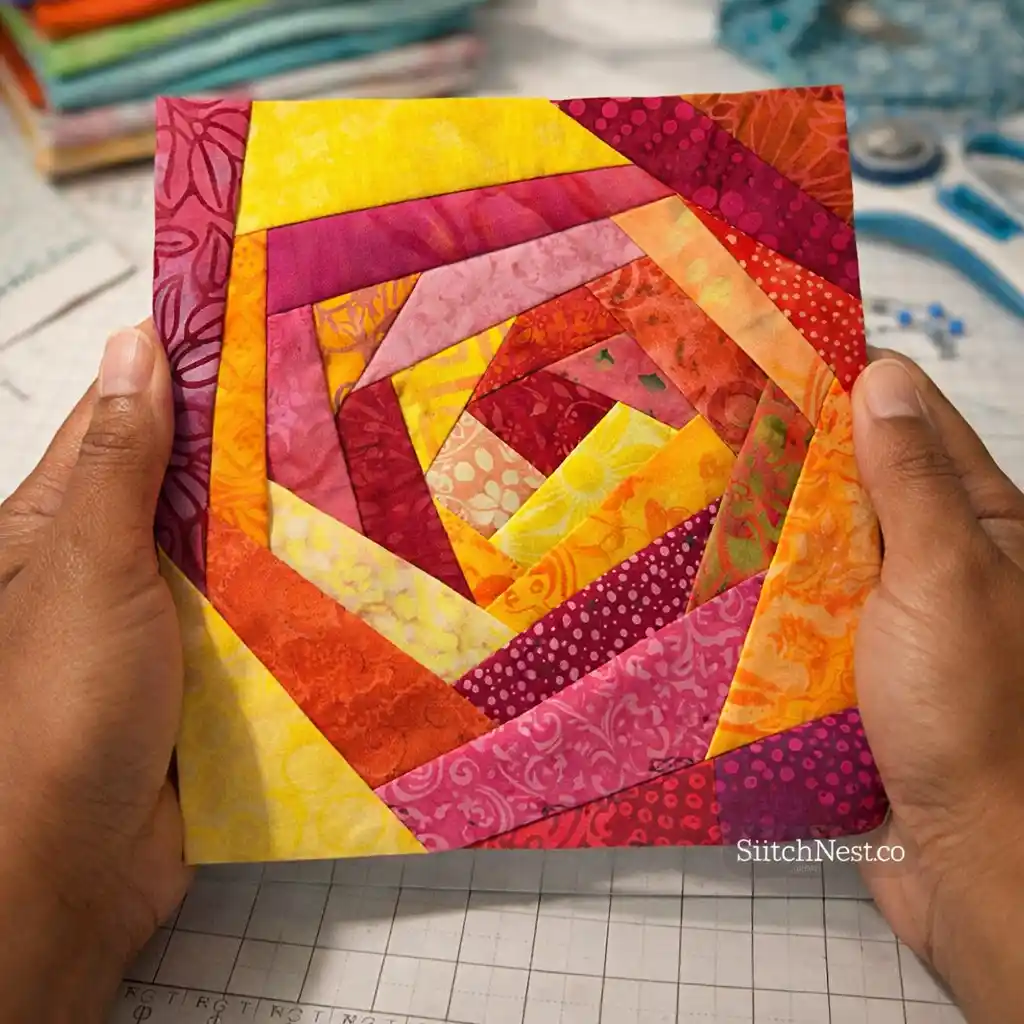
Crumb quilting is one of the easiest ways to stop feeling guilty about fabric scraps piling up around your sewing space. Tiny leftover pieces that seem unusable on their own can come together into blocks that feel textured, colorful, and surprisingly intentional once stitched together. And the thing that makes crumb quilts so enjoyable is that they remove a lot of the pressure that comes with precise matching and perfect layouts. Instead of worrying about strict symmetry, you start focusing more on color balance, texture, and letting the scraps build naturally into something useful. Let’s take a look!
Things You’ll Need
- Rotary cutter with a self-healing cutting mat
- High-quality cotton fabric bundles
- Acrylic quilting rulers for precise shapes
- Sewing machine with quilting foot attachment
- Soft batting for a cozy finished feel
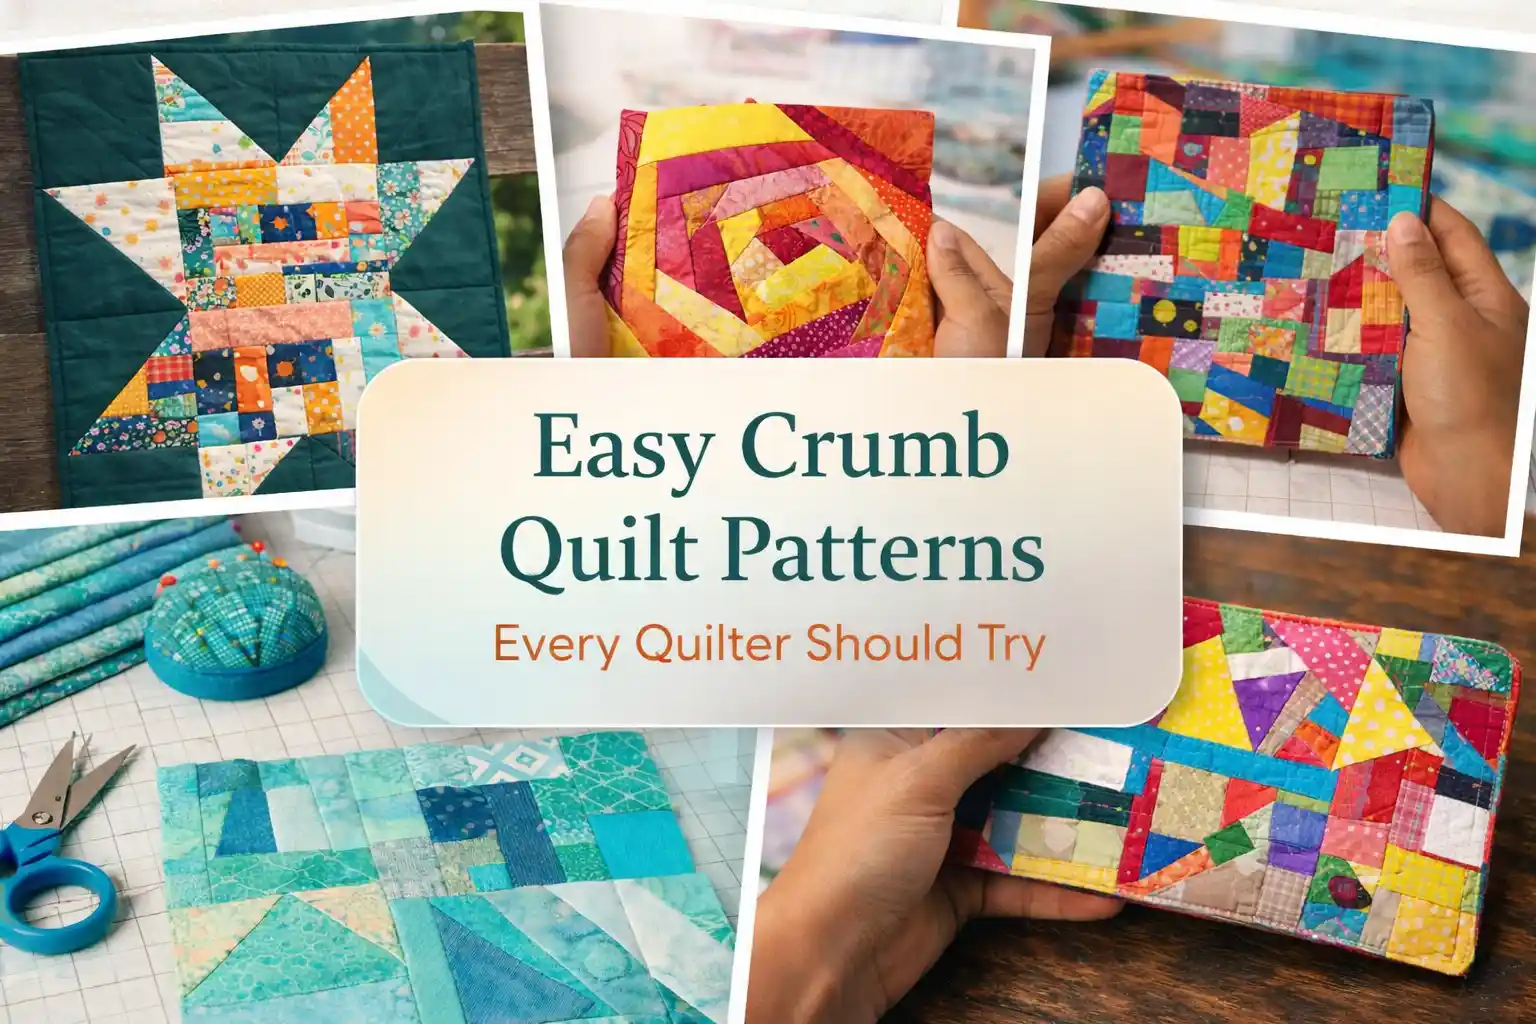
Easy Crumb Quilt Patterns Every Quilter Should Try
1. Crumb Quilt Zero Waste Idea
Skill level: Beginner
Time required: 4 to 8 hours
Zero waste crumb quilting is less about perfection and more about learning how to use scraps thoughtfully instead of throwing them away. One thing that helps is sewing similar fabric weights together whenever possible so the block presses flatter later on. Create Whimsy explains the process in a way that feels practical instead of overly structured, which makes it easier to relax into the randomness.
2. Crumb Quilt Easy
Skill level: Beginner
Time required: 5 to 9 hours
This style of crumb quilt keeps the layout simple while still letting the fabric scraps create plenty of visual movement. Since the blocks rely heavily on contrast, mixing a few calmer fabrics between busy prints helps the overall quilt feel more balanced. A common mistake is sewing tiny scraps together too quickly without trimming edges occasionally, which can make blocks stretch unevenly over time. Here’s the DIY tutorial!
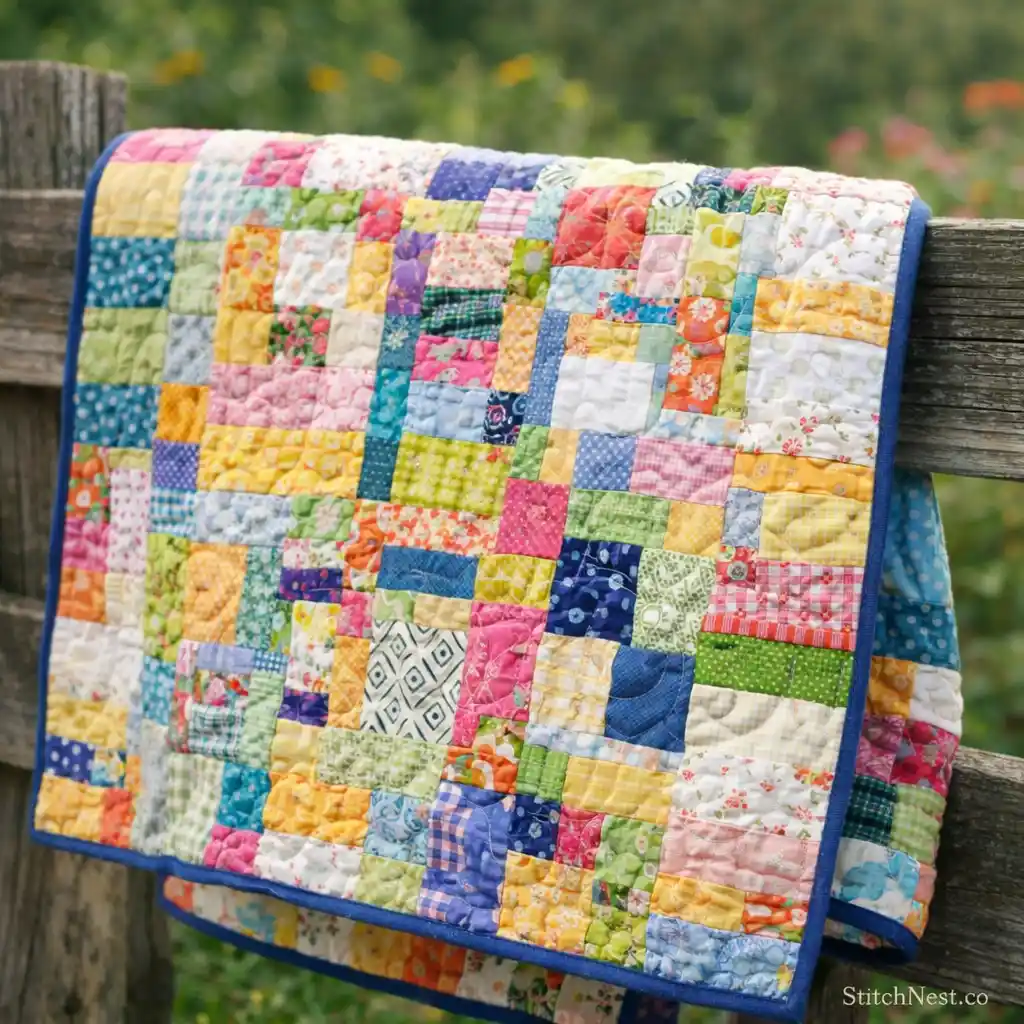
3. Crumb Jumble Baby Quilt

Skill level: Beginner to Intermediate
Time required: 6 to 10 hours
Baby quilts work especially well for crumb quilting because the smaller size keeps the project manageable. The jumble style creates a playful layout that feels soft and handmade instead of overly planned. Remember, keeping lighter fabrics spaced throughout the quilt helps prevent darker scraps from visually taking over certain areas. You can follow the step by step by Quilt Fabrication here.
Not every quilting project needs to be large to be satisfying. These quilted book sleeves are practical, beginner-friendly, and fun to customize.
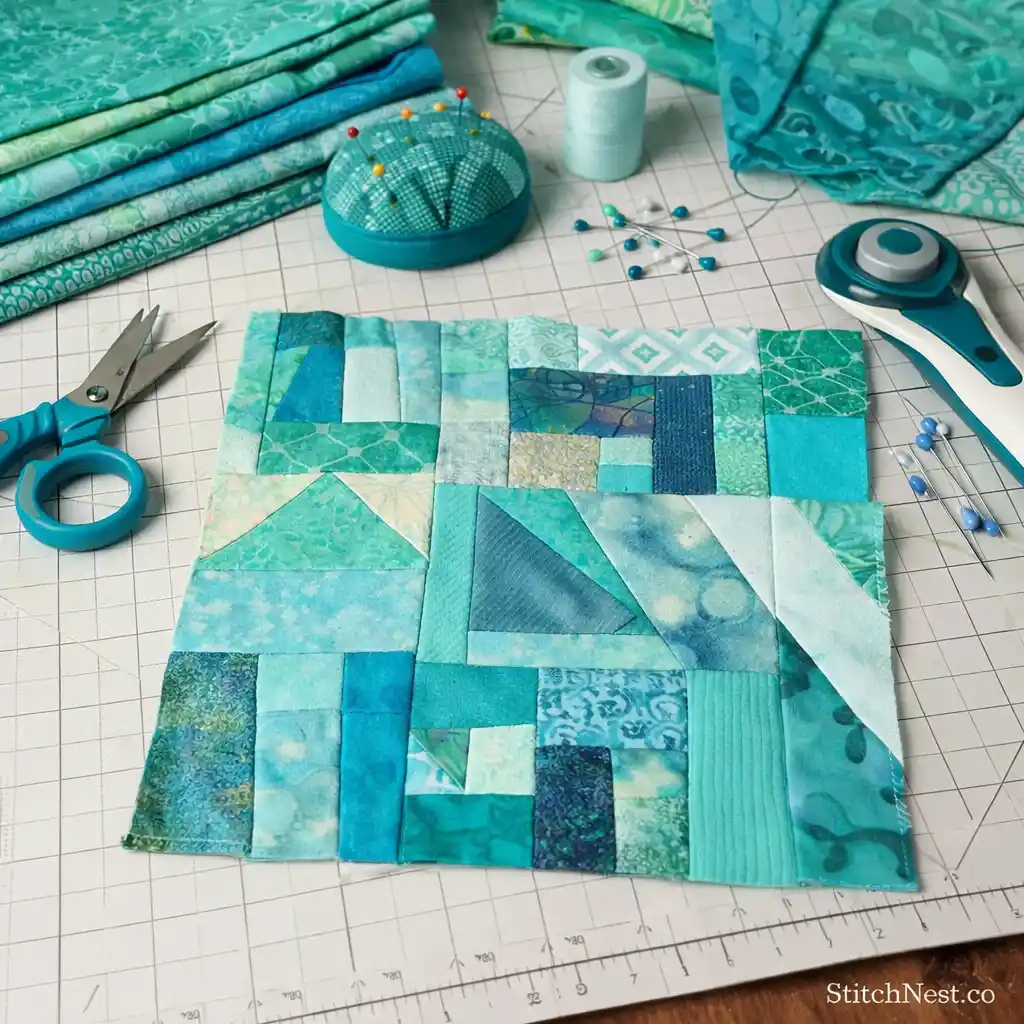
4. One Color Crumb Quilt Block Tutorial
Skill level: Beginner
Time required: 1 to 2 hours per block
Using one color family changes the entire feel of a crumb quilt because the texture starts standing out more than the randomness of the scraps themselves. Even though the fabrics vary, the shared color keeps the blocks looking cohesive once assembled together. One helpful habit is sorting scraps by tone before sewing so the block does not become too dark or too flat in certain areas. Scrap Fabric Love demonstrates this beautifully by showing how controlled color choices can still feel creative and relaxed.
5. DIY Crumb Quilt Mug Mat
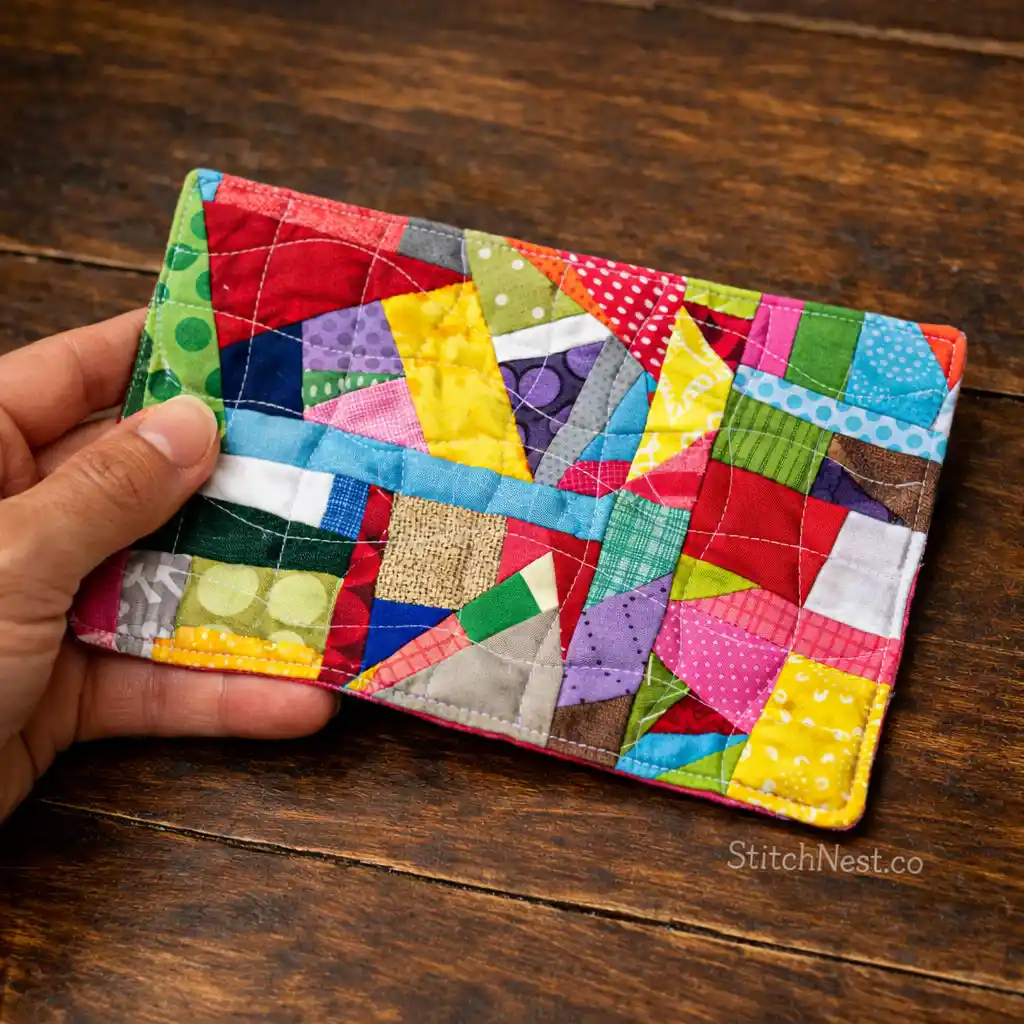
Skill level: Beginner
Time required: Around 1 hour
A crumb quilt mug mat is one of the fastest ways to practice crumb piecing without committing to a full quilt immediately. Since the project is small, you can experiment more freely with bold prints or unusual scrap combinations. Pressing seams after every few additions helps the mat stay flatter and easier to trim cleanly later on. Crafty Staci keeps the construction simple and practical, which makes this project especially beginner friendly.
6. Making Crumb Quilt Blocks from Scraps
Skill level: Beginner to Intermediate
Time required: 2 to 4 hours
This approach focuses more on building usable quilt blocks steadily from leftover scraps instead of trying to force a finished design too early. The process becomes much smoother once you stop worrying about matching pieces perfectly and start treating the scraps more like texture and movement. Penny Spool Quilts explains it here.
If you love classic quilt designs that never seem to go out of style, these granny square quilt patterns deserve a spot on your sewing list.
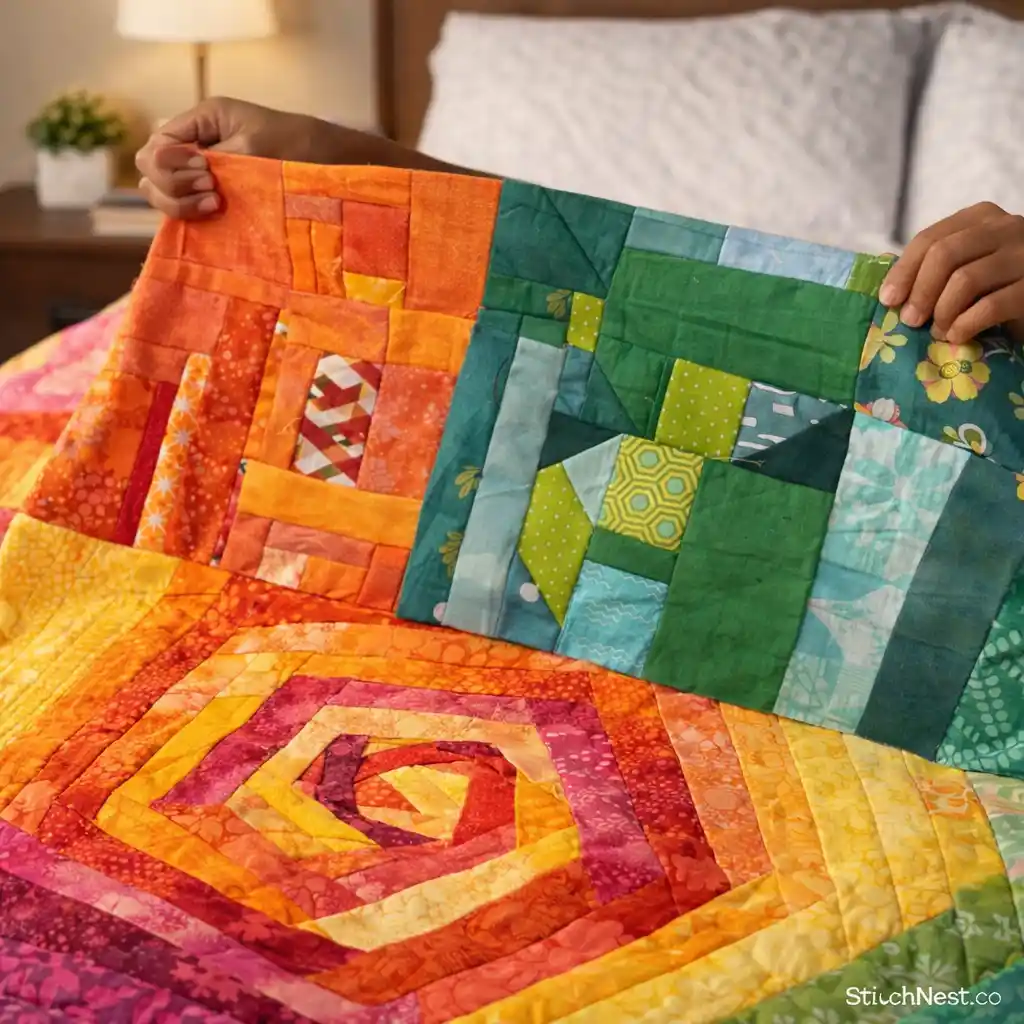
7. Turning Crumbs into Quilts Easy DIY
Skill level: Beginner
Time required: 5 to 8 hours
This crumb quilting method keeps the process approachable by focusing on gradual block building rather than complicated layouts. As the scraps start connecting together, the quilt naturally develops texture and depth without needing strict planning. Quilting Daily breaks the tutorial down clearly and makes crumb quilting feel much less intimidating for beginners.
8. Crumb Quilting from Scraps
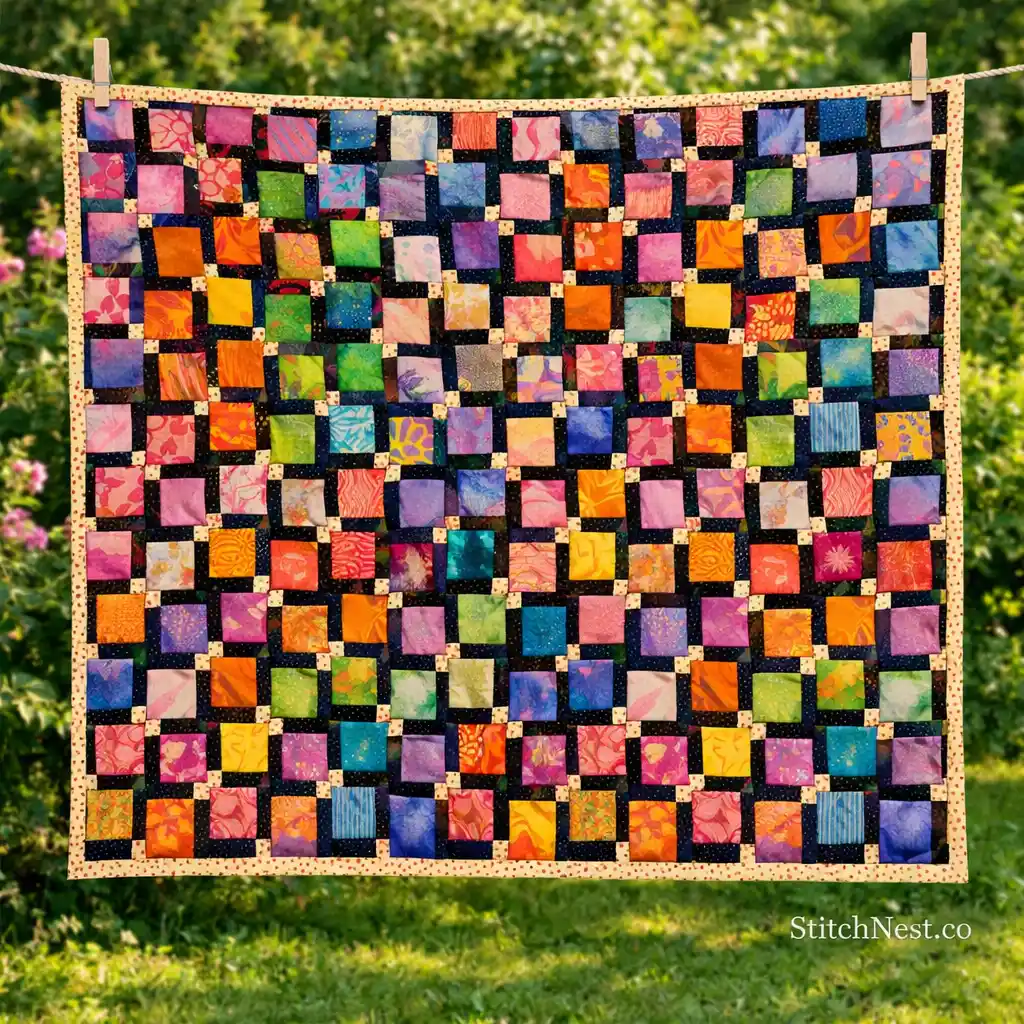
Skill level: Beginner to Intermediate
Time required: 4 to 7 hours
Scrap based crumb quilting has a very relaxed feel, but the finished quilt still benefits from thoughtful fabric placement and balanced color distribution. You can improve the final result by occasionally stepping back from the layout to check where similar prints are clustering too heavily. Even random quilts look cleaner when the colors feel evenly spread across the surface. Questioning Quilter shares useful insights in the DIY here.
9. Crumble Star Quilt Block Free Tutorial
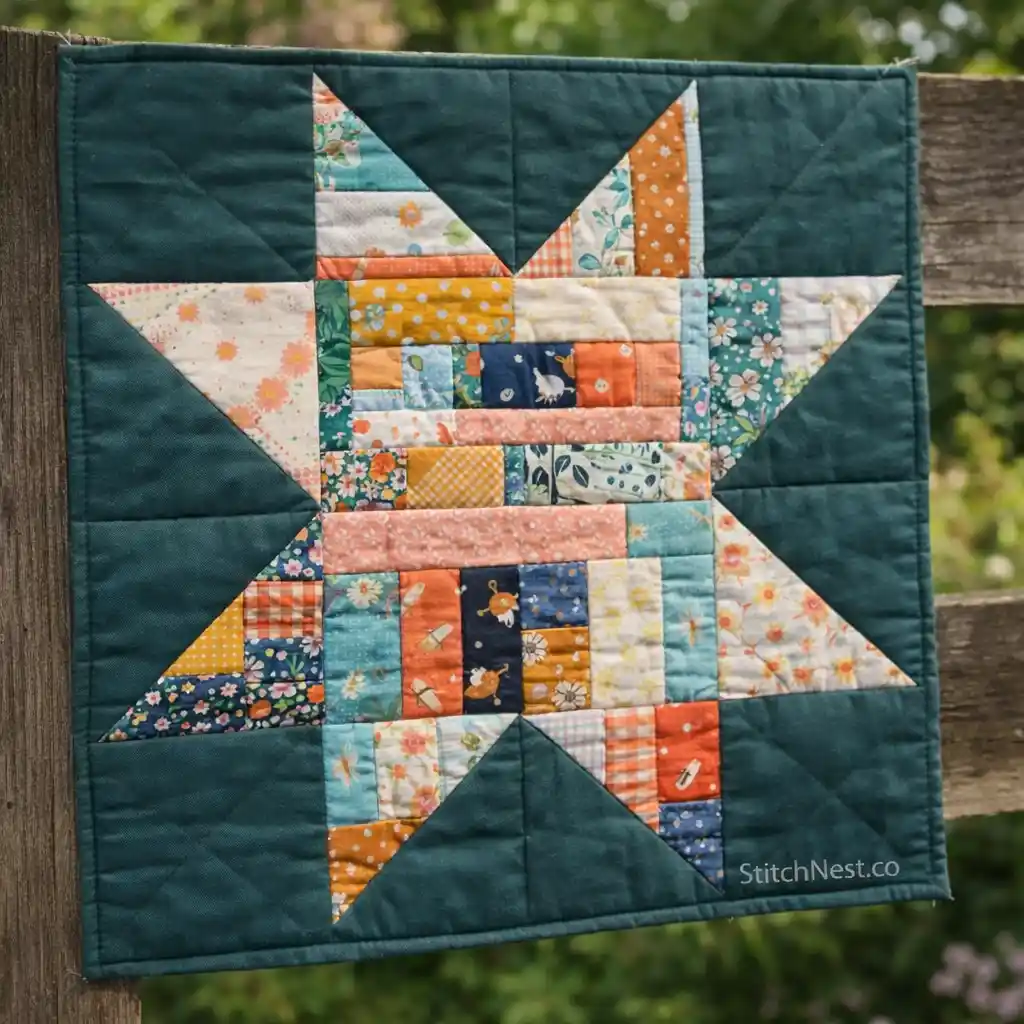
Skill level: Intermediate
Time required: 2 to 3 hours per block
The crumble star block combines the relaxed nature of crumb quilting with a more structured star layout, which creates a nice balance between scrappy and precise. Since the star points become the visual focus, cleaner trimming makes a much bigger difference here than in looser crumb blocks. DIY Joy explains the block construction step by step and still keeps the project approachable for confident beginners.
If you love classic quilt blocks that never seem to go out of style, these Ohio Star quilt patterns are well worth a look.
Common Mistakes When Making a Crumb Quilt
- Using scraps that are too small to sew securely, causing seams to weaken over time
- Mixing very heavy and very lightweight fabrics in the same block makes pressing and quilting harder later on
- Skipping regular trimming while piecing, leading to stretched or uneven blocks
- Letting one print or color dominate too much of the quilt layout
- Sewing scraps together randomly without pressing seams often enough, which creates bulky sections that are difficult to quilt cleanly
If you enjoy quilts with flowing movement and eye-catching layouts, don’t miss these beautiful Ribbon Dance quilt patterns.
Practical Tips to Make Crumb Quilts Look More Balanced
Crumb quilts usually look better when there is some kind of visual rhythm, even if the layout itself feels random. Keeping a few neutral fabrics mixed throughout the blocks helps busy scraps feel less chaotic once everything is assembled together. It also helps to trim blocks regularly instead of waiting until the very end because uneven edges become harder to fix later on.
Many experienced quilters keep separate scrap piles by color or tone, which makes it much easier to create balance naturally while piecing. If a section starts feeling too crowded visually, adding a calmer fabric nearby often fixes the problem immediately without needing to redo the block. And you could always go for a floral quilt pattern as well.
Crumb quilting is one of the most satisfying ways to turn leftover fabric into something useful, creative, and full of character. The process feels relaxed compared to more structured quilting styles, but the finished results can still look thoughtful and beautifully balanced when the scraps are pieced carefully. And once you’re comfortable, maybe try out these iris quilts!