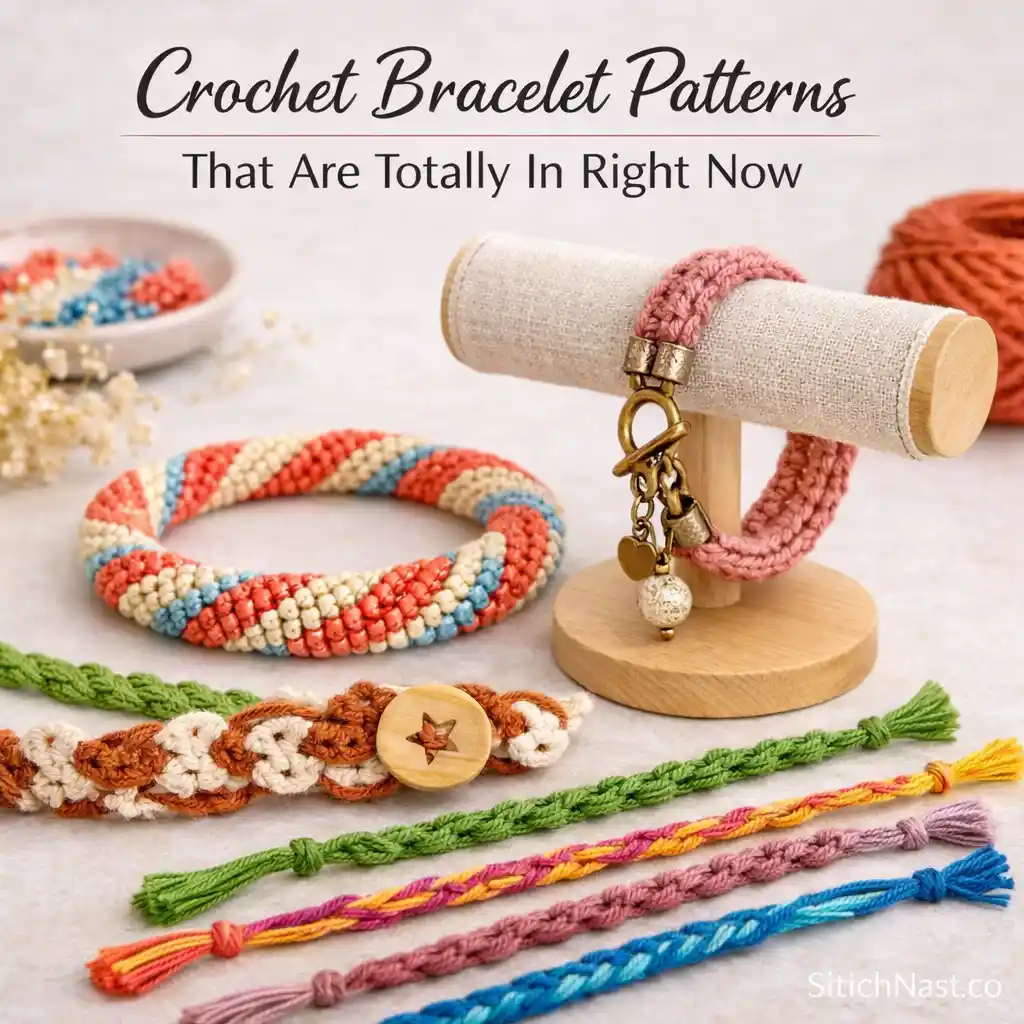
Crochet bracelets are one of the easiest ways to start making wearable pieces without getting overwhelmed. They are small, quick to finish, and give you a chance to build real control over your stitches. Because they sit directly on your wrist, even small details like tension, edge neatness, and closures make a big difference. Once you understand how to keep things consistent, you can create pieces that feel comfortable, look clean, and hold up with daily use.
Things You’ll Need
- Fine cotton yarn or embroidery thread for delicate details
- Lightweight crochet hooks in smaller sizes
- Earring / Bracelet hooks and jump rings
- Stitch markers and small scissors
- Jewelry pliers for assembling pieces
Beginner Crochet Bracelet Ideas
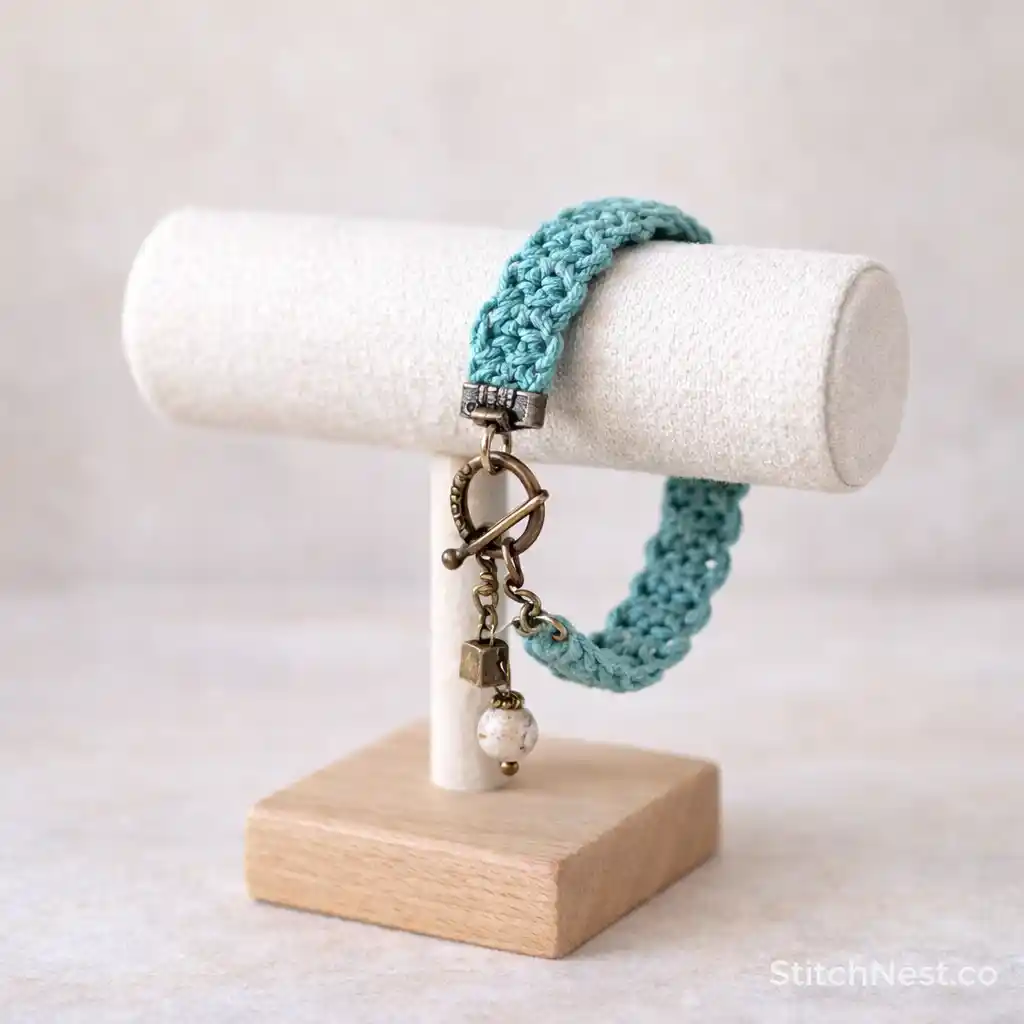
1. Beginner Crochet Friendship Bracelet
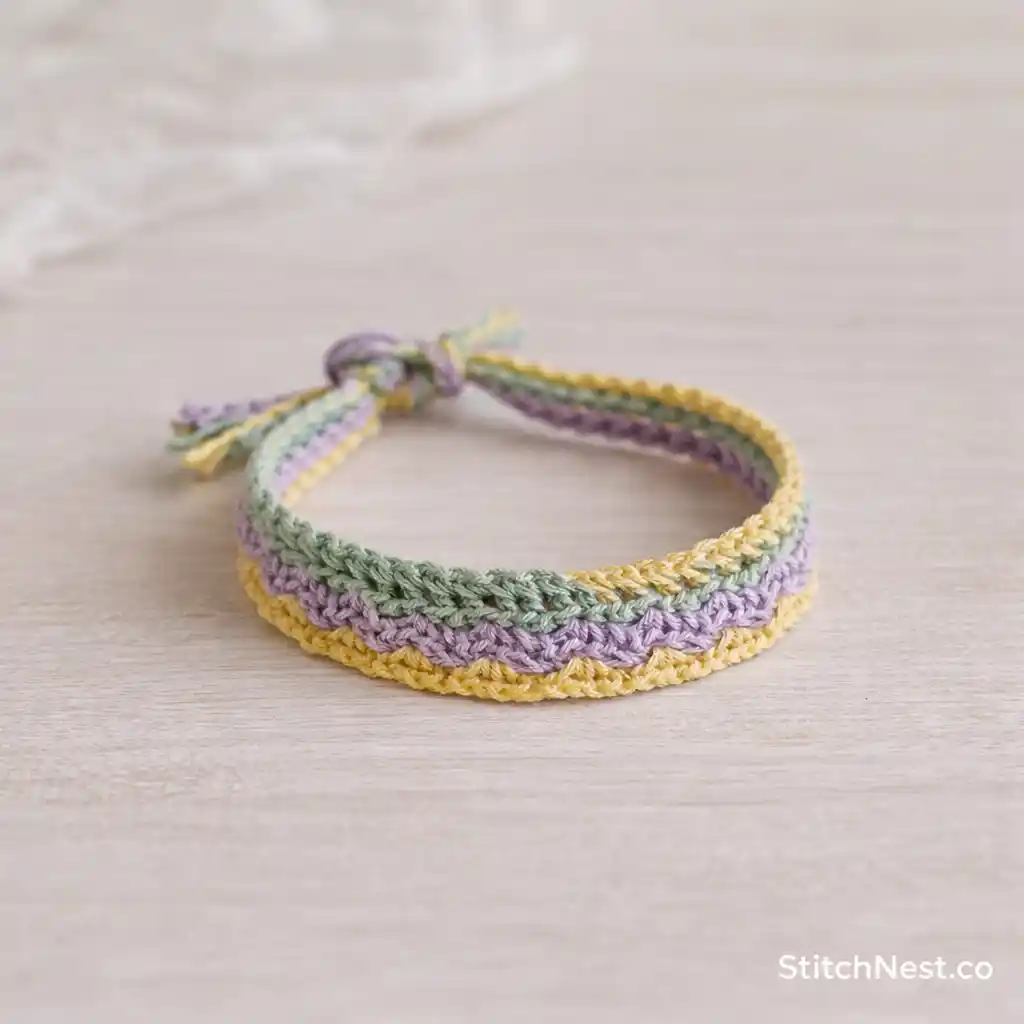
This is a great starting point because it uses simple stitches and a straight structure that is easy to follow. It works up quickly and gives you a clean, minimal look that pairs well with everyday wear. The key is keeping your stitches even from start to finish, since any variation shows clearly in a straight design.
Note: In our experience, when the edges start curving, it’s usually because tension gets tighter without you noticing. It tends to happen after the first few rows once your hands settle into a rhythm, so you should make a habit of checking the stitch looseness every couple of rows.
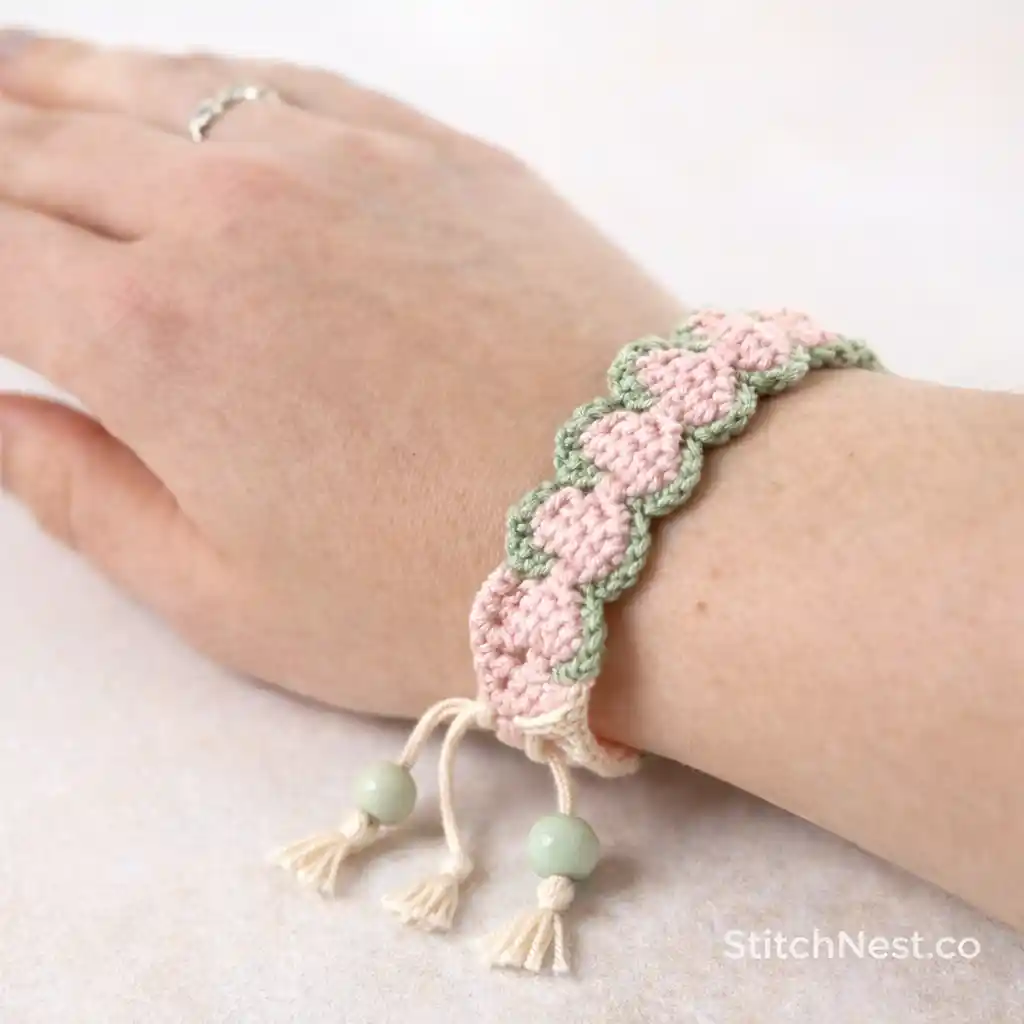
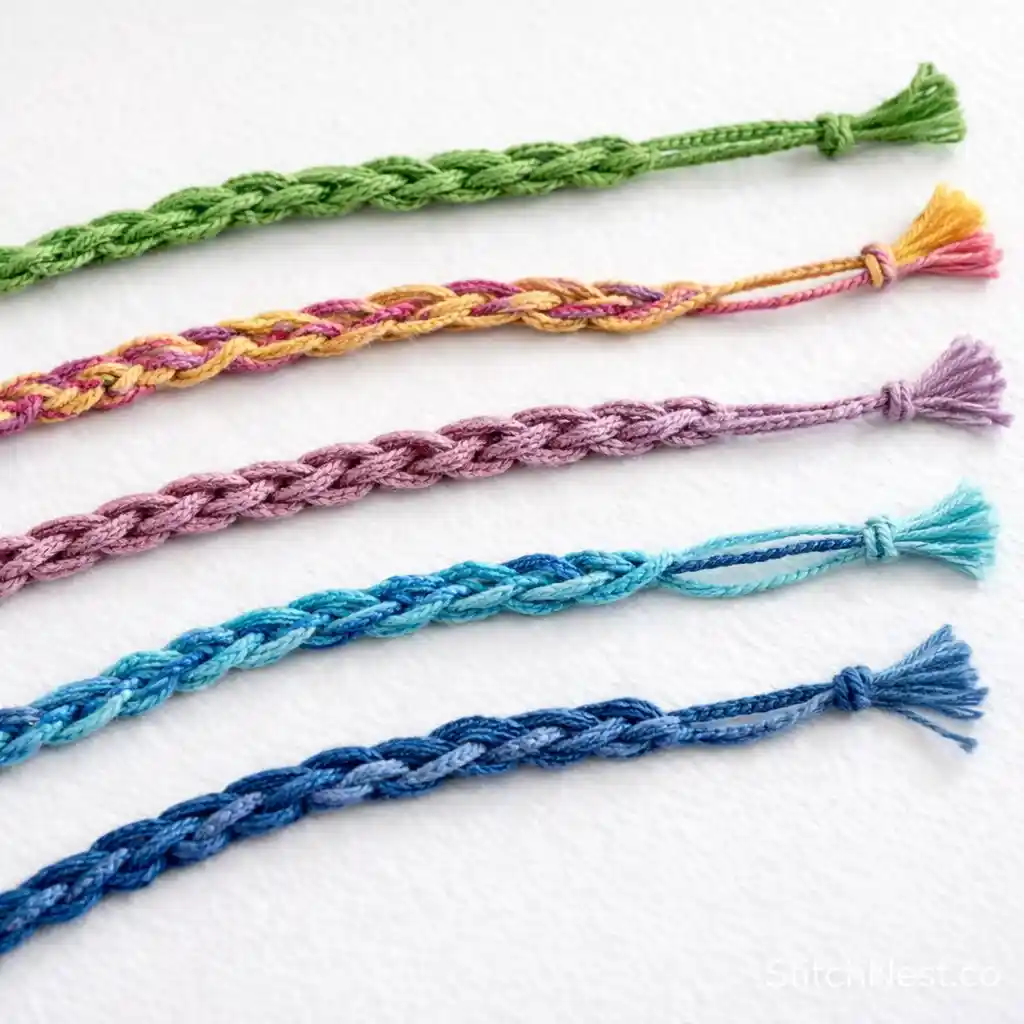
2. Crochet Braid Bracelet
This bracelet creates a braided effect using multiple strands or sections worked together. It looks more detailed than it actually is, which makes it a rewarding beginner project. Keep each strand consistent in thickness so the braid looks balanced once assembled. When joining the ends, take a moment to align the braid properly so it does not twist awkwardly.
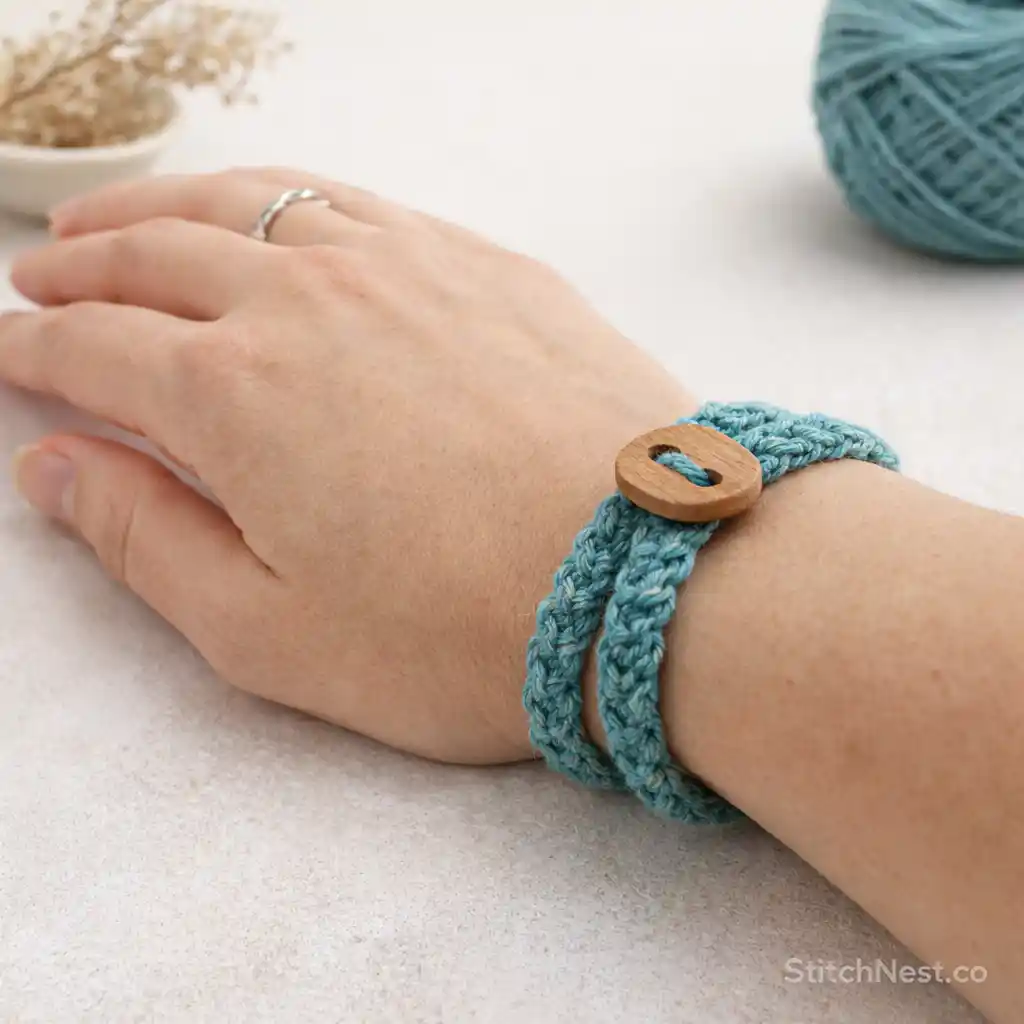
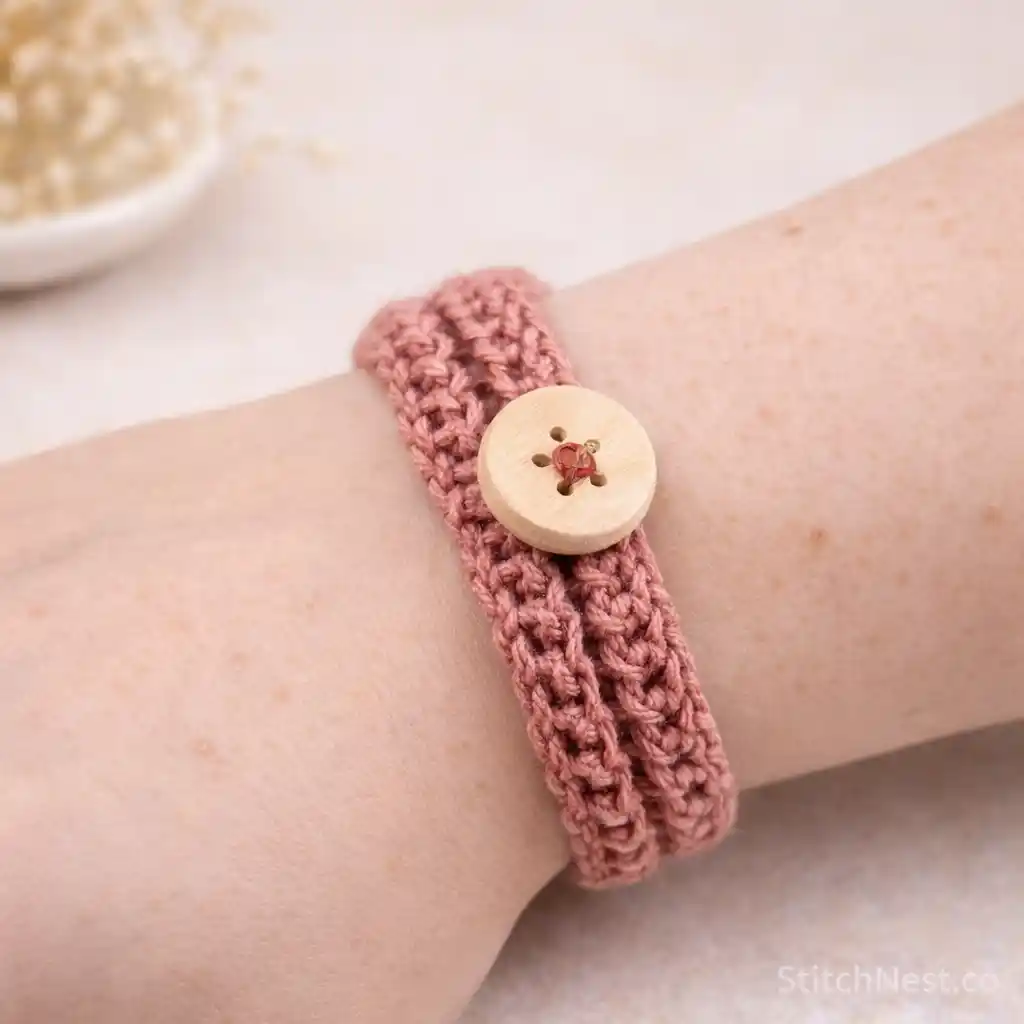
3. Crochet Cord Bracelet Adjustable
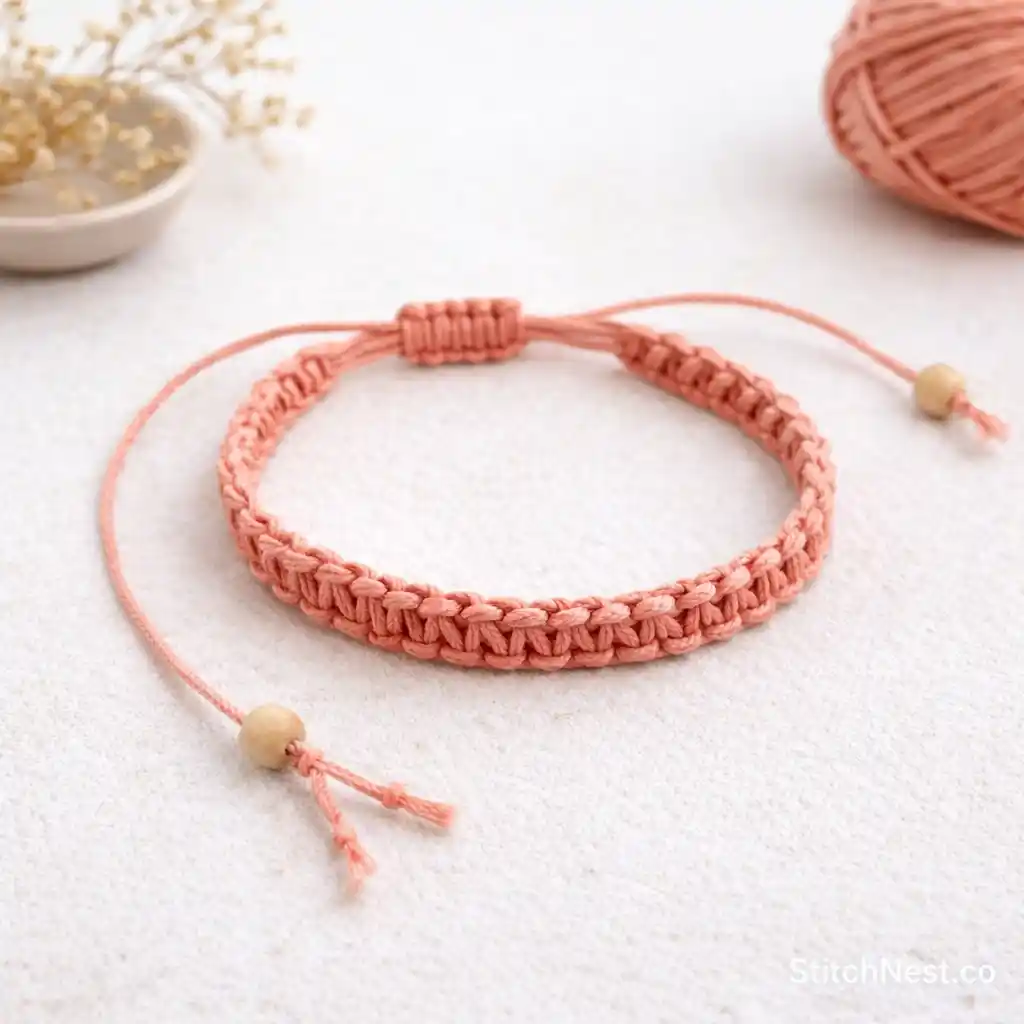
An adjustable cord bracelet is both practical and beginner friendly. It allows you to focus on making a clean, even cord while learning how closures work. The most important part is maintaining steady tension so the cord feels firm and not loose. When adding the adjustable knot, make sure it slides smoothly without catching or tightening unevenly.
4. DIY Crochet Leather Tassel Bracelet
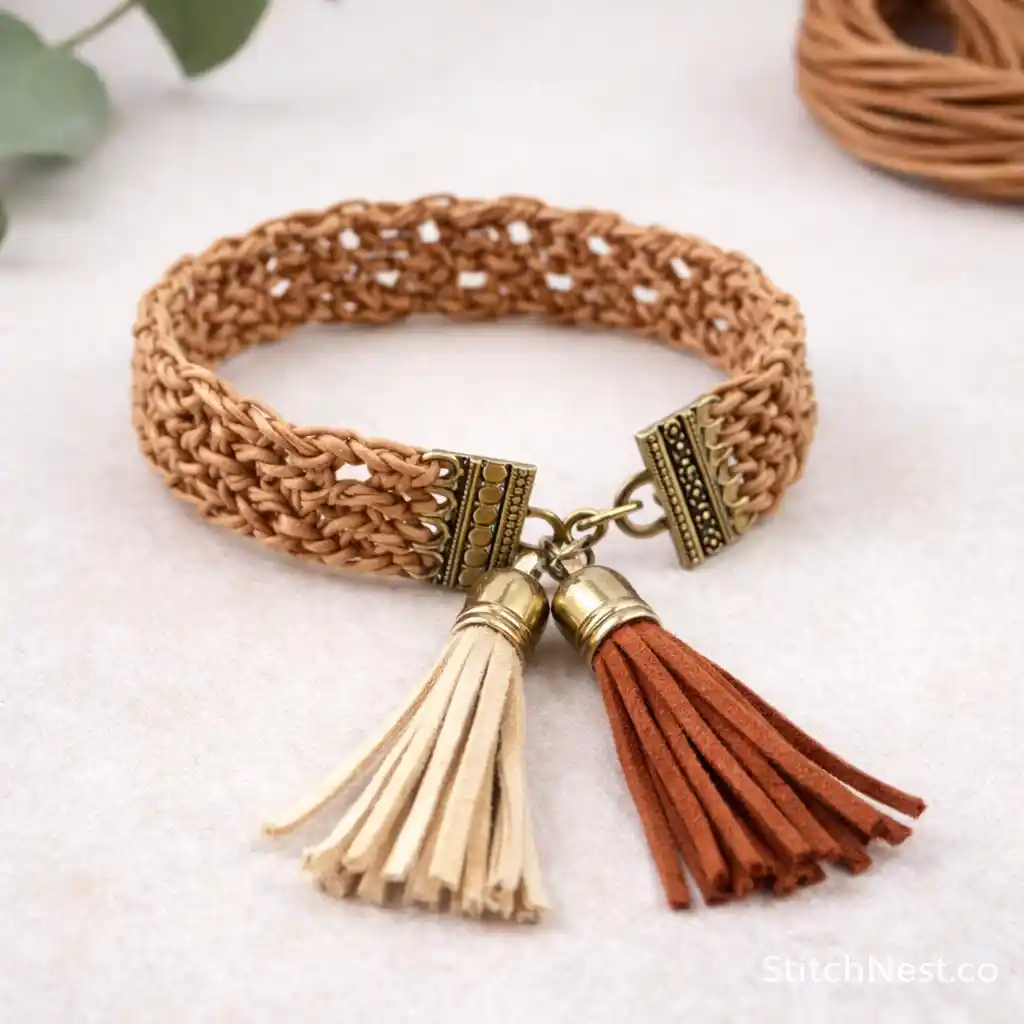
This design combines crochet with a leather element, which adds contrast and a more finished look. It is still simple to make, but the mix of materials makes it feel more refined. Keep your crochet section tight so it holds shape against the leather. When attaching the tassel, secure it firmly so it does not shift with wear.
5. Free Crochet Bracelet Pattern
Using a structured pattern helps you understand how small variations in stitches affect the final look. These patterns often include subtle shaping that improves fit and comfort. Follow stitch counts closely, especially in repeated rows, to keep both sides symmetrical.
Note: We’ve found that even a single missed stitch can affect the shape, especially in small projects like bracelets. So when the width starts changing, it’s better to stop and count stitches right away instead of trying to fix it later.
6. Easy Friendship Bracelet Crochet Idea
This version focuses on color changes to create a simple but eye catching design. It is perfect for using leftover yarn without adding complexity. The key is switching colors cleanly by finishing the last yarn over with the new color. This keeps transitions sharp instead of uneven or blended. Here’s the DIY!
7. Easy Crochet Bracelet Tutorial
A straightforward tutorial style bracelet helps you focus on the basics without distraction. It is ideal for practicing consistency and finishing techniques. Pay attention to how you secure your ends, as loose ends are more noticeable on small items. Taking time to weave them in properly gives a much cleaner result. You can find the tutorial here.
8. Finger Crochet Friendship Bracelet DIY
This method removes the hook and uses your fingers, making it very accessible for beginners. It creates a slightly looser texture, which works well for casual designs. The main thing to control here is tension, since it is easier to go too loose without a hook. Try to keep each loop similar in size for a more uniform look.
9. Beaded Crochet Rope Bracelet
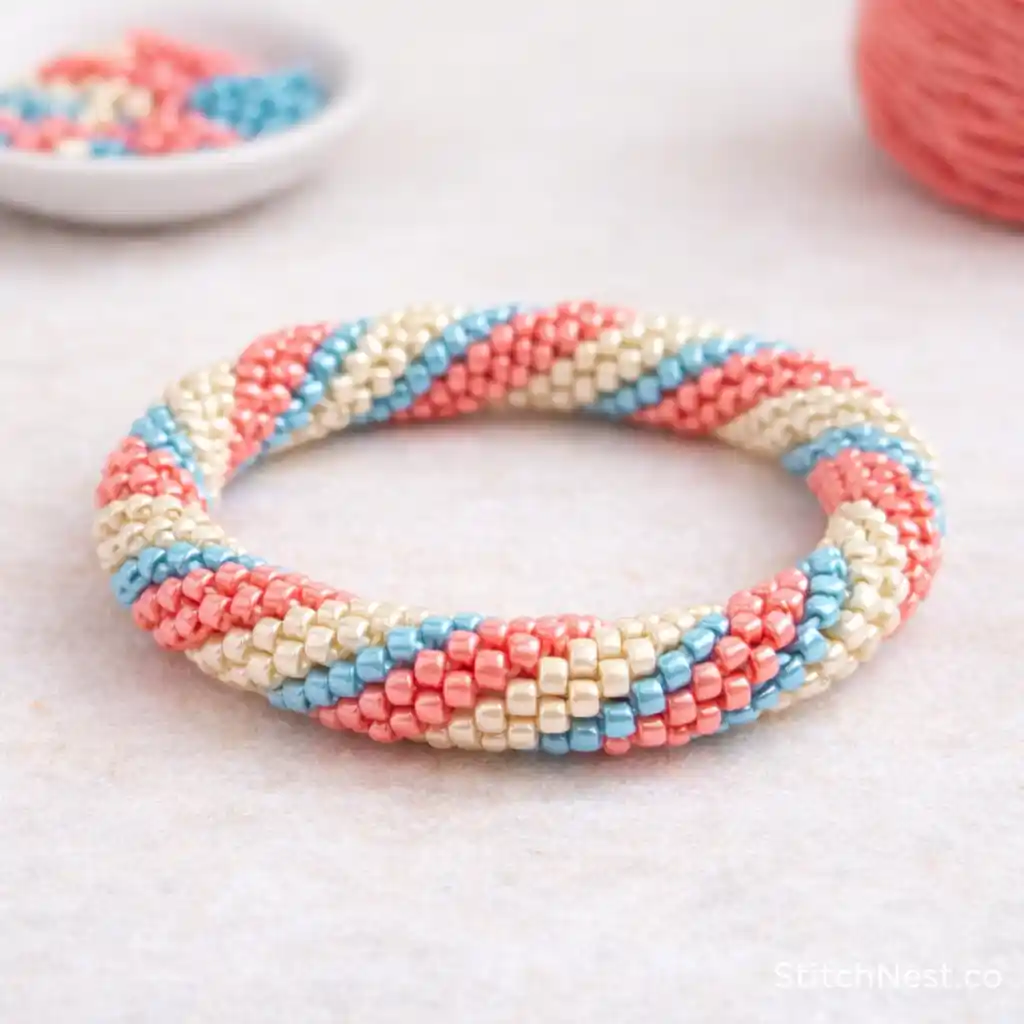
This bracelet adds beads into a crocheted rope, creating a more detailed and polished piece. It requires a bit more focus, especially when placing beads evenly throughout. Always test your bead size with your yarn before starting to avoid interruptions. Consistent spacing is what gives this design a professional finish.
Practical Tips for Better Results
- Use cotton yarn for better structure and durability, especially for everyday wear
- Work with a slightly smaller hook to keep stitches tighter and more defined
- Measure your wrist before starting to avoid sizing issues later
- Always test your closure before finishing to ensure it feels secure and comfortable
Common Crochet Bracelet Making Mistakes to Avoid
One of the most common issues we see is inconsistent tension, which makes bracelets look uneven and feel less comfortable to wear. It usually happens when we rush through rows or don’t notice our grip tightening over time, so it helps to stay aware of how the stitches are forming as we go. Another mistake is choosing yarn that’s too thick, which can make the bracelet feel bulky on the wrist. In practice, lighter yarns tend to give a cleaner look and sit more comfortably for everyday wear. Same goes for crochet flower earrings like these.
Also, finishing is where a lot of small problems show up. Loose ends, weak knots, or rushed closures can come undone with regular use. Taking a few extra minutes to secure and weave everything in properly makes a noticeable difference in how long the bracelet lasts.
Once you get comfortable with a few of these designs, crochet bracelets become one of the easiest ways to create something useful and personal in a short amount of time. Each piece helps you improve your control, from keeping stitches even to finishing cleanly. Start simple, focus on consistency, and you will quickly reach a point where your bracelets look polished and feel good to wear every day. Once you’ve got the hang of it, try one of these lovely crochet rosary ideas!